Looking for a guide for a different GoPro? Check out all of my complete guides here:
Updated May 18, 2020

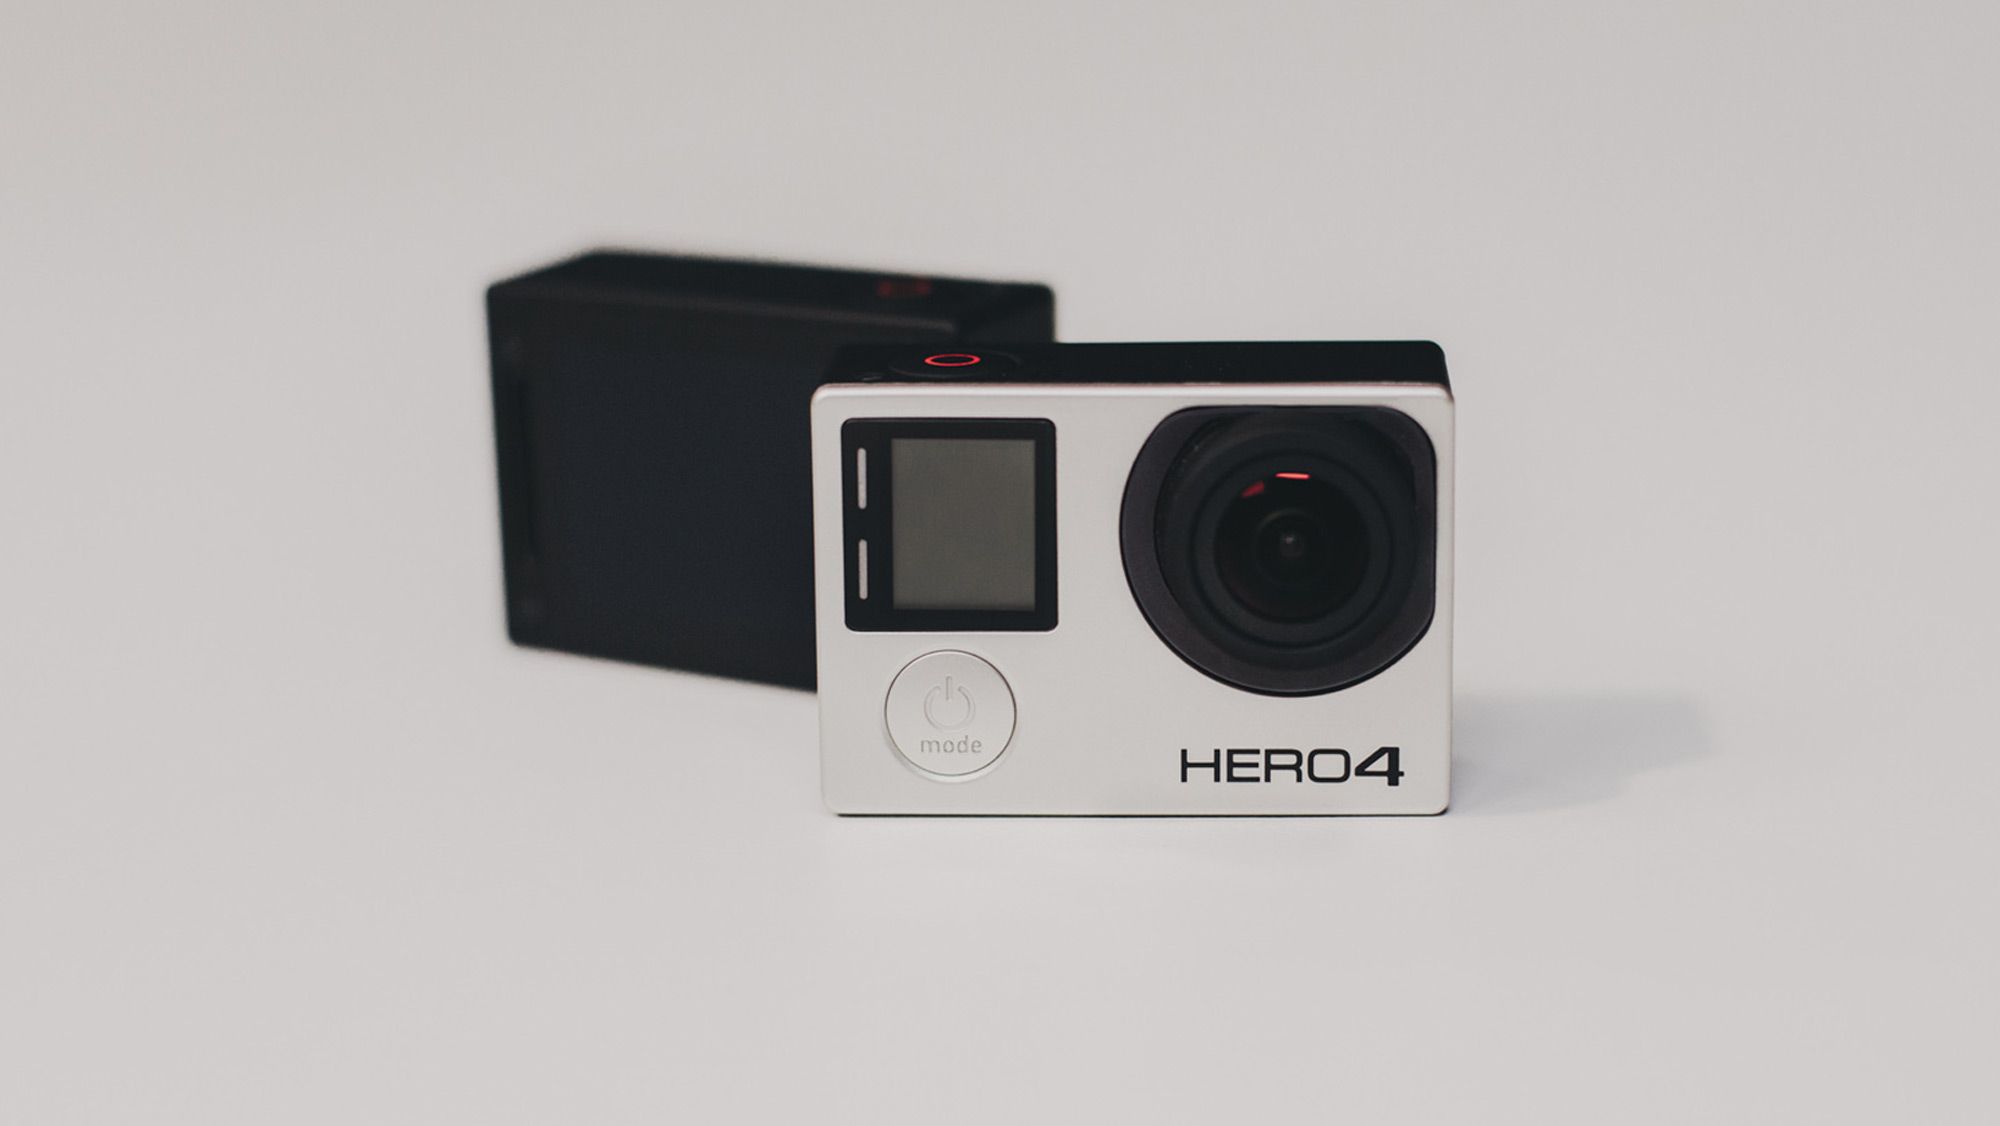
HERO4 Session is the ideal balance between performance & simplicity. It looks like the lens of a HERO4 was cut out from the camera – that’s essentially the idea behind the form factor – to create something smaller and even more versatile than the existing line of HERO4 cameras that can be either a great standalone product, or a tool for creating additional angles for any existing GoPro owners. There are some key features this thing boasts that really make it unique in terms of the versatility, size/weight, and battery.
Main Features
Fully Waterproof
The camera is fully waterproof up to 33 feet (10 meters) without a housing. This means you can toss it anywhere, get it dirty, and wash it off in the sink, all while recording. You can take it surfing, kayaking, snorkeling, or anything else short of deep sea diving.
Smaller, lighter, and square
HERO4 Session is 40% lighter and 35% smaller than a HERO4 Black in a housing. The camera is square in it’s front face design so you can fit it into the included frame housing at any orientation (right-side up, upside-down, 90 vertical, or 270 vertical).
2 Hour Battery Life
The battery life is something I can really boast about with this camera, which is good because it’s an integrated battery design (you can’t take it out). I’m always surprised at how much life you get out of a single charge – it’s rated to get up to 2 hours of recording time, but honestly I’ve charged it before I leave for a weekend in Tahoe and still have battery left at the end of the weekend!
Simplistic Control
GoPro went with a new approach with this camera and the way you interact with it. Basically it’s a one-button design. You press the power/shutter button once and it’ll turn on and start recording; press it again and it’ll stop recording and turn off. If you hold down the button it’ll turn on and start taking photos at a rate of 2 per second. If you want to change modes or access all of the different GoPro features you’re used to, you’ll need to use the GoPro App on a smart device or the GoPro remote.
WiFi, Settings & ProTune
The camera has WiFi and Bluetooth built in for easy control, viewing, and sharing. It can make use of the GoPro app as well as the GoPro Smart Remote. GoPro has a new version of the app along with the release of HERO4 Session which is more intuitive and walks you through the pairing process much more seamlessly than previous versions. Once you’re connected to either the app or the smart remote you can setup the camera with the modes you want. You can change video mode, use single photo or burst modes, dial in your video settings with ProTune, and tag moments with Highlight Tag.

Video Modes
HERO4 Session packs a powerful punch for its size and has the key video modes to get dynamic and high quality video.
-
1440 – 30
This is the 4:3 version of 1080, so it’s the same width as 1080P but taller at 1440 px vertically. This is one of my favorite modes in the camera – it looks awesome, is high resolution, and is great for POV. I tend to keep my camera in this mode about half the time. When editing I either utilize the dynamic stretch techniques or crop the vertical height to fit a 16:9 1080 timeline.
-
1080 Superview – 30/48
If you want the 16×9 version of 1440, this mode does the dynamic stretching, giving the most amount of vertical FOV in a 16×9 mode. It comes in both 30 and 48 fps. This is a great mode for awesome POV content.
-
1080 – 30/60 – Wide & Medium FOV
This is the bread and butter of GoPro and looks good for everything. I tend to use 1080-60 for any action based content. I like the wide FOV of this mode. If you aren’t sure what mode to use, 1080-60 Wide is a safe bet to leave it in.
-
960 – 30/60
I personally use 960-60 when I want to do any high action POV that I want to slow down. The 60FPS can slow down to 50% in a 29.97 FPS timeline and looks buttery smooth. It’s what a lot of the HERO4 Session launch reel was filmed with!
-
720 Superview – 30/60
This mode I tend to not use so much since I could just use 1080 Superview in either 30 or 48 FPS. If you want a little more FPS, this will go up to 60 (vs. 1080-48) but I think the resolution tradeoff isn’t worth it unless you really need 60 FPS!
-
720 – 30/60/100 – Wide & Medium FOV
This mode is great if you want to go to the super slow motion stuff. It can provide up to 100 FPS in both wide and medium FOV’s. I would use 1080 over 720 if you don’t need super slow motion.
-
WVGA – 120
This is sub-HD resolution, but you can film at 120 FPS. I would just use 720-100 if I wanted slow motion content!
Additional Video Settings: ProTune, Spot Meter, Auto Lowlight, Looping
If you connect to the GoPro App or Remote you can activate ProTune for video. Within ProTune there are two options that allow you to customize the settings of the video: ISO Limit and Sharpness. The ISO limit is 1600 by default, with the option to lower it to 400 – helping reducing grain in lowlight situations at the expense of visible detail. Sharpness is set to ON by default, you can choose to turn it off in ProTune if you’d like a more natural look. Once you setup ProTune settings, they’ll be retained the next time you use your camera. Currently ProTune is only available in the higher resolution modes: 1440-30, 1080-30/60, and 960-60.
Spot Meter is another customizable option that exposes a scene based on the center of the frame vs the scene as a whole. This mode is great for getting proper exposure outside of a car or window when shot from the inside looking out.
Auto Lowlight is a mode that will automatically reduce a high frame rate mode to 30FPS when the light gets too low. I recommend keeping this option off if you always want slow motion – otherwise it does a good job of improving your image quality when there’s a lack of light.
Lastly if you’re connected to the GoPro App or Remote you can activate Looping Video, which is basically like a DashCam setting. The video will overwrite itself after set durations – either 5 min, 20 min, 60 min, 120 min, or the max length the card can handle.
Photo Modes
HERO4 Session takes 8MP photos in a variety of modes – time-lapse, burst, and single photo.
-
Time-Lapse
While this mode is great for taking time-lapses, this is also the mode that GoPro wants you to use to take any photos – and you should! It’s great for getting action photos during any activity or just getting a bunch of photos for any situation (selfies!) letting you find the best one of the group. You can access this mode by holding down the power/shutter button for 2 seconds while the camera is off. It’ll start up and take photos at a rate of 2 per second. If you think that’s too many photos, you can adjust the rate with the GoPro App. Once you set your rate in the app the camera will retain those settings for the next time you use it. Settings included are photos every 0.5 sec, 1 sec, 2 sec, 5 sec, 10 sec, 20 sec, 30 sec, and 60 sec.
-
Burst
Burst can be accessed by using the GoPro App or the GoPro Remote. It can fire off photos at a rate of 10 in 1 or 2 seconds, or if you desire less, 5/1 or 3/1.
-
Single Photo
Like burst, single photo can be accessed with the GoPro App or the Remote. I recommend using the time-lapse mode anytime you want to take photos.
Additional Photo Settings
Photo settings have two more global settings that can be changed. First the FOV/Resolution can be switched to 5MP Medium FOV. This is simply a 5MP crop of the standard 8MP Wide FOV photo. Also you can turn on spot meter if you want the camera to expose to the center of the frame vs the whole scene. Spot meter is great for getting proper exposure outside of a car or window when shot from the inside looking out.

Additional Features
-
OLED Display
The camera sports an OLED lit display on the top giving you all the essential information for use. It makes it easy to see what mode you’re in, battery life, duration of your video and more. It’s a bright white text on black and will glow brightly for any situation.
-
Status/WiFi Button on the Back
When the camera is off and you want to see battery life/film modes/or setup your WiFi, there’s a small button on the back that’ll get you dialed. If you press it once it will display all of the essential information about the setup of the camera. If you press it twice it’ll go into the WiFi setup menu – either simply turning the WiFi on or walking you through pairing a new device.
-
Accelerometer for Auto Orientation
The camera can sense whether it’s right side up or upside-down automatically. It’ll orient the photos or videos correctly based on the position of the camera when you first start filming.
-
LED Status Indicators
You’ll always know if the camera is recording or when WiFi is turned on – it’s got a bright set of red and blue LEDs on the front and back of the camera.
-
Dual Waterproof Mics
You’ll hear a lot more than you’re used to when this camera is in the water thanks to the waterproof mics. It intelligently switches between the two mics to makes sure it optimizes for noise & wind.
Using It
Tips & Tricks
Here’s a few tips and tricks I’ve come across to help in your daily use.
1. Be mindful of the camera orientation! Since the camera is a cube it’s pretty easy to forget what’s up, down, left and right. If you’re shooting video always make sure the power/shutter button is either on the top or the bottom – you don’t want vertical video! If you’re shooting photos it doesn’t really matter, but it’s a good thing to keep an eye on where the top of the camera is. Also the record light on the front is on the top right of the camera, so that’s a good reference for orientation.
2. Traveling? Store the camera in the frame the wrong way! If you rotate the camera 180 degrees in the frame you won’t be able to access the shutter button since it’ll be hidden by the mounting fingers – this is bad for daily use but great for traveling so it doesn’t accidentally turn on in your bag!
3. Protect the lens with the back finger frame! If you’re traveling and want extra protection for the lens you can turn the camera around in the back finger frame. Slide it in so the lens is facing the back plastic.
First Impressions
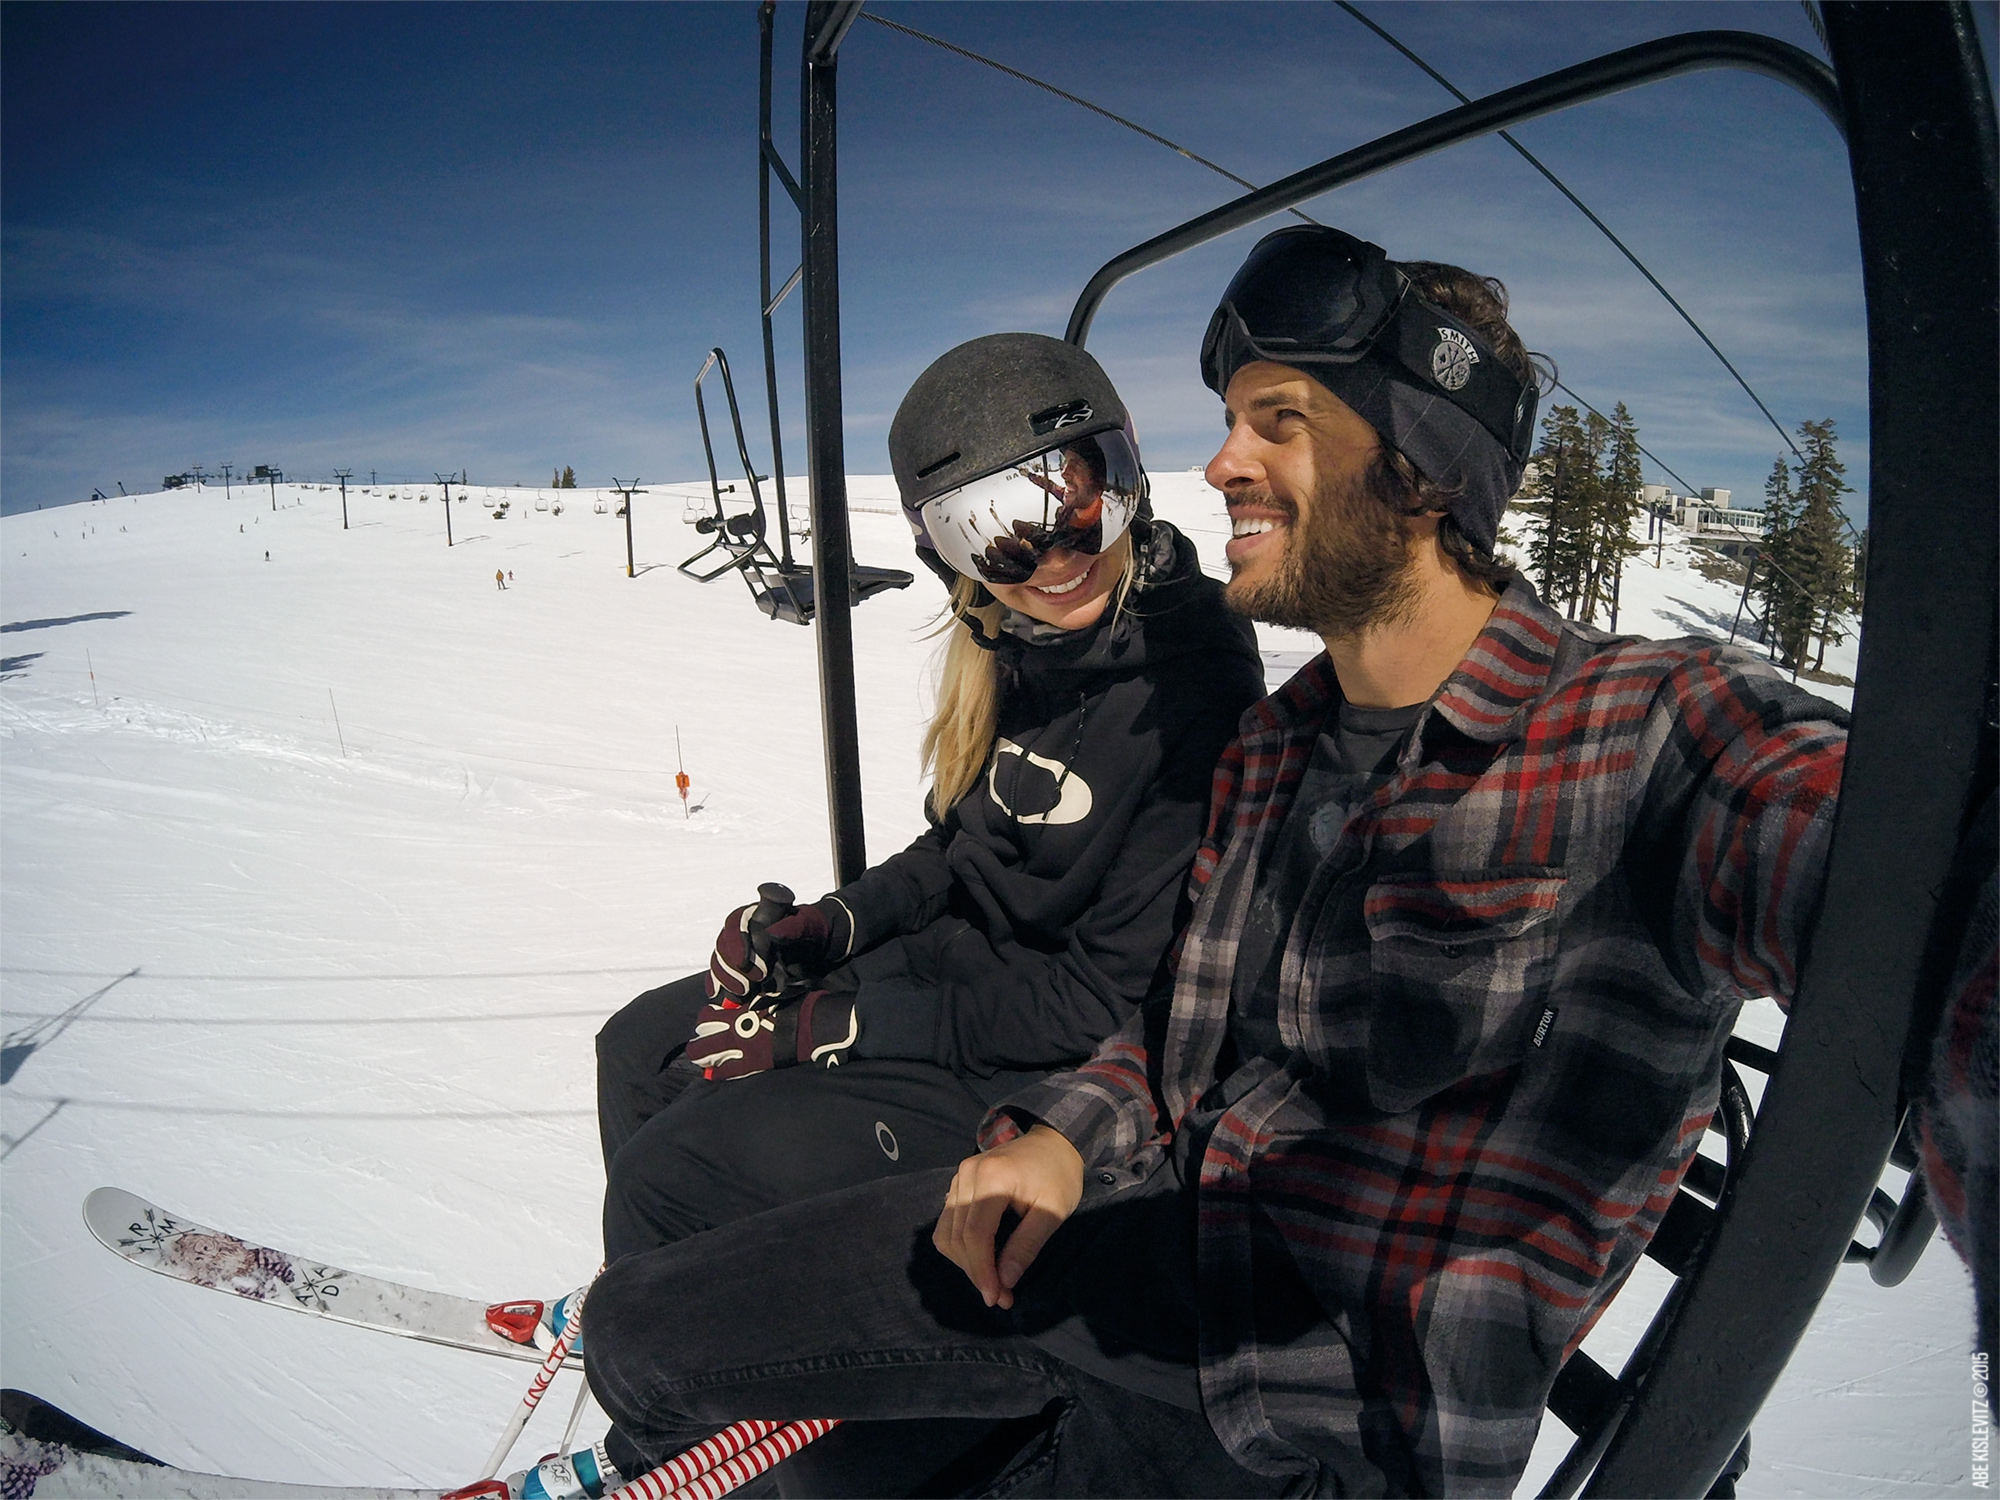
Coming from the perspective of a heavy HERO4 user, there were a few things I wasn’t totally sold on at first – namely the integrated battery and only having the single button on and off. That all changed after I started using it – I began to love the simplicity and to my surprise the battery lasts incredibly long; way longer than I’ve ever needed. I’ve realized for most users once you set the camera in the mode you like, you don’t need to change it. Having a single button gives you a sense of “I might as well just turn it on and see what I get”. It feels a little more like it did back when I first started using a GoPro. The HERO4 Black Edition has so many bells and whistles that I can think about setting up a shot like I would with a traditional camera – “should I do 4K? or 2.7K medium? or super slow motion narrow?” The Session camera at its core is about getting out and capturing a rad moment.
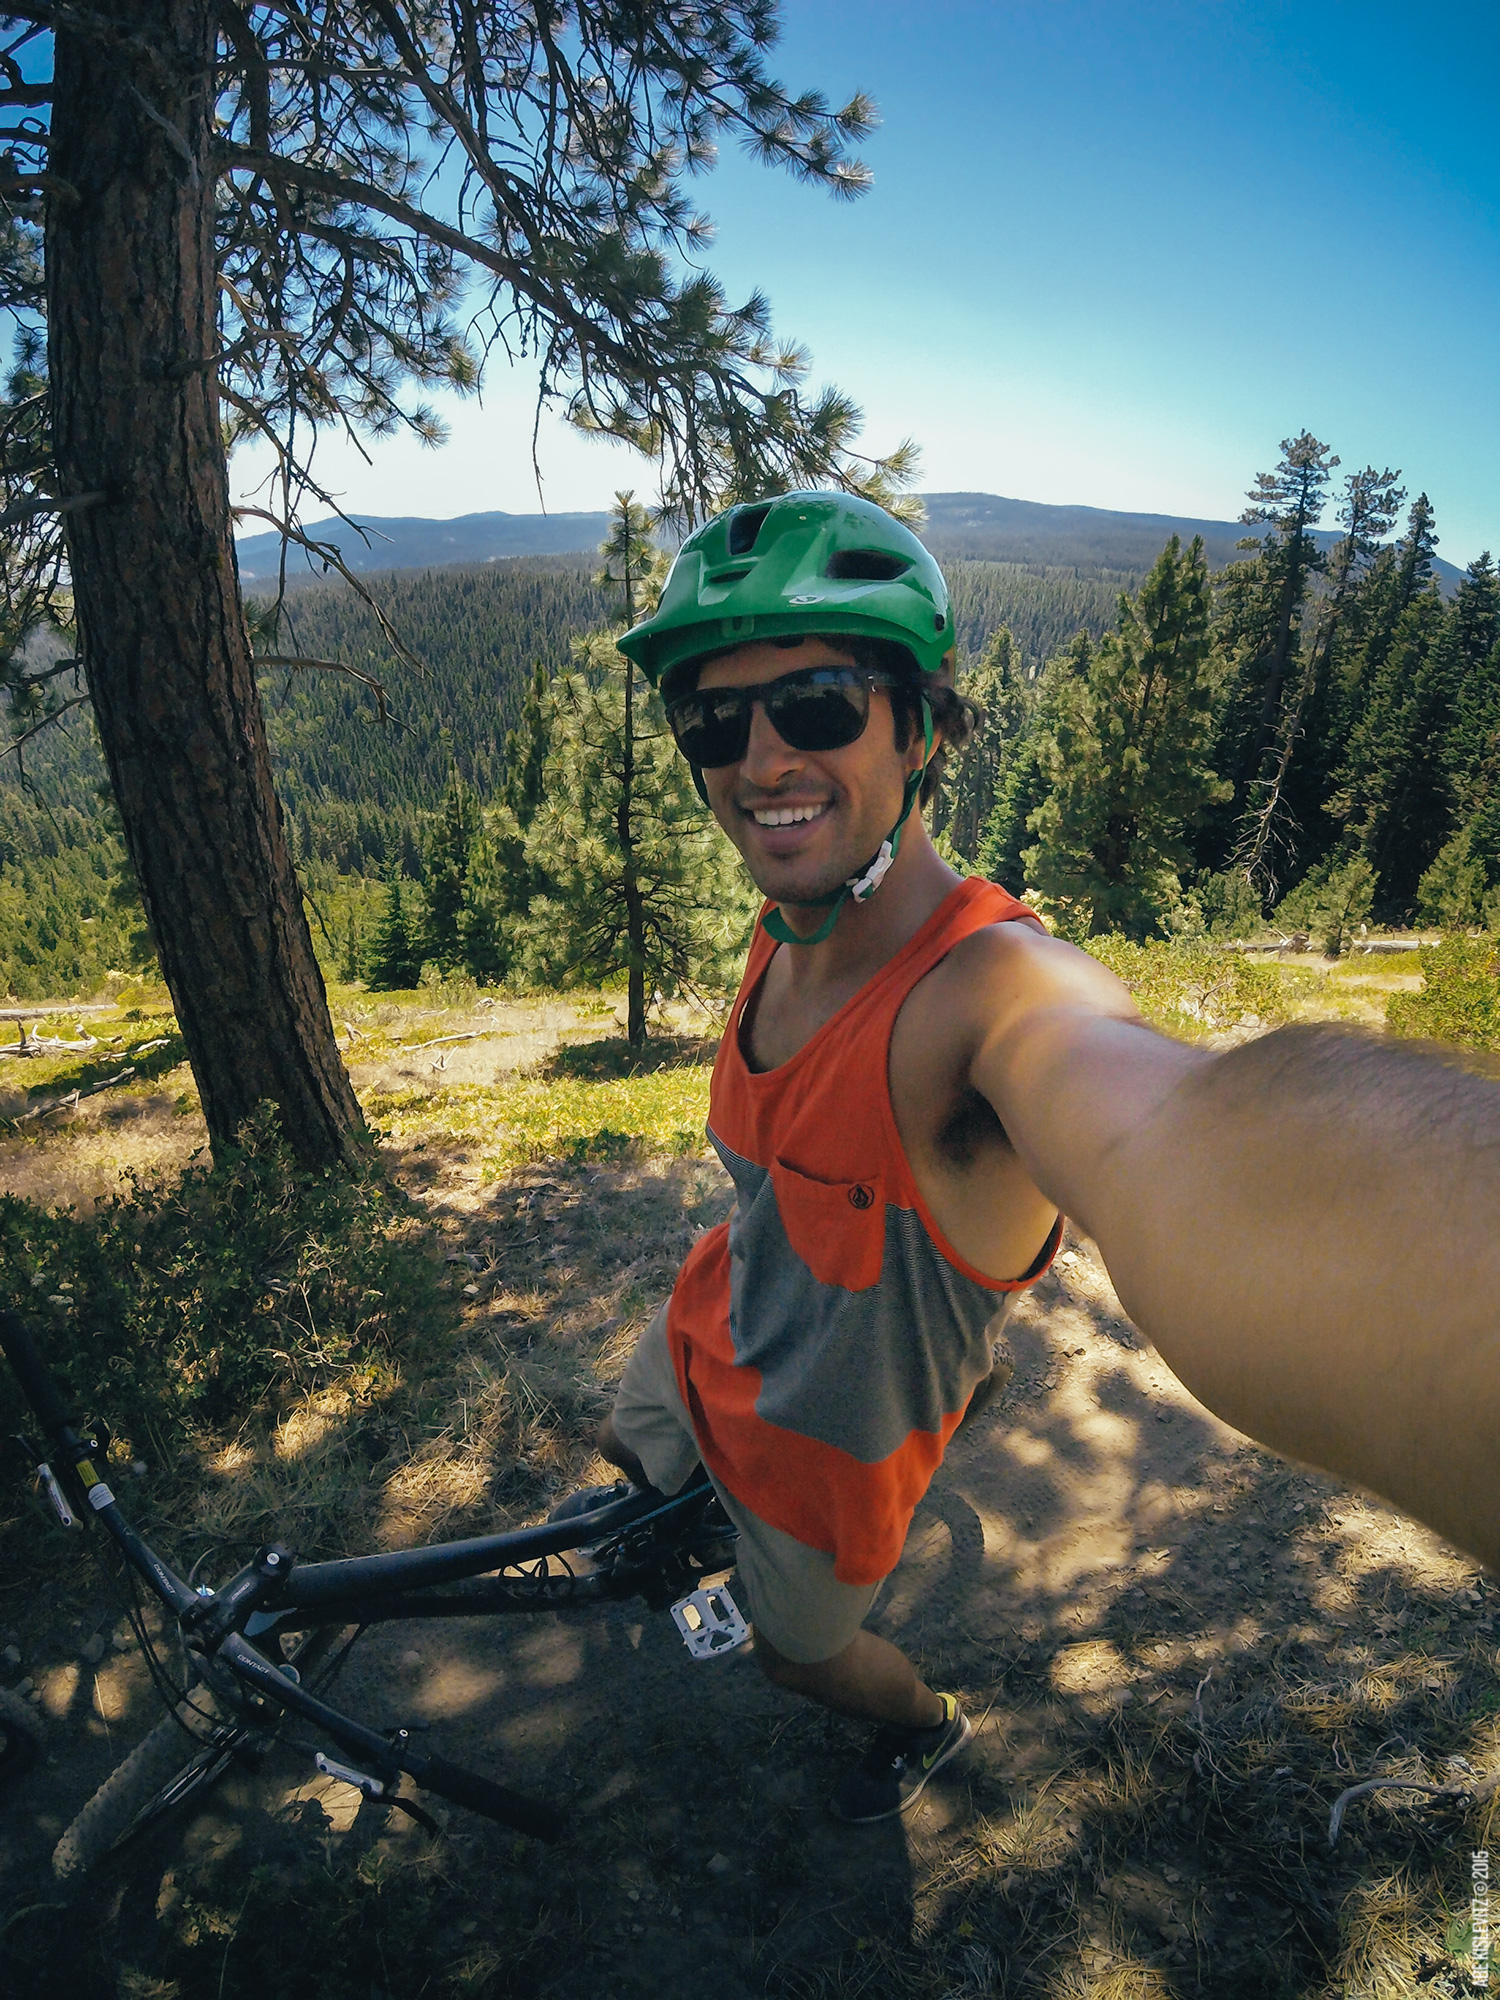
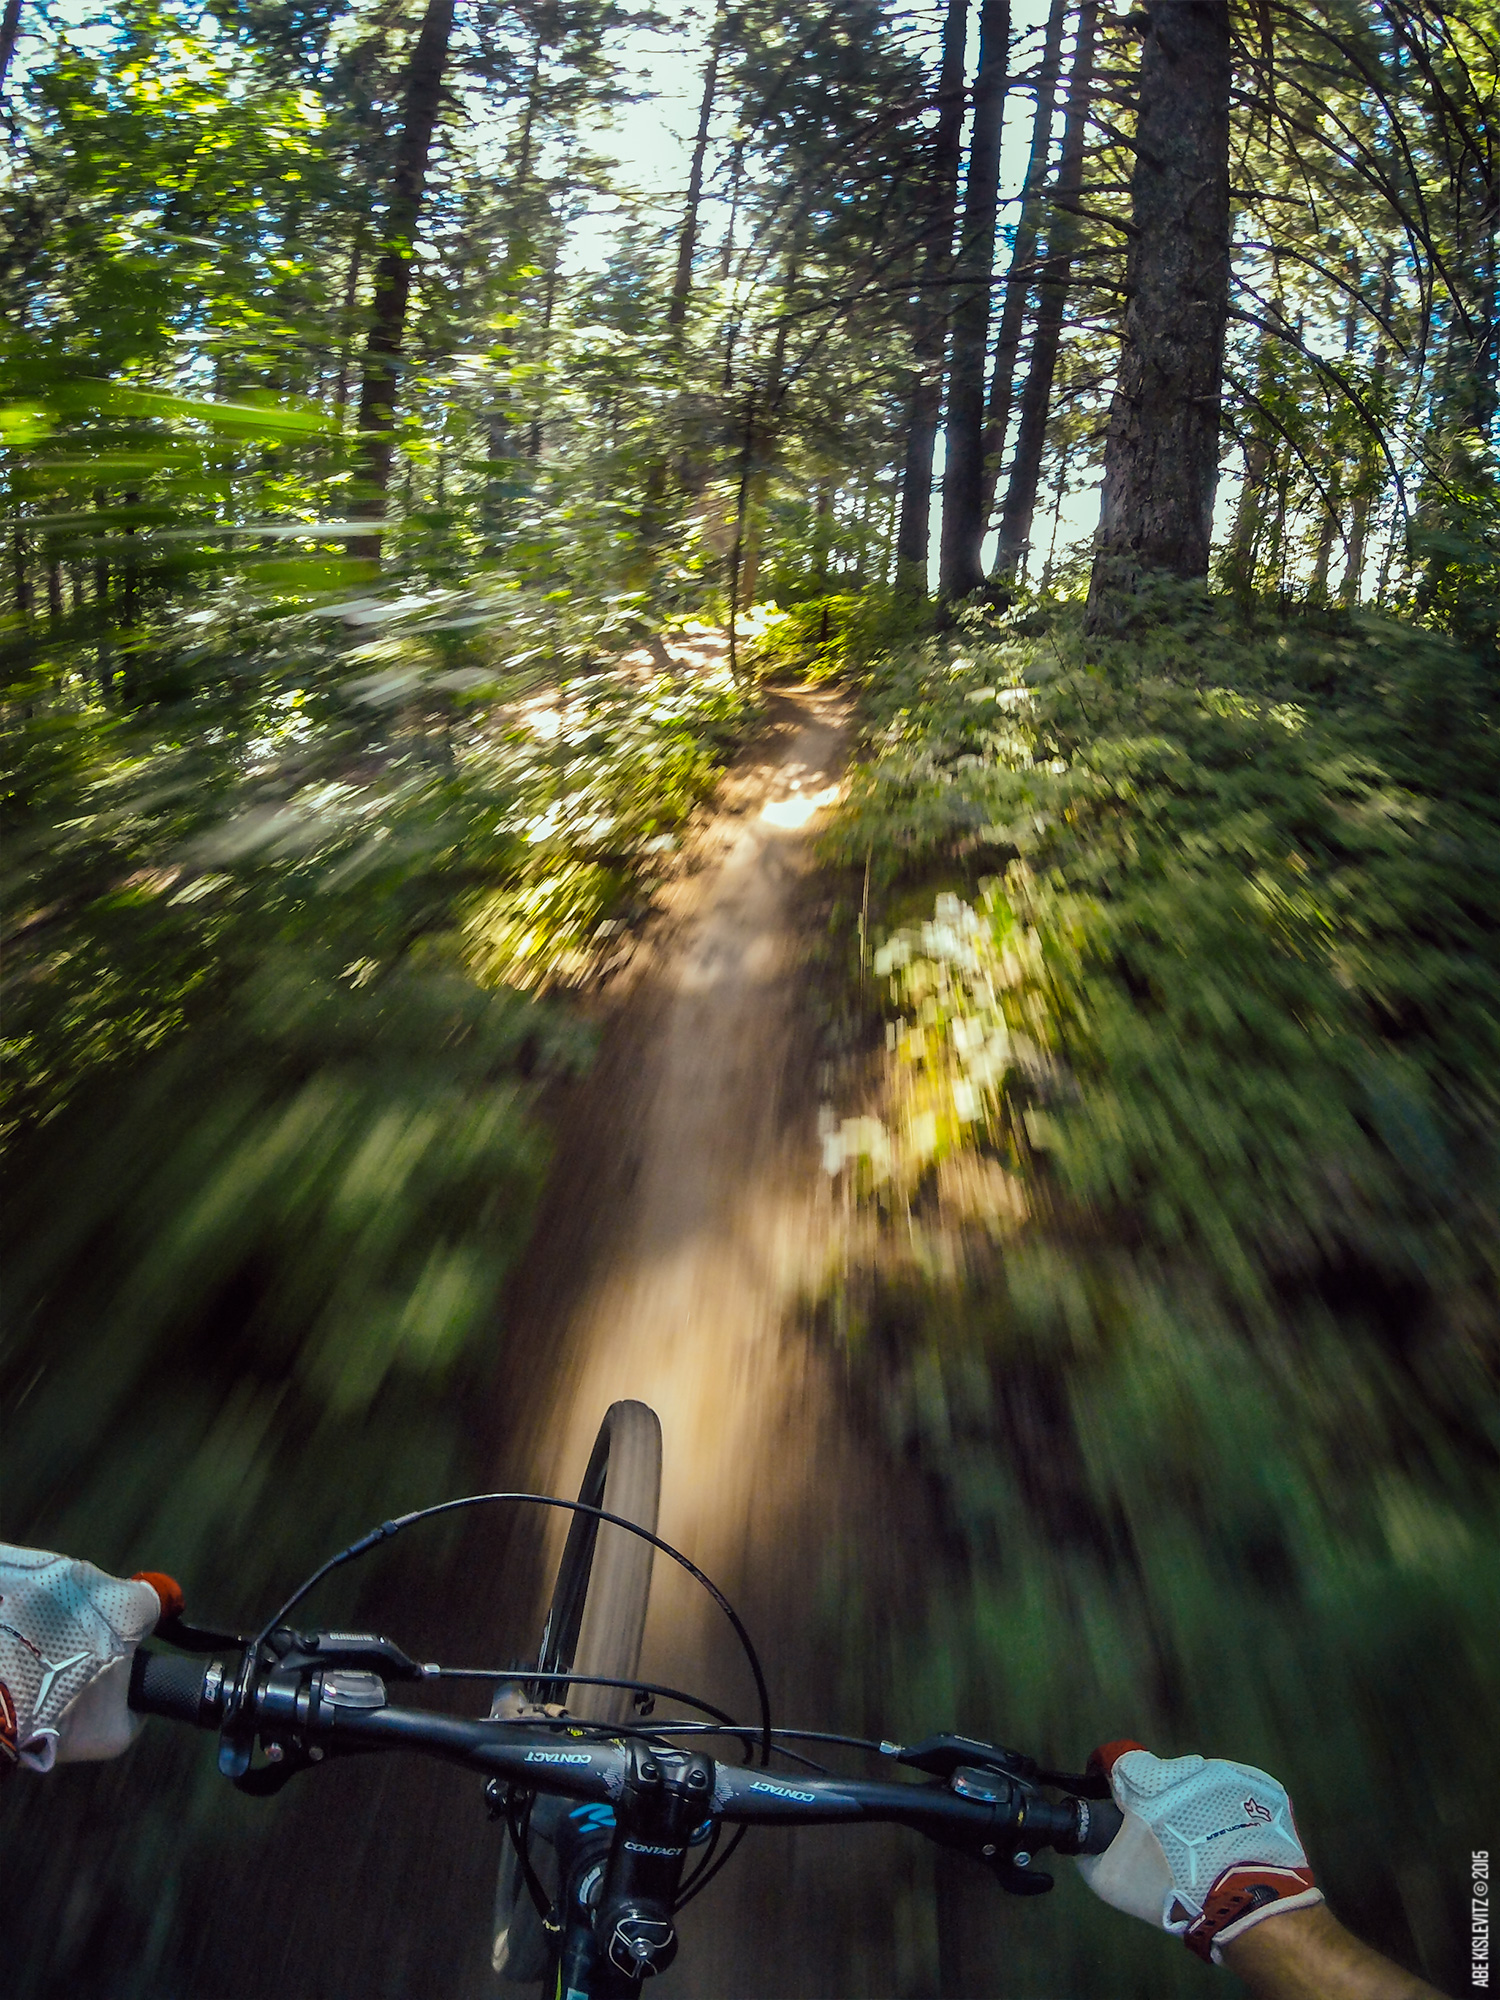
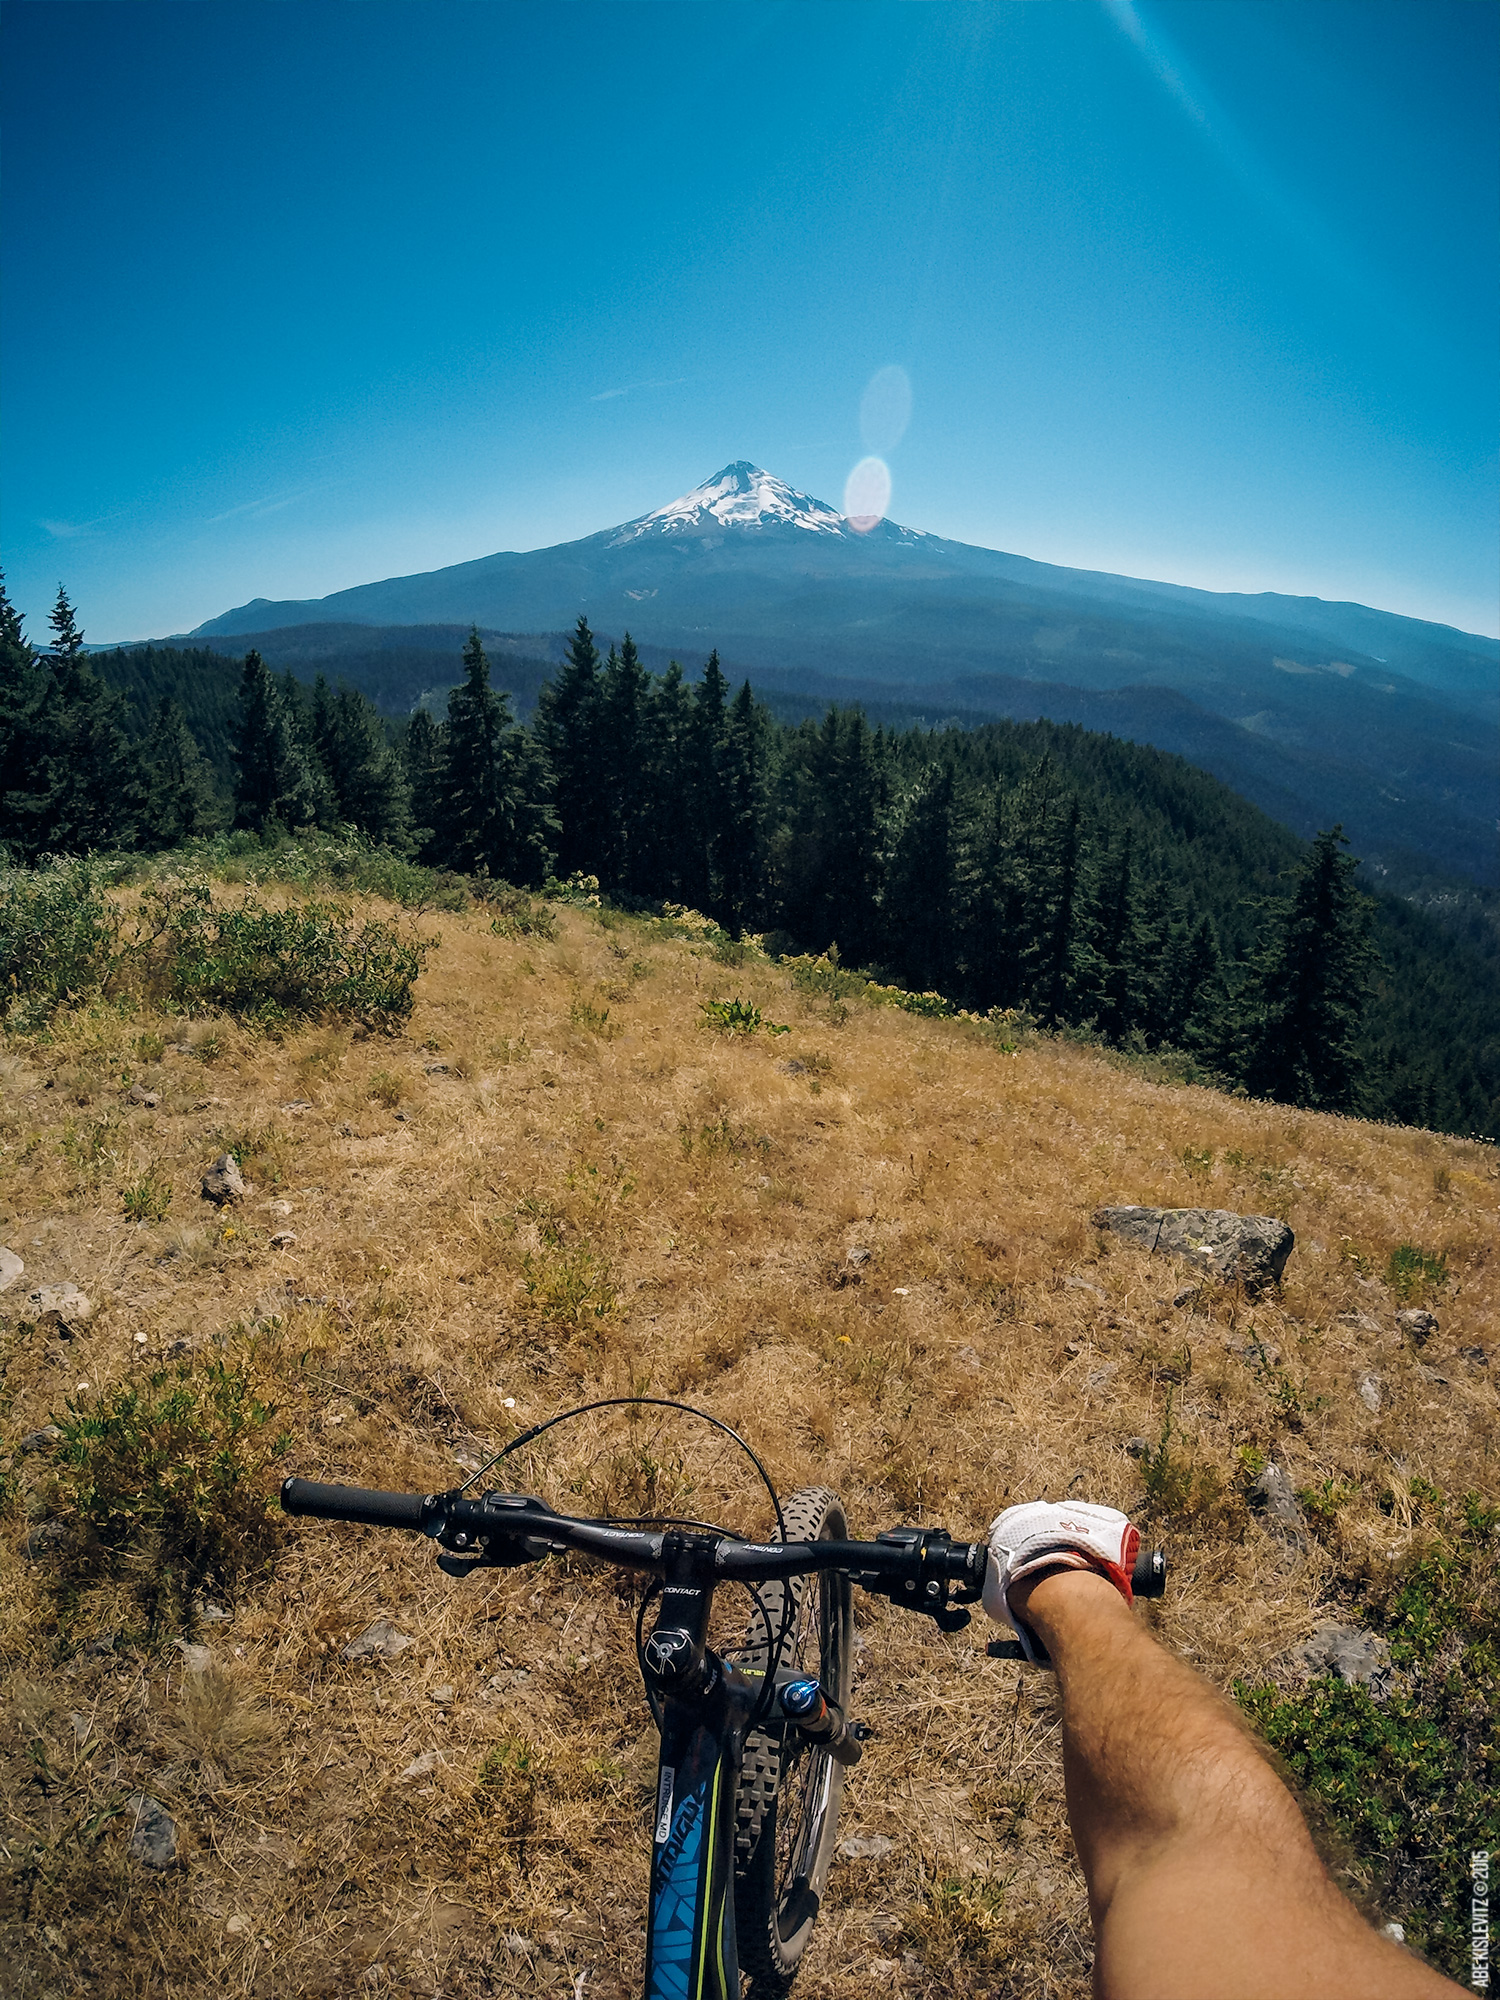
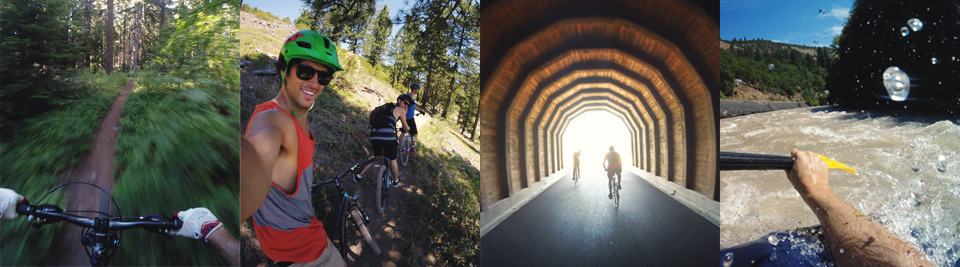
This past weekend I’ve pretty much had it in my back pocket for everything I’ve done – no frame, no mounts. It came along in my board shorts for a 4 hour float down a rapid laden river, in my biking shorts for a 25 mile cross country mountain bike ride, a 15 mile casual road bike, a morning of down-hill riding, and everything in between. One of my favorite mounting solutions, oddly enough, is putting the camera in my mouth! It’s the perfect POV and it doesn’t require me to carry anything extra. You’ll obviously want to make sure you’re not going to fall and hit your face, but that’s how I use the camera 50% of the time. Having this camera on me at all times made it really easy to capture every moment I wanted to capture! I could pull it out and start taking photos while going down-hill on a bike or battling rapids. Each day I would only charge it while it was plugged in to my computer and downloading the photos and videos from the day. I never had the battery die on me, not even during my 8 hour cross country excursion! Overall I’ve been extremely impressed with the experience of using it, and what I’ve been able to capture.