Subject: How to get the Perfect GoPro Photo
Filmers: Abe Kislevitz
Location: Mammoth, CA
Getting a good action photo has never been easier. You’re guaranteed to capture any moment with an epic photo if you’ve got the right tools and remember a few key points.
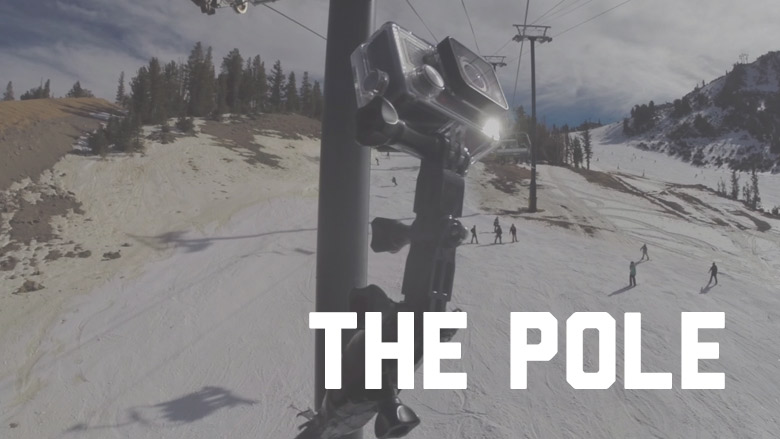
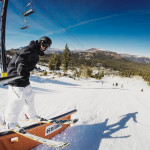
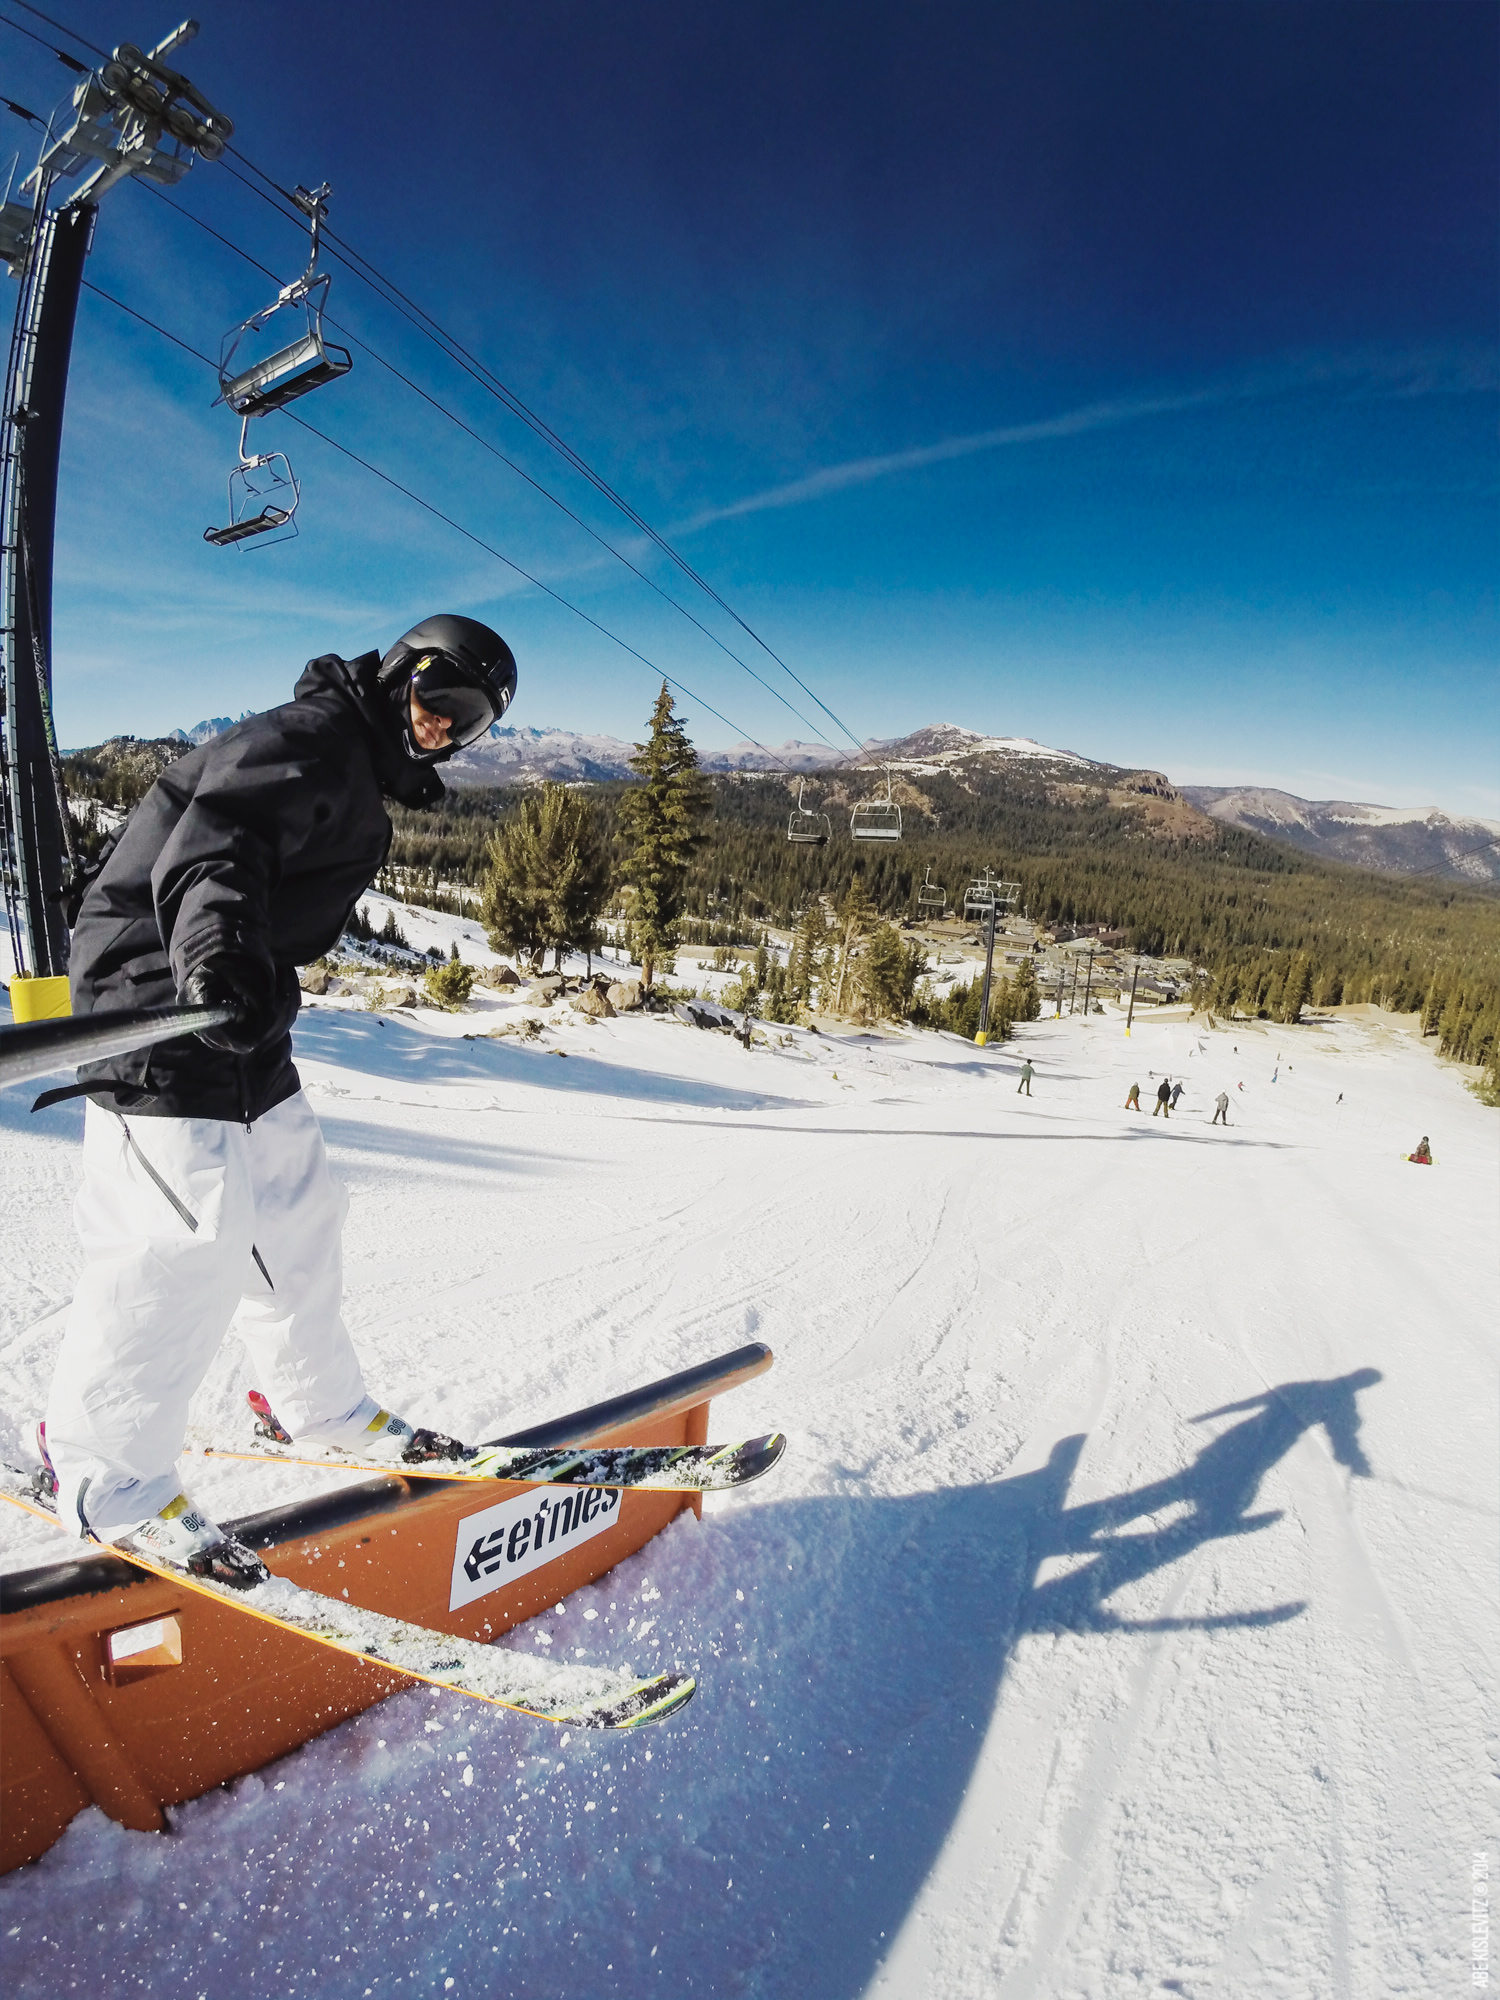
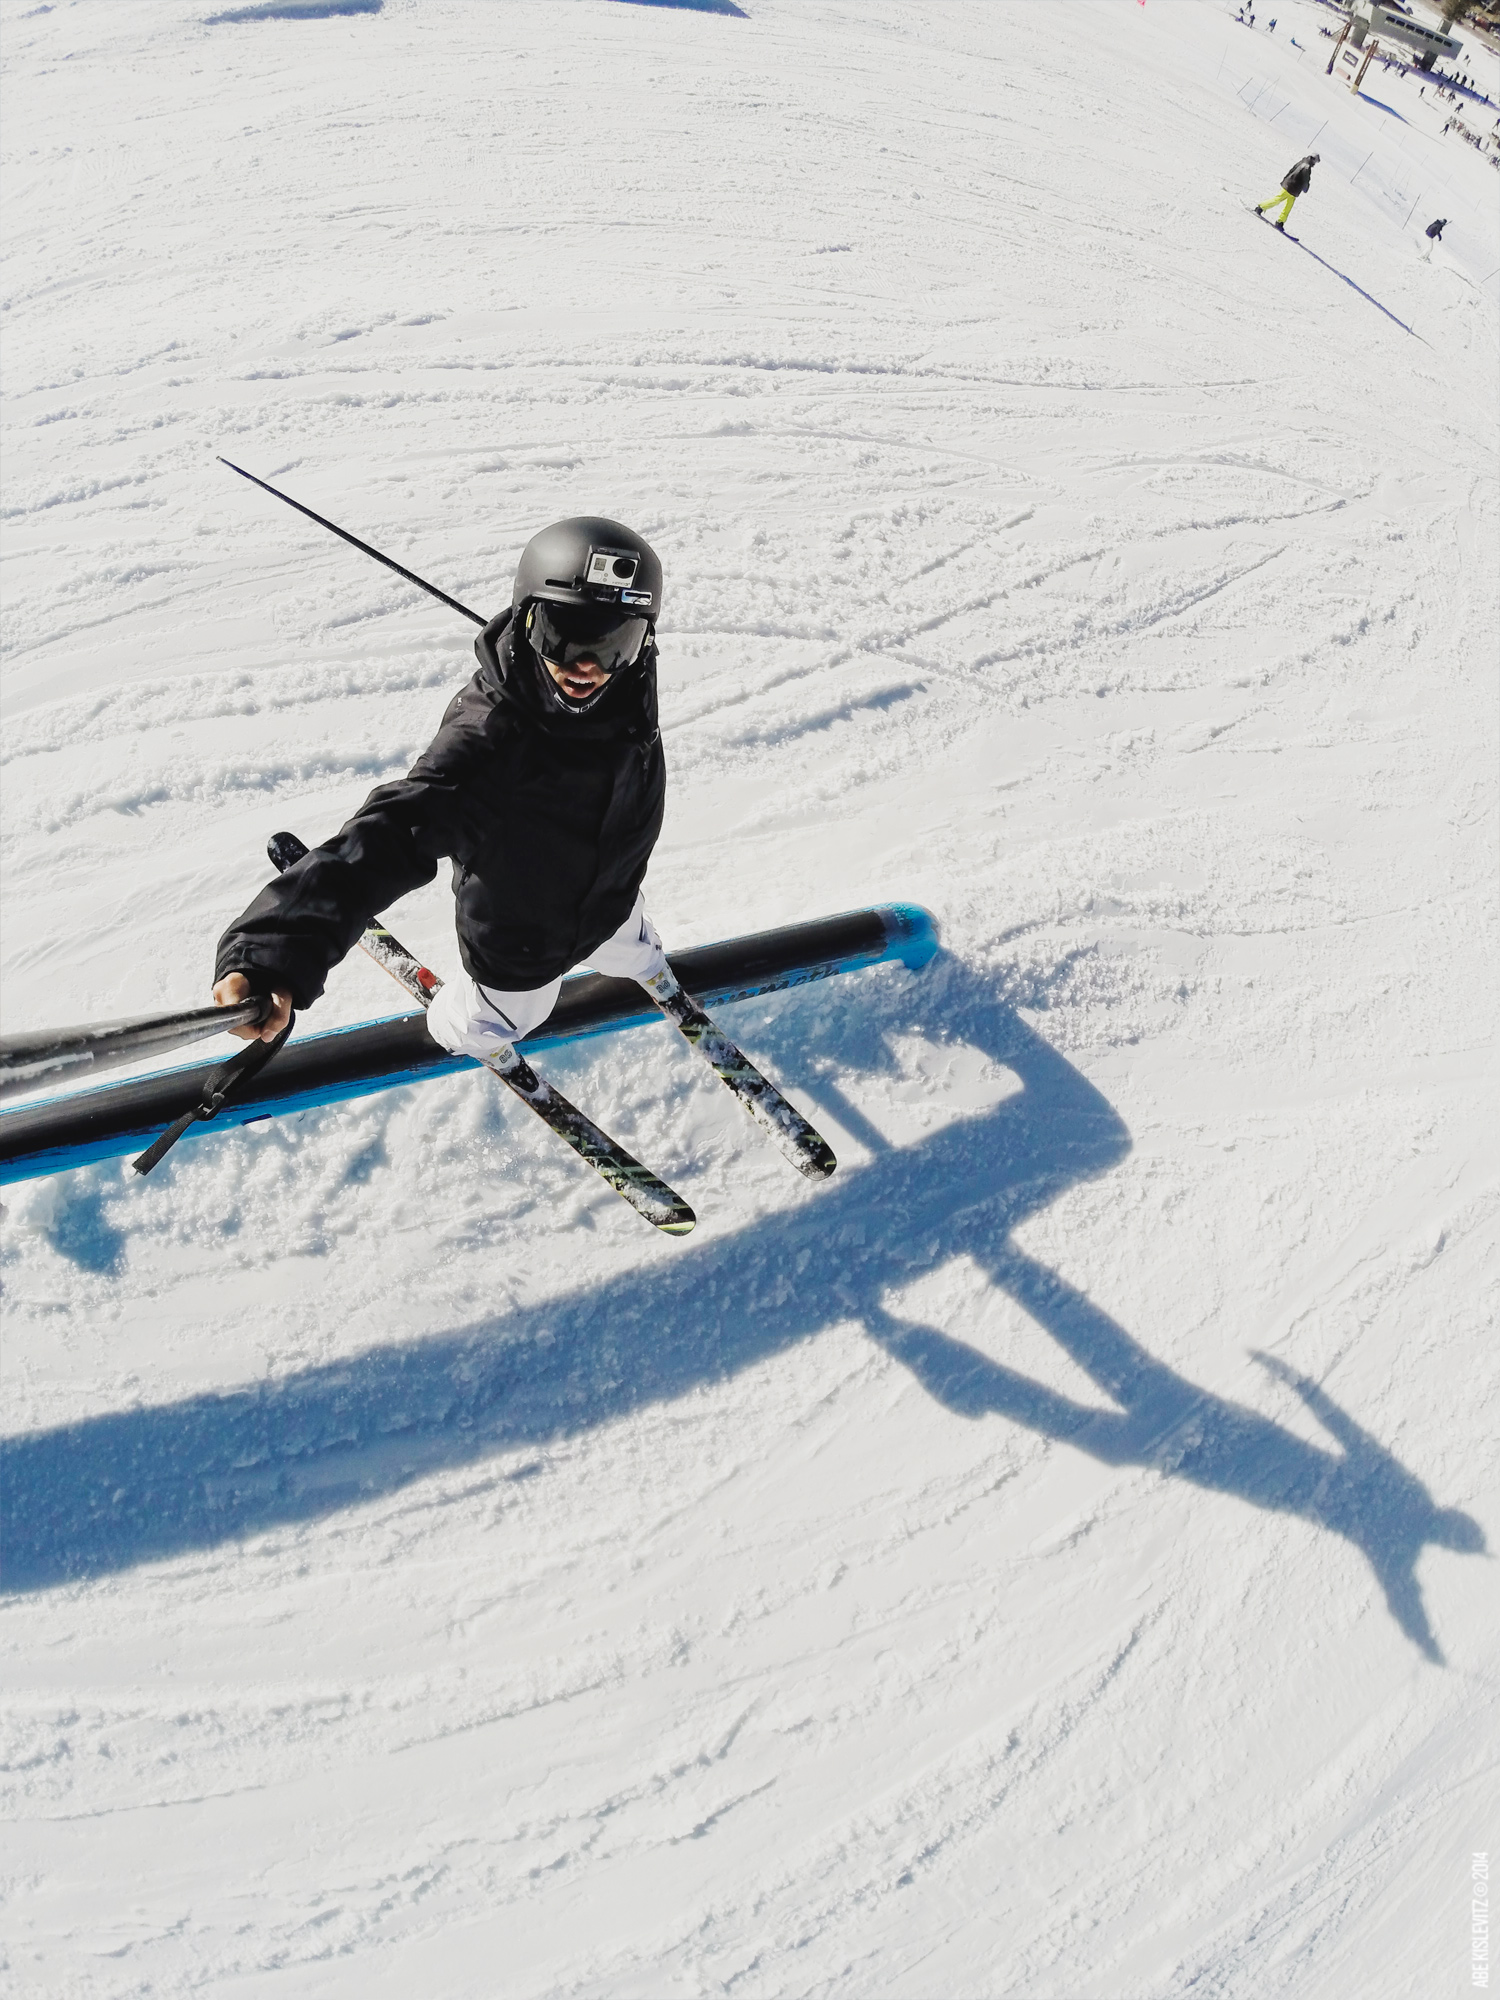
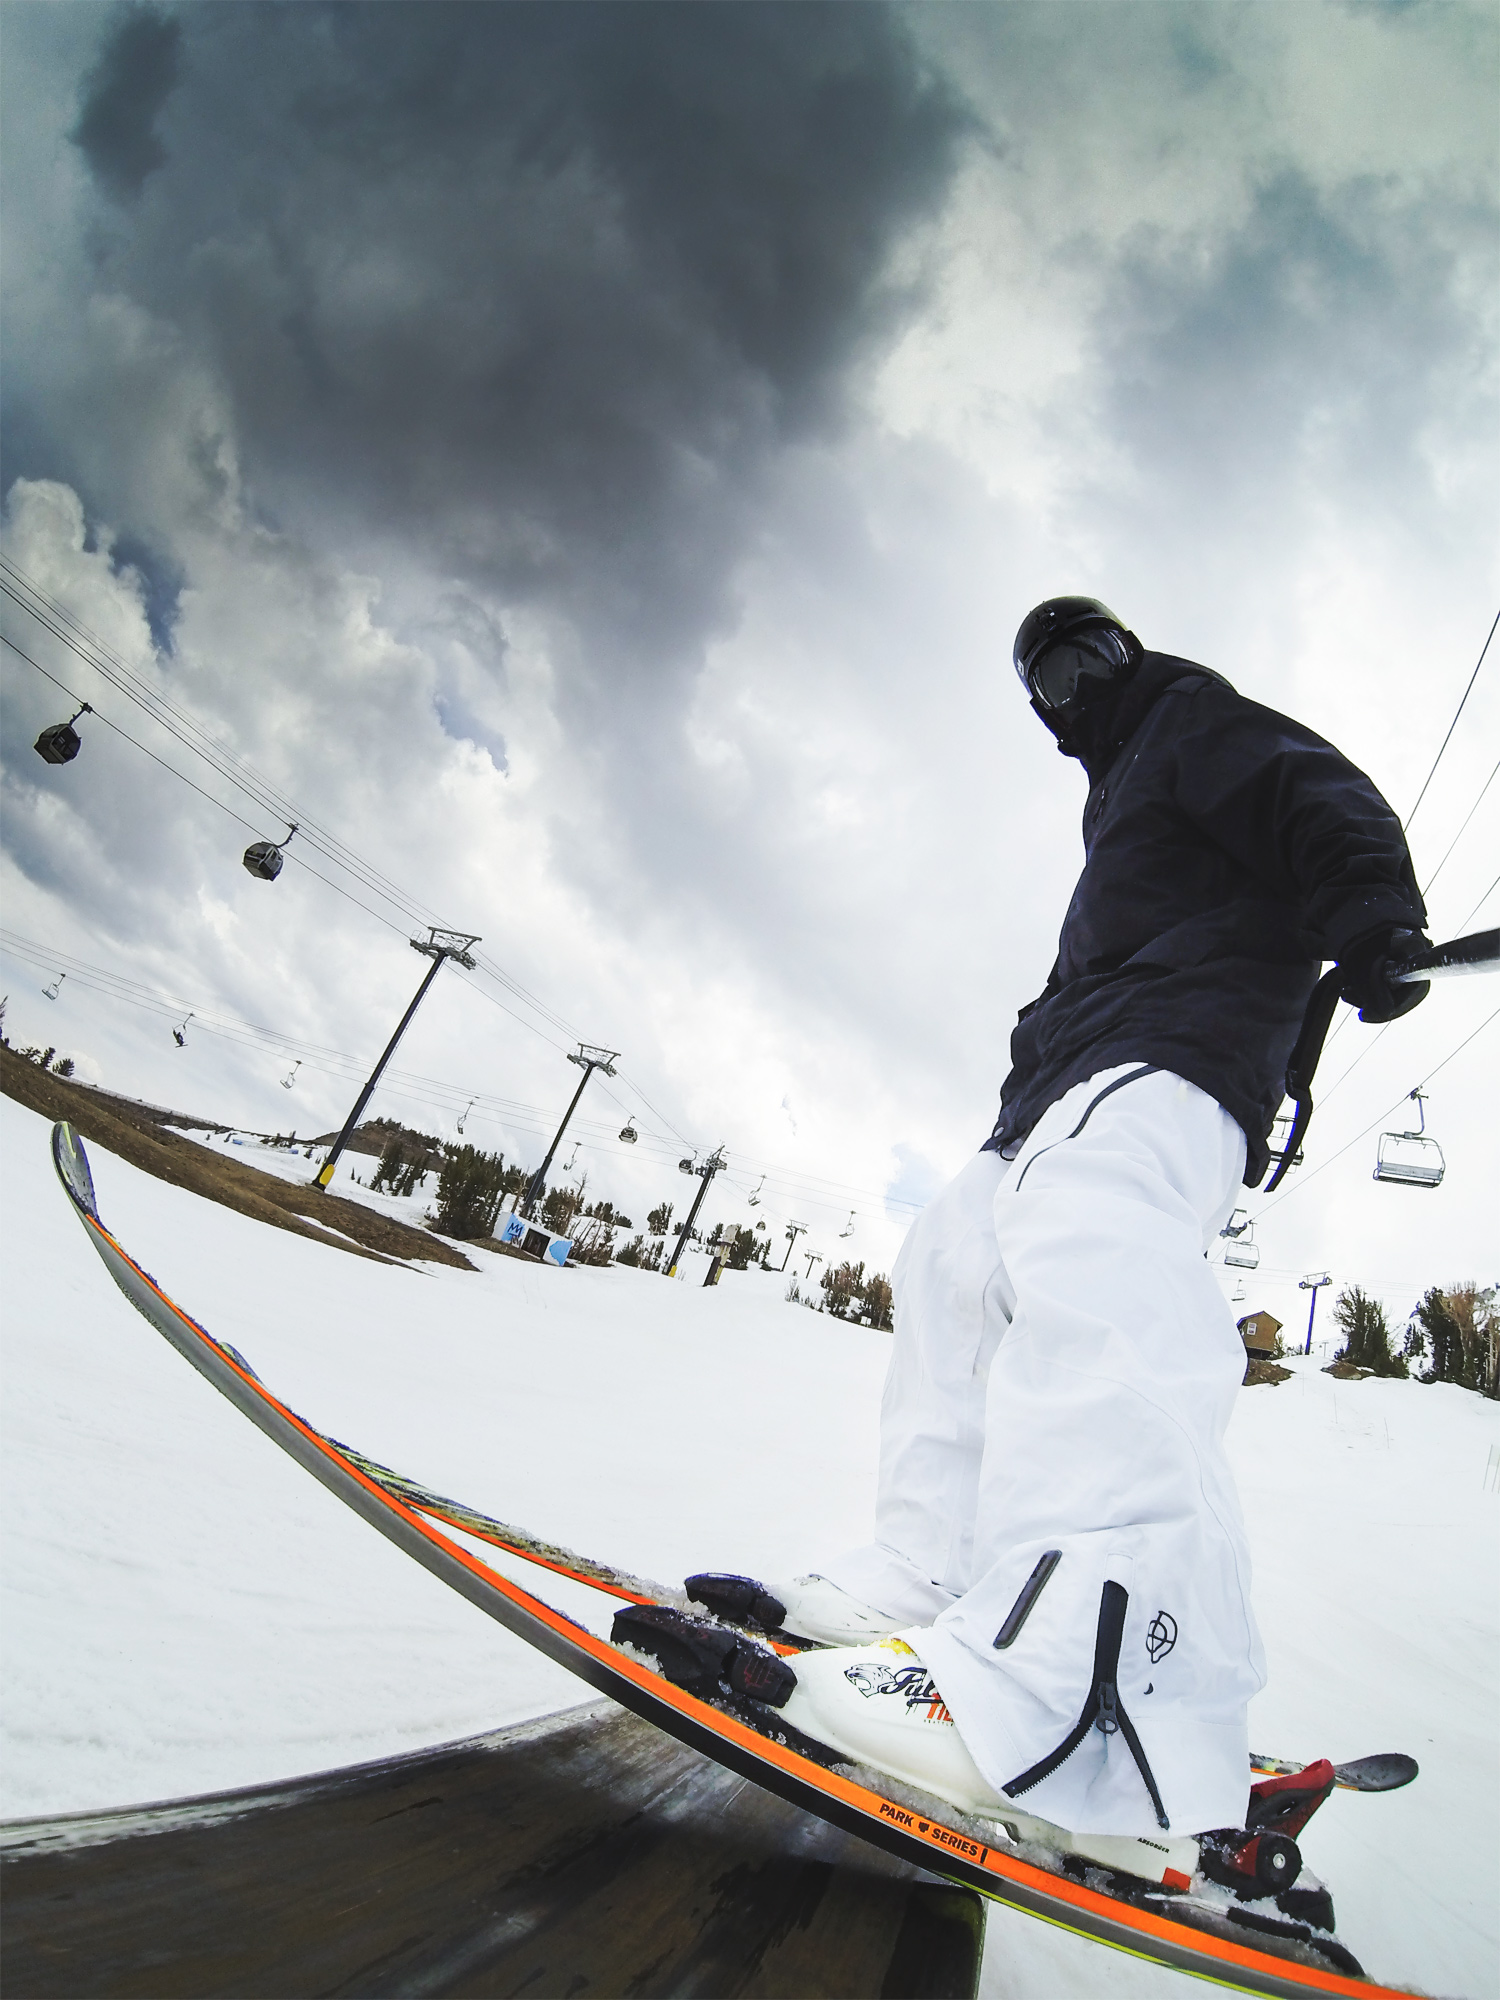
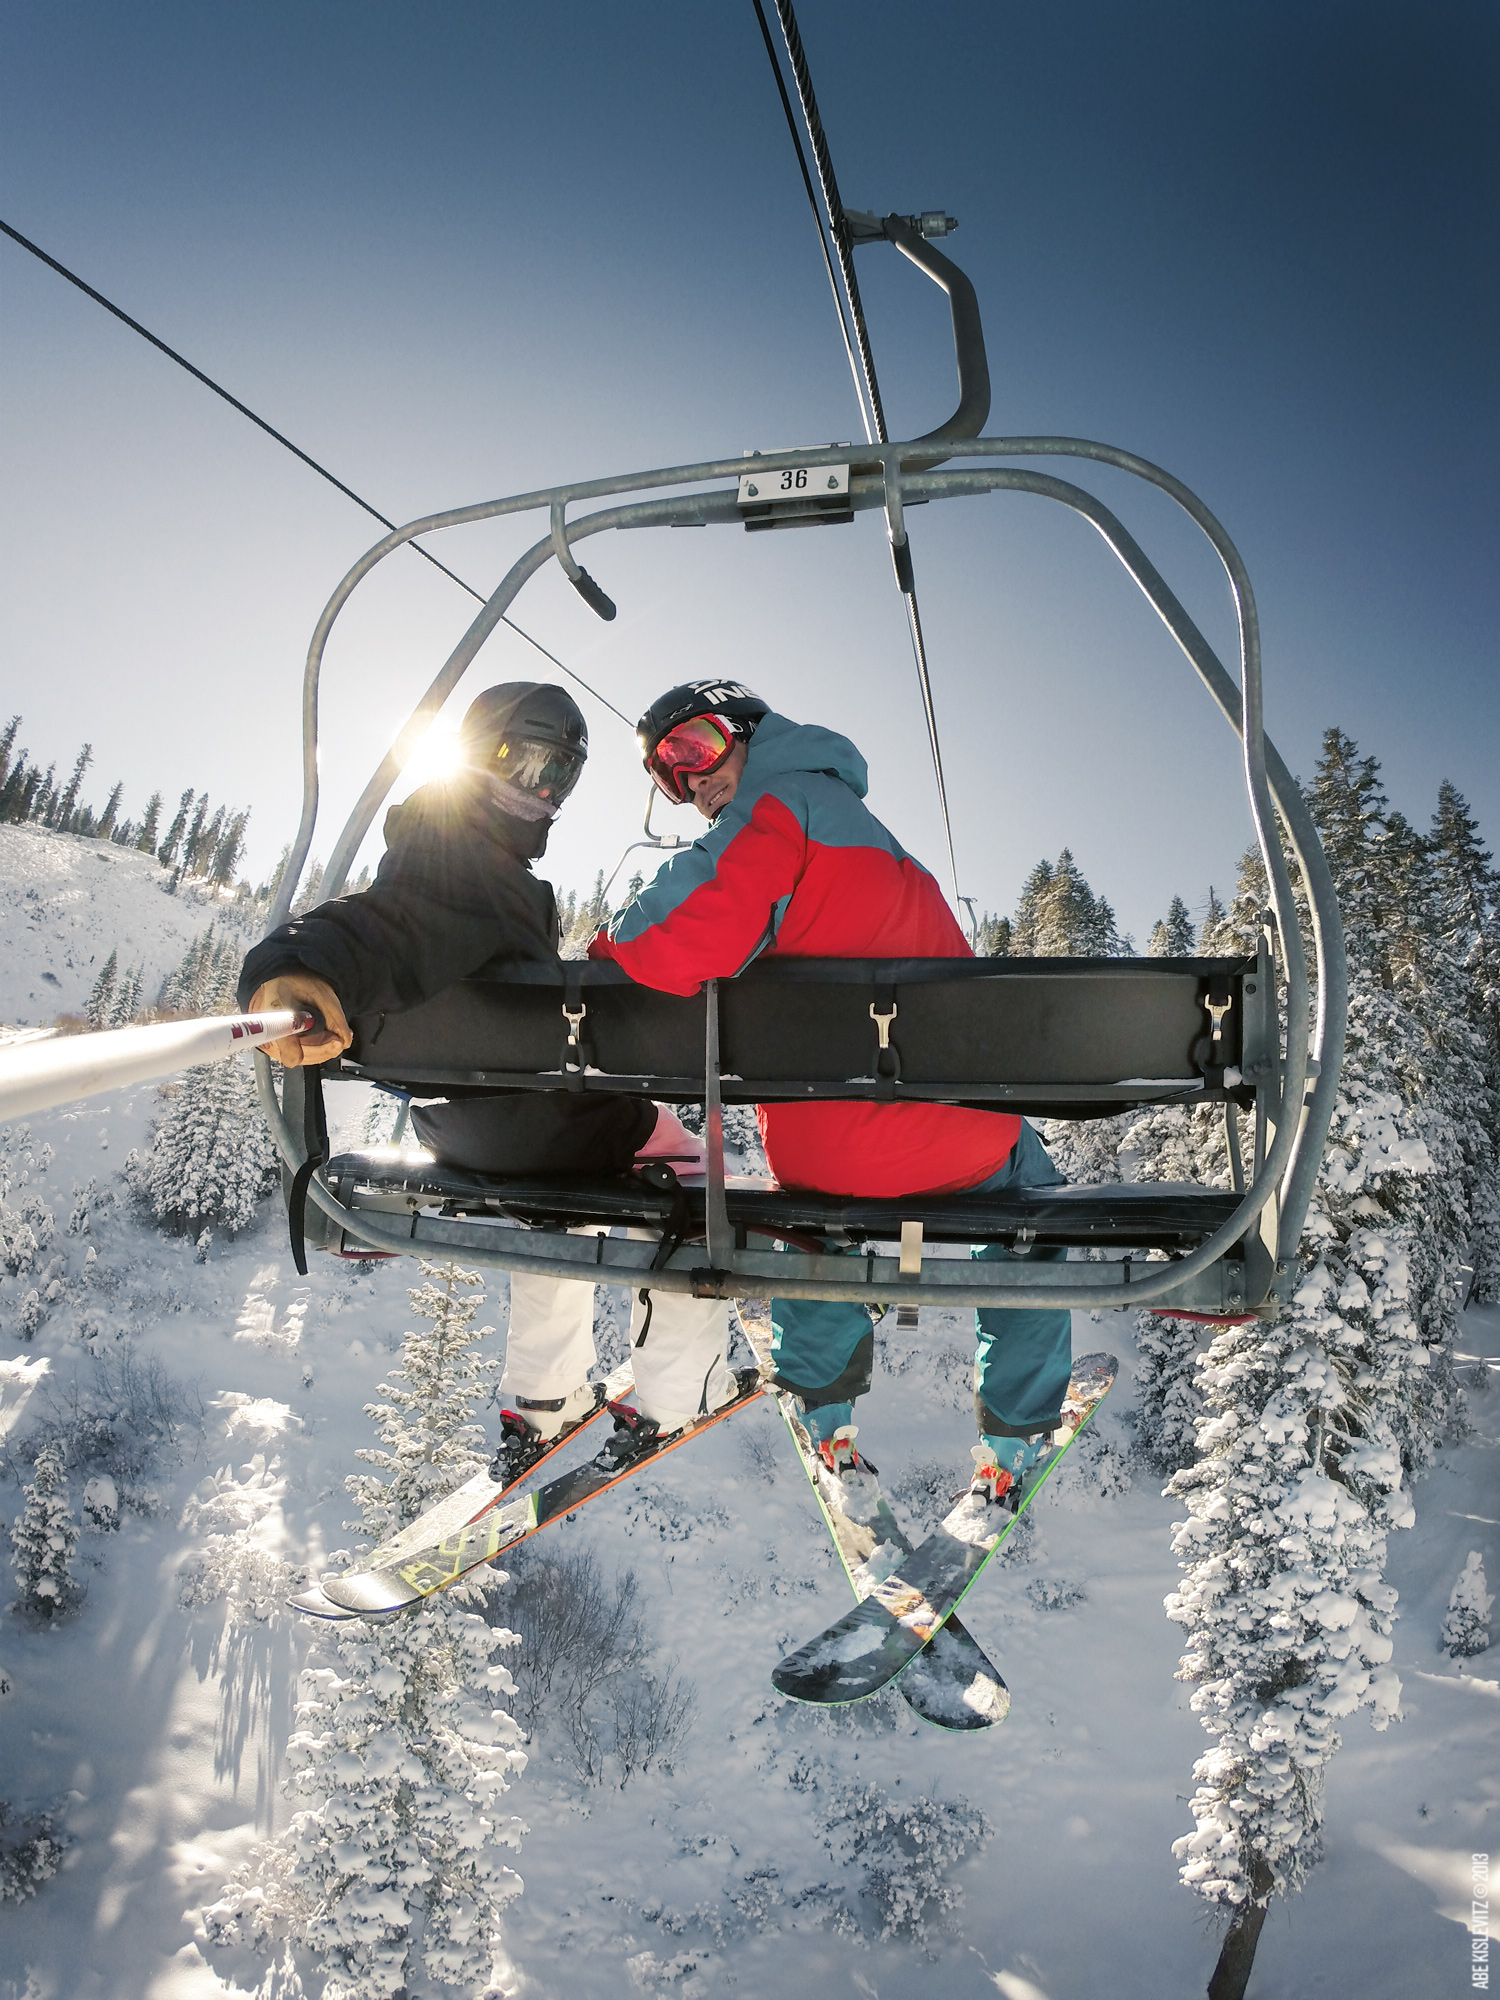
When I’m taking ski photos I like to use the HSP Mount (Handlebar Seatpost Pole Mount) from GoPro (formerly known as “Ride HERO”). It now comes with a rubber gasket that pops into the mount so it can be used on small diameter poles such as the end of a ski pole. It’s the perfect mount to keep on my GoPro in my pocket while skiing. If I want to take photos of myself I can twist it onto the end of my pole facing me, and if I need a quick follow-cam I can pop it on the end of the pole away from me. When I’m done I just toss it back into my jacket pocket.
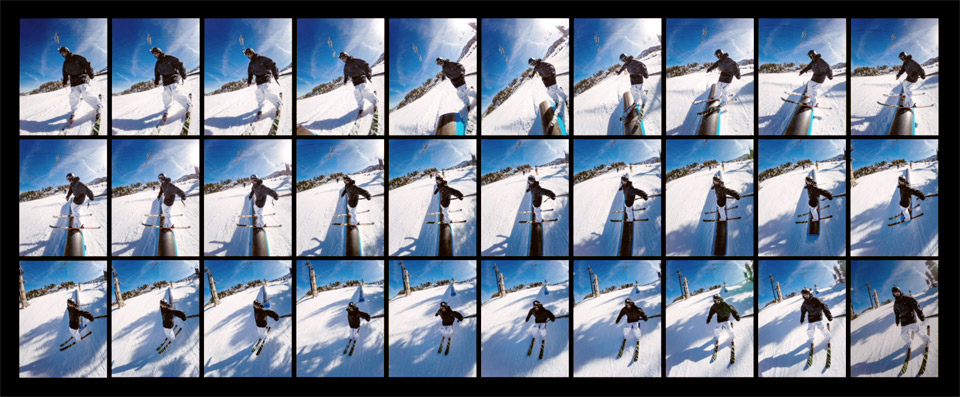
In this video I demonstrate using the GoPro remote to capture a 30 photo burst. If you don’t have a remote on-hand I usually just use time-lapse mode on every .5 seconds – that’ll usually get you a couple good action shots per rail/jump if you nail it, whereas the 30 photo burst will get the perfect frame every time. I had mine set on 30 photos in 3 seconds (vs 30 in 1 or 2 secs). A full rail or jump is usually around 1-2 seconds but the extra second helps for padding incase you fire it too early. It’s still plenty of photos to get the perfect shot. Also be sure to test out the lag of burst mode – it’s usually about 1 second from shutter press to when the burst starts firing. On the tech side of things I always keep my photos in 12MP Wide – there aren’t any other photo settings beyond this! Easy!
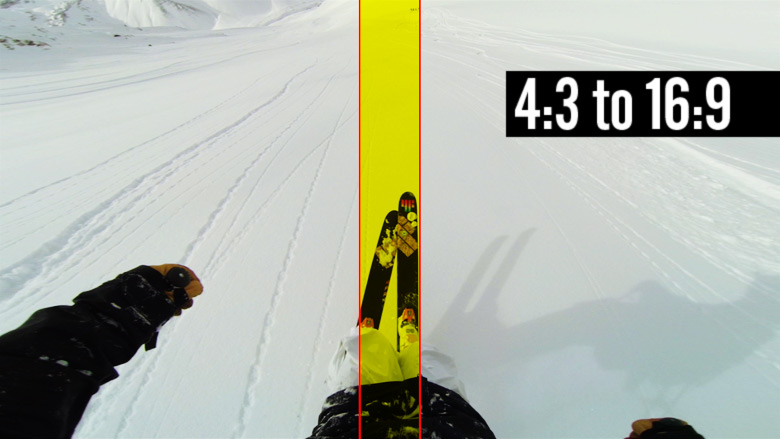
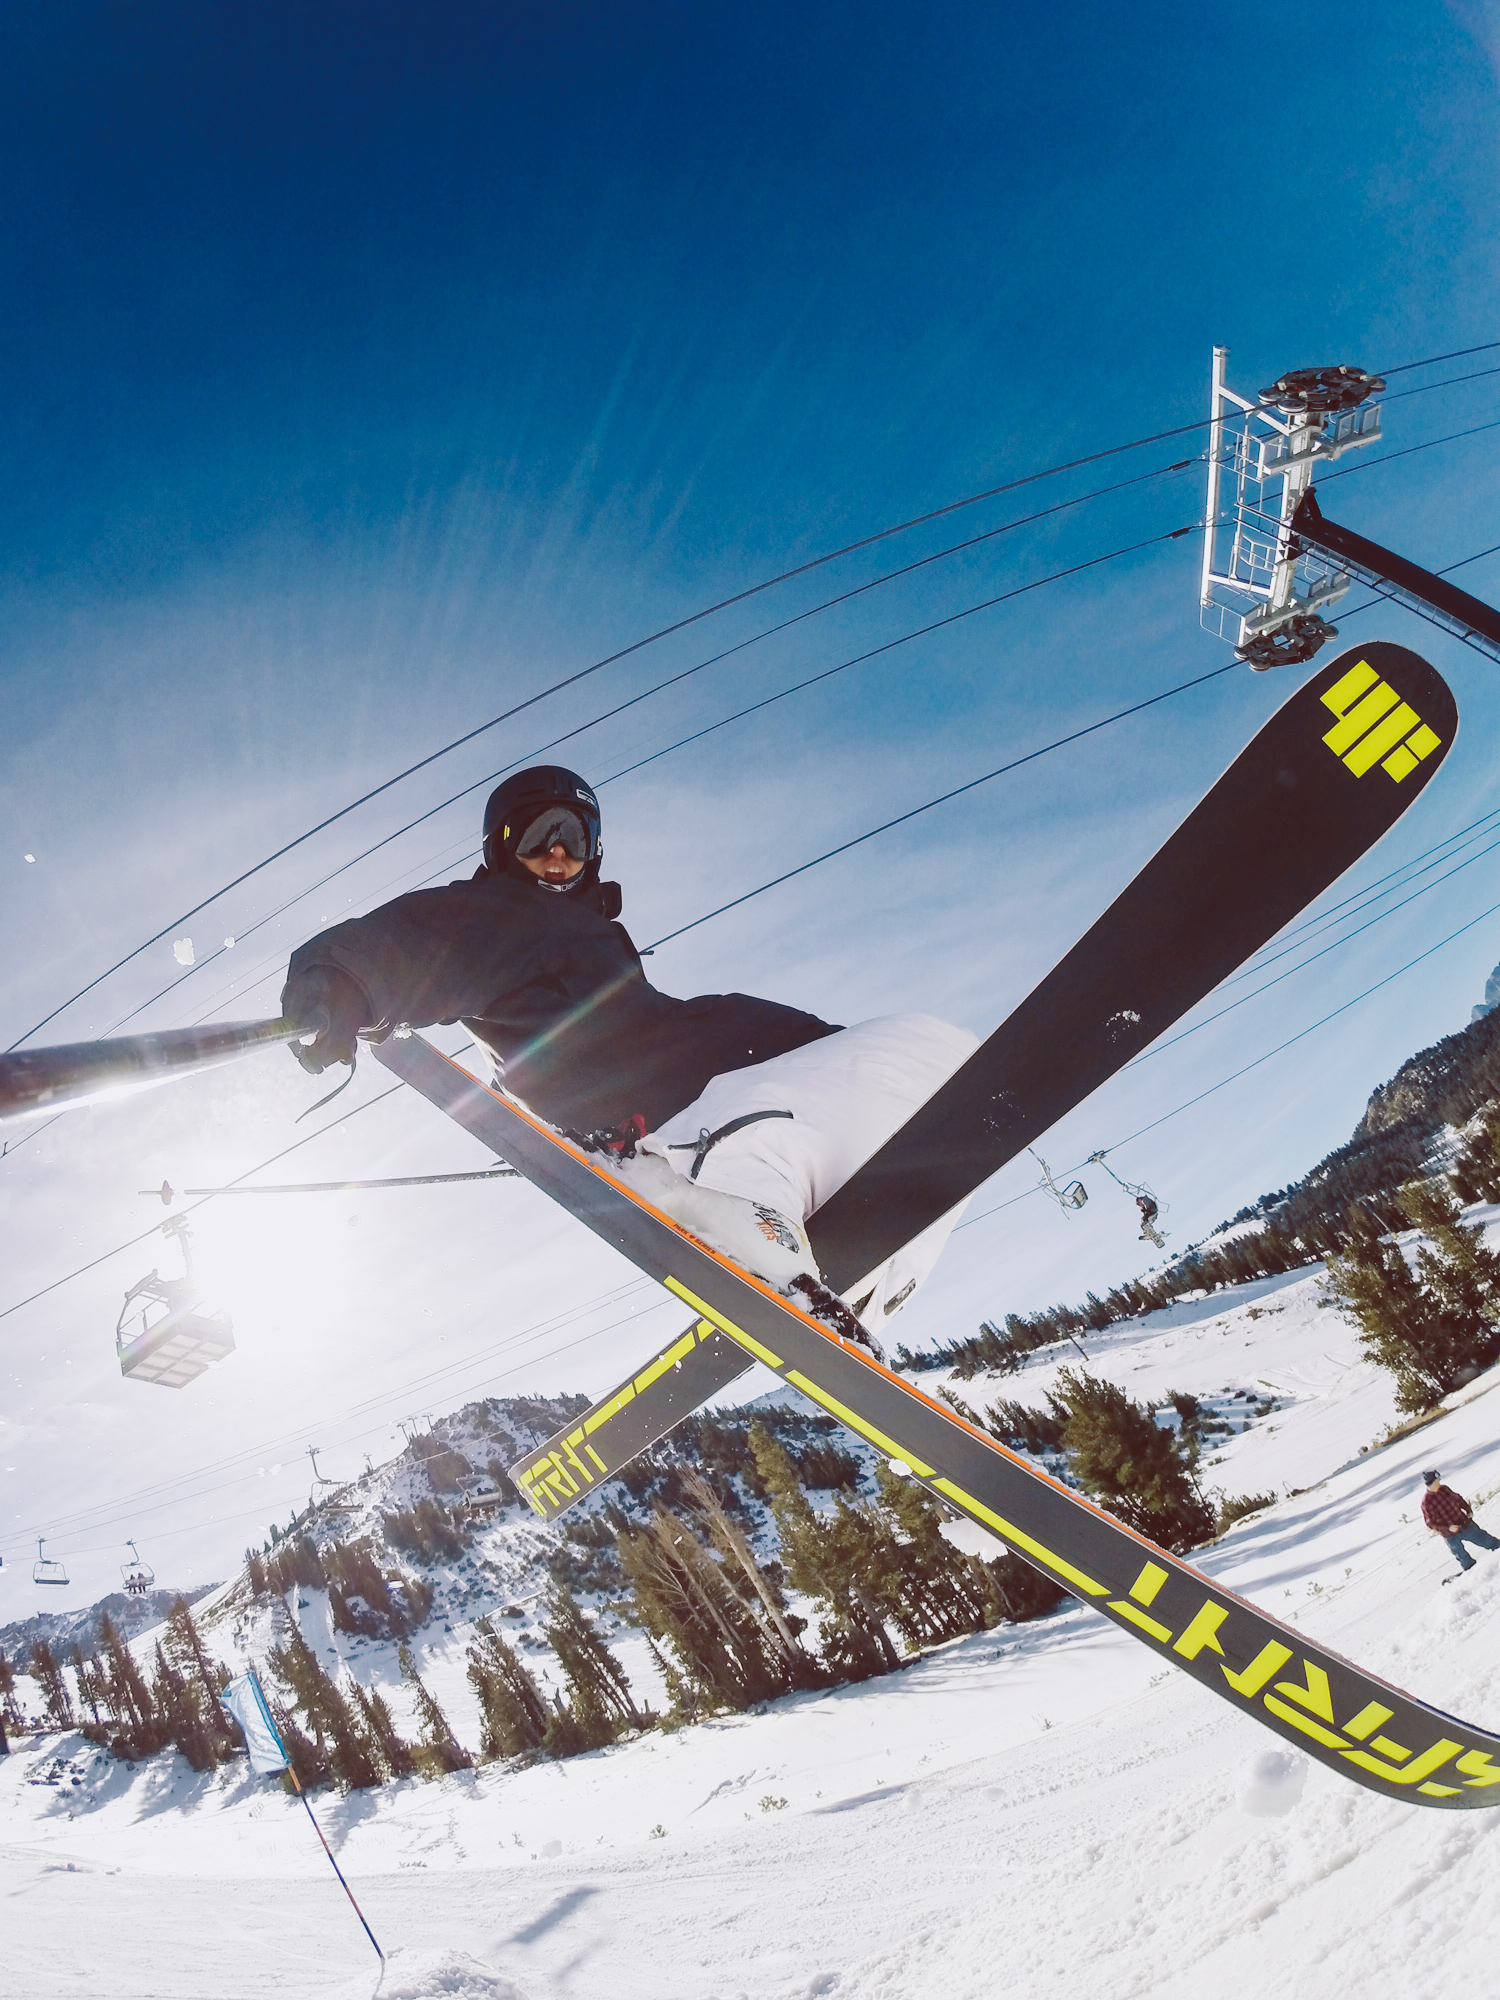
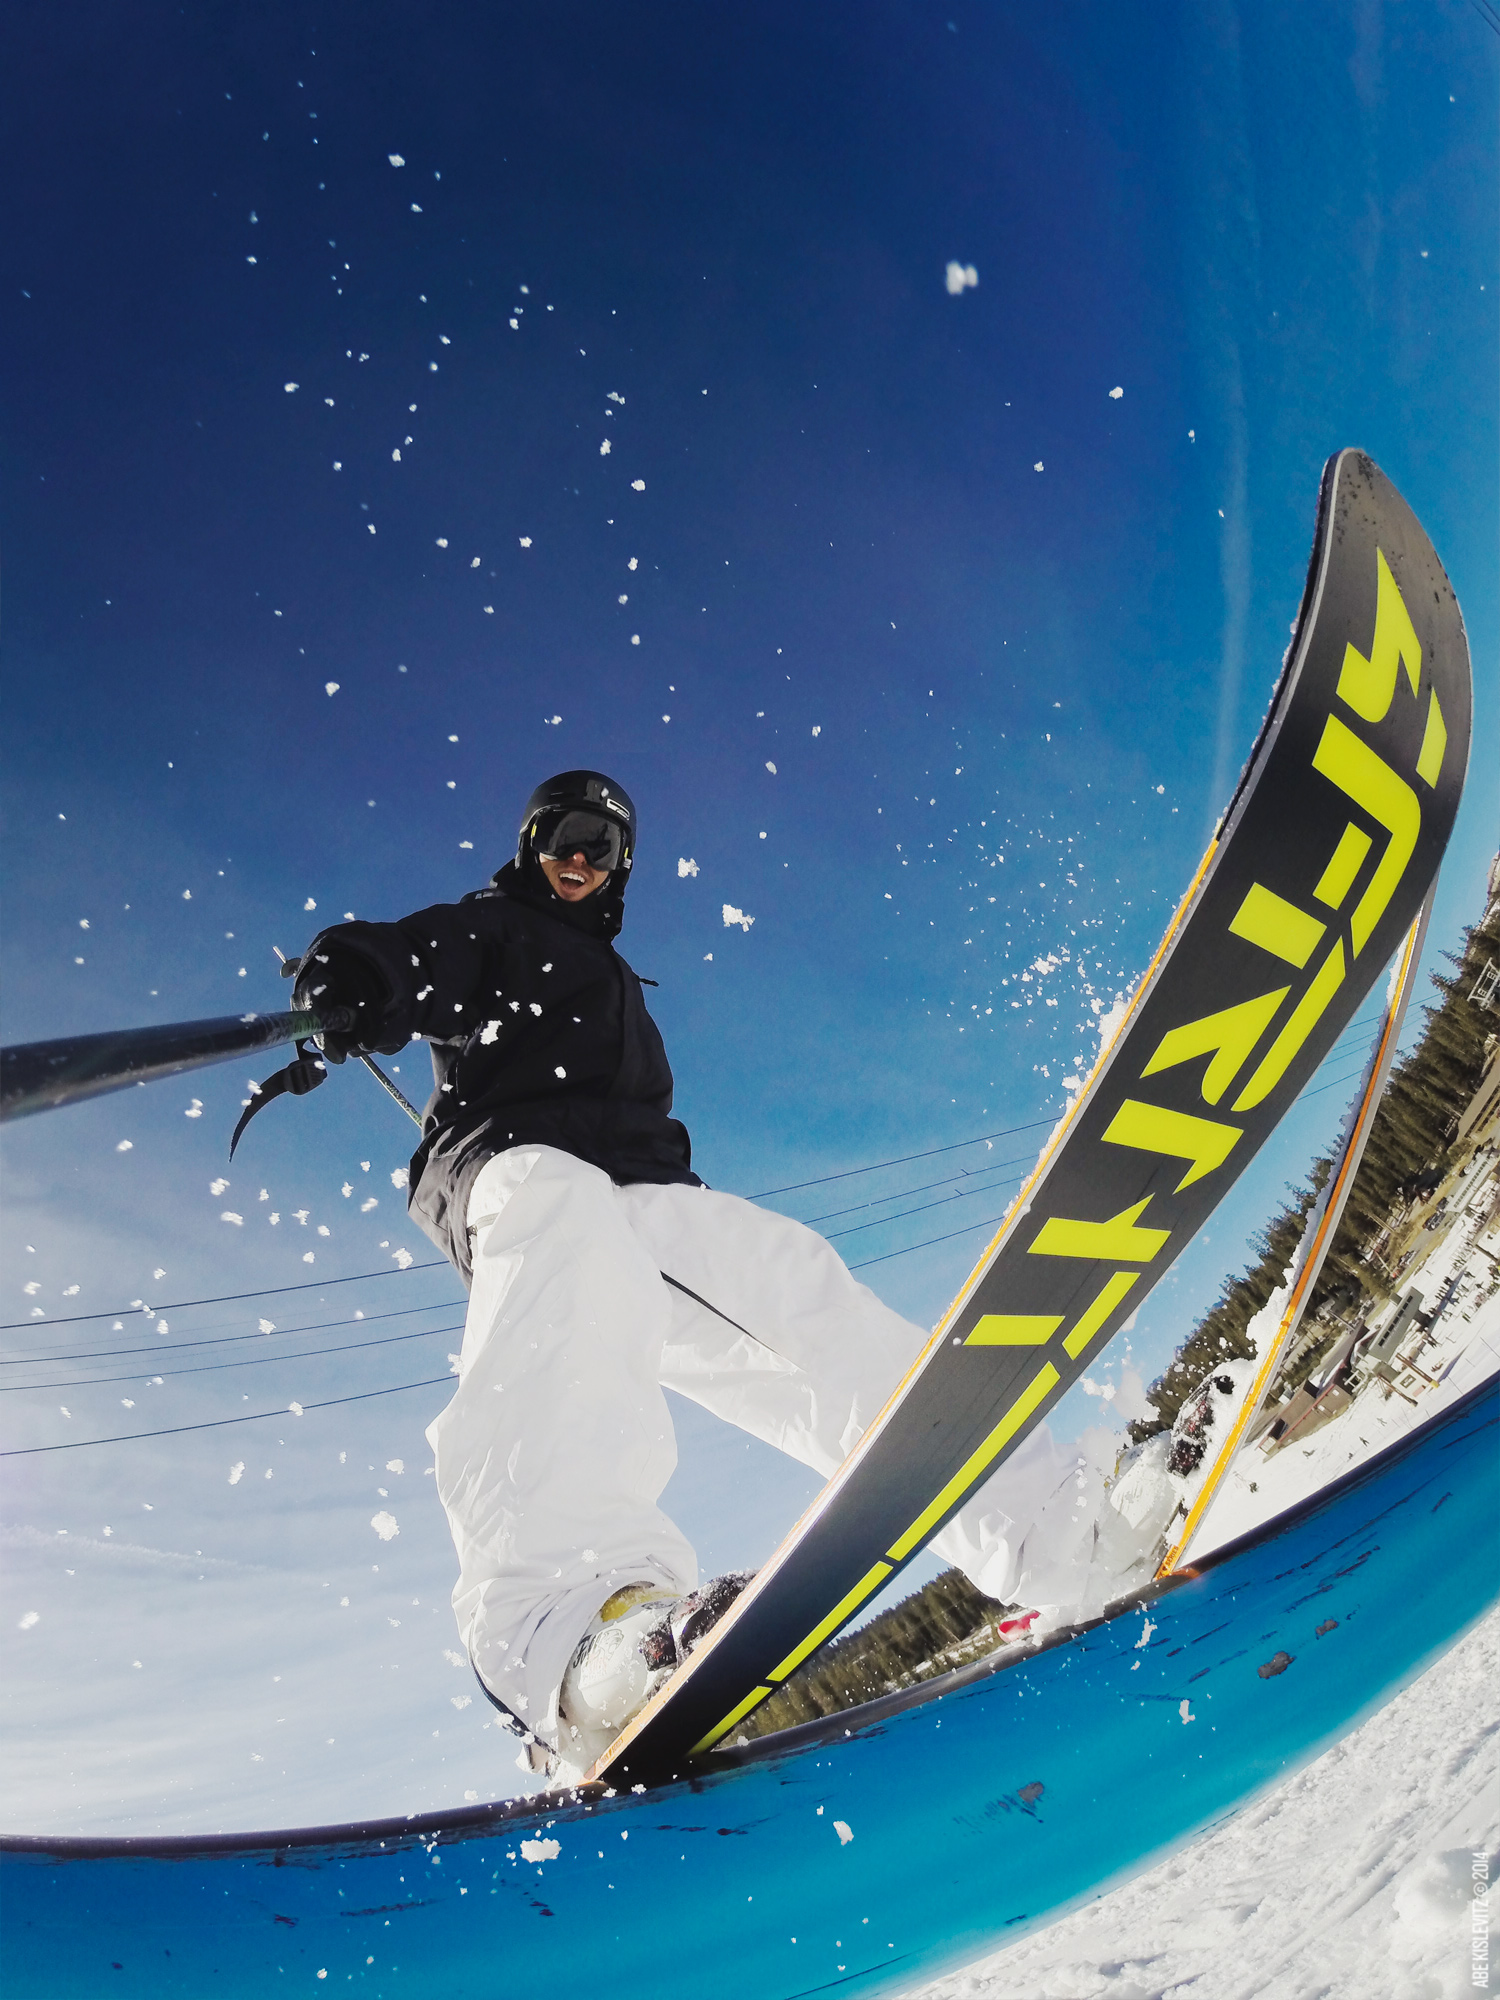
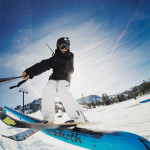
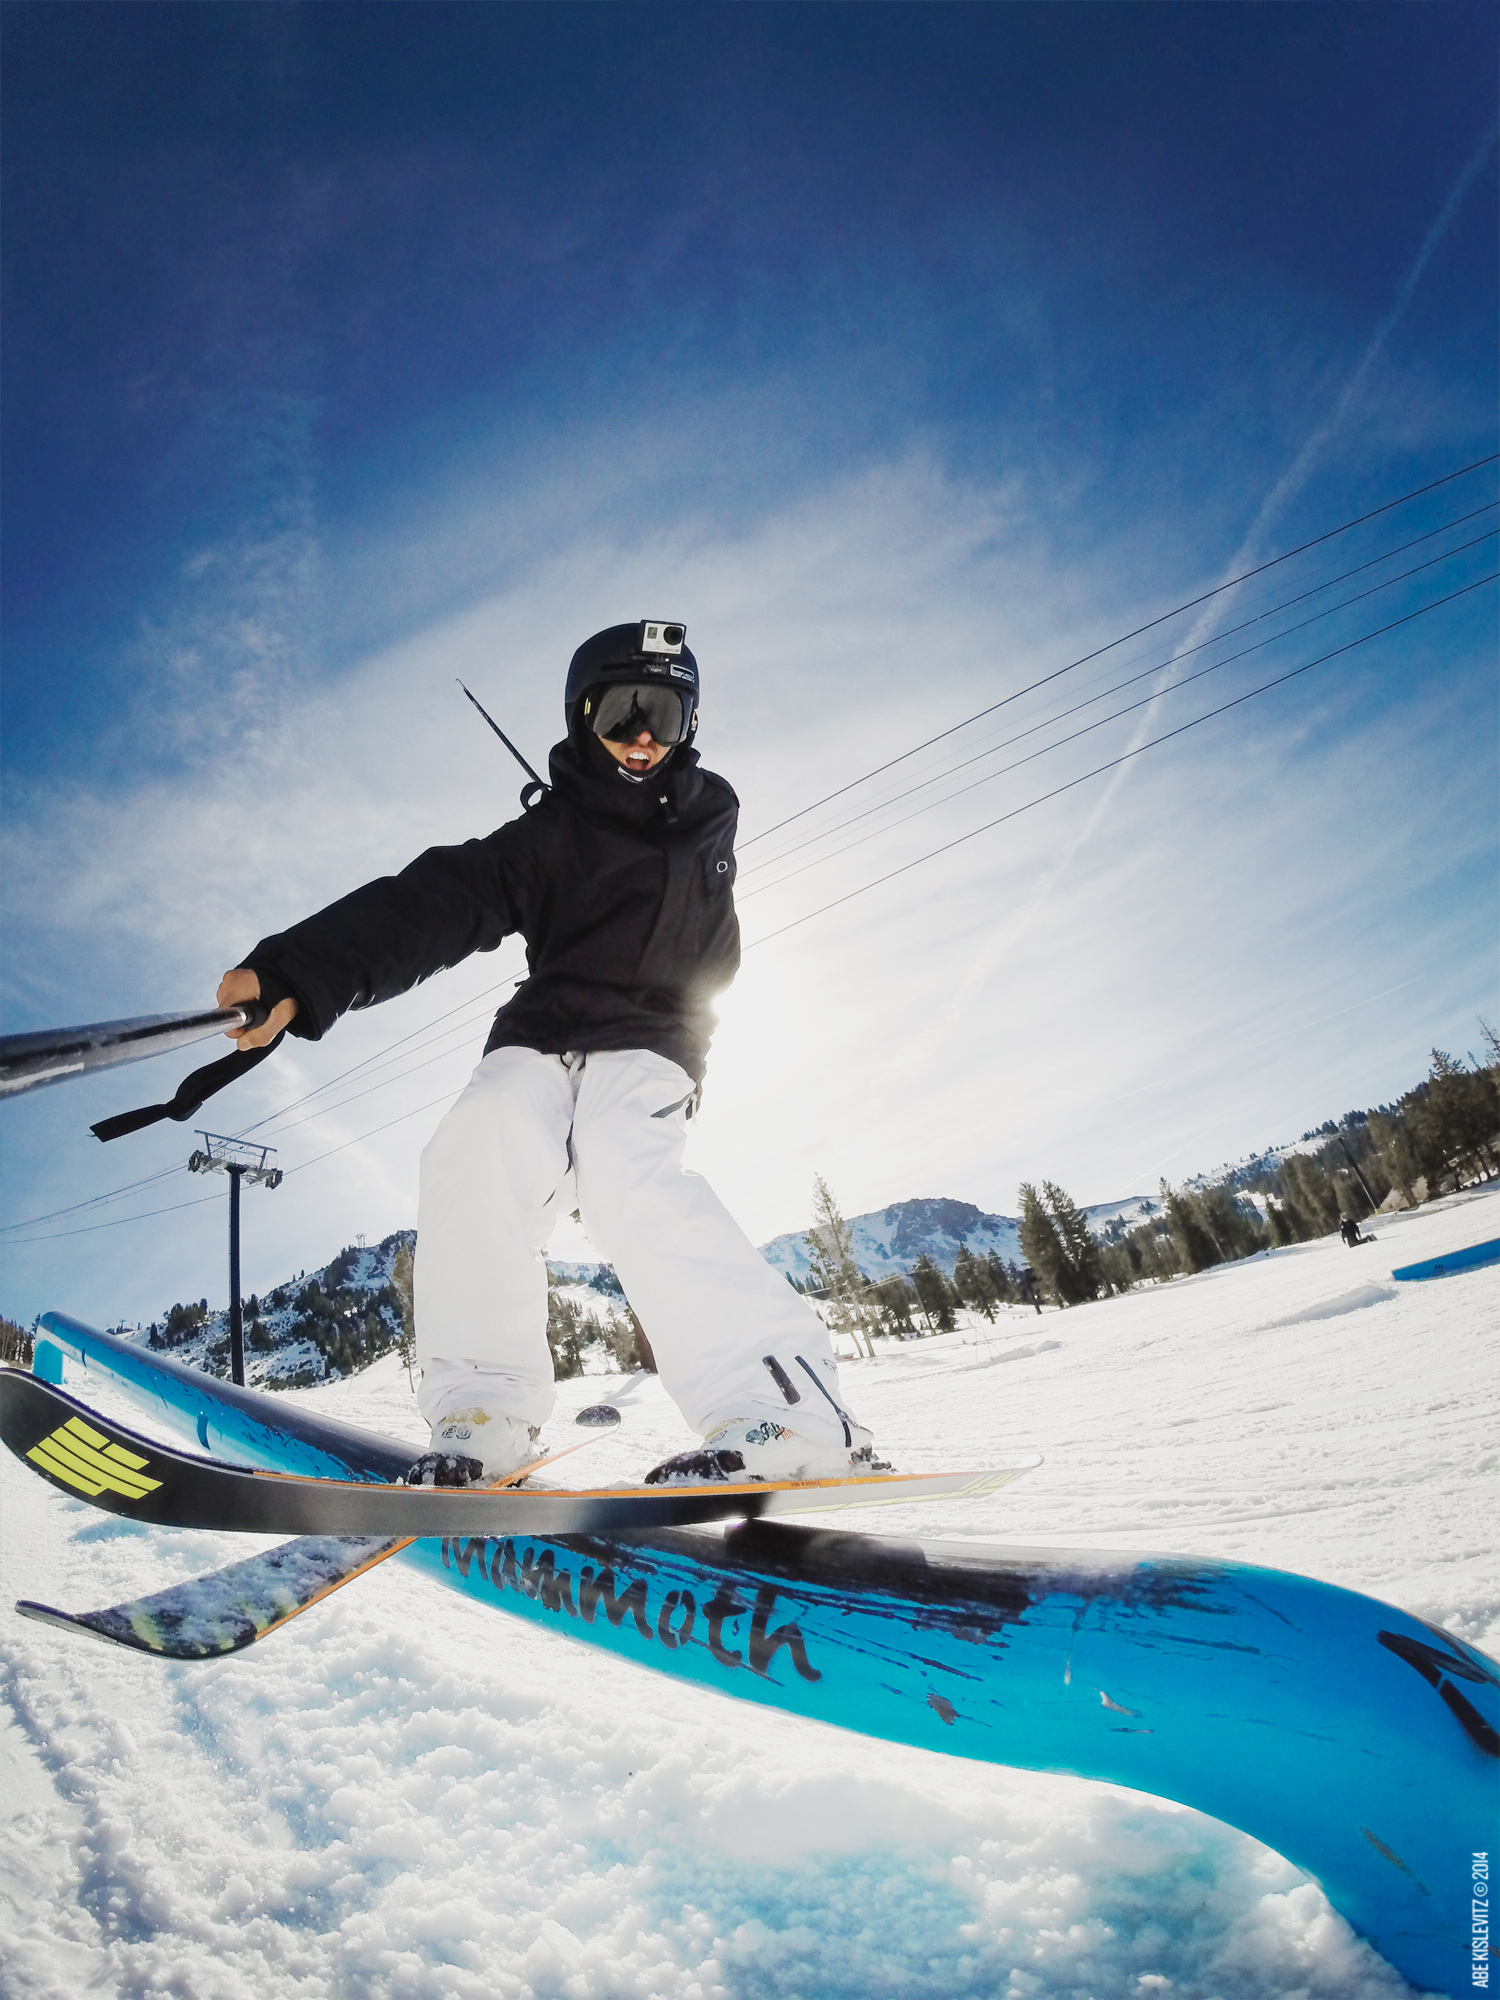
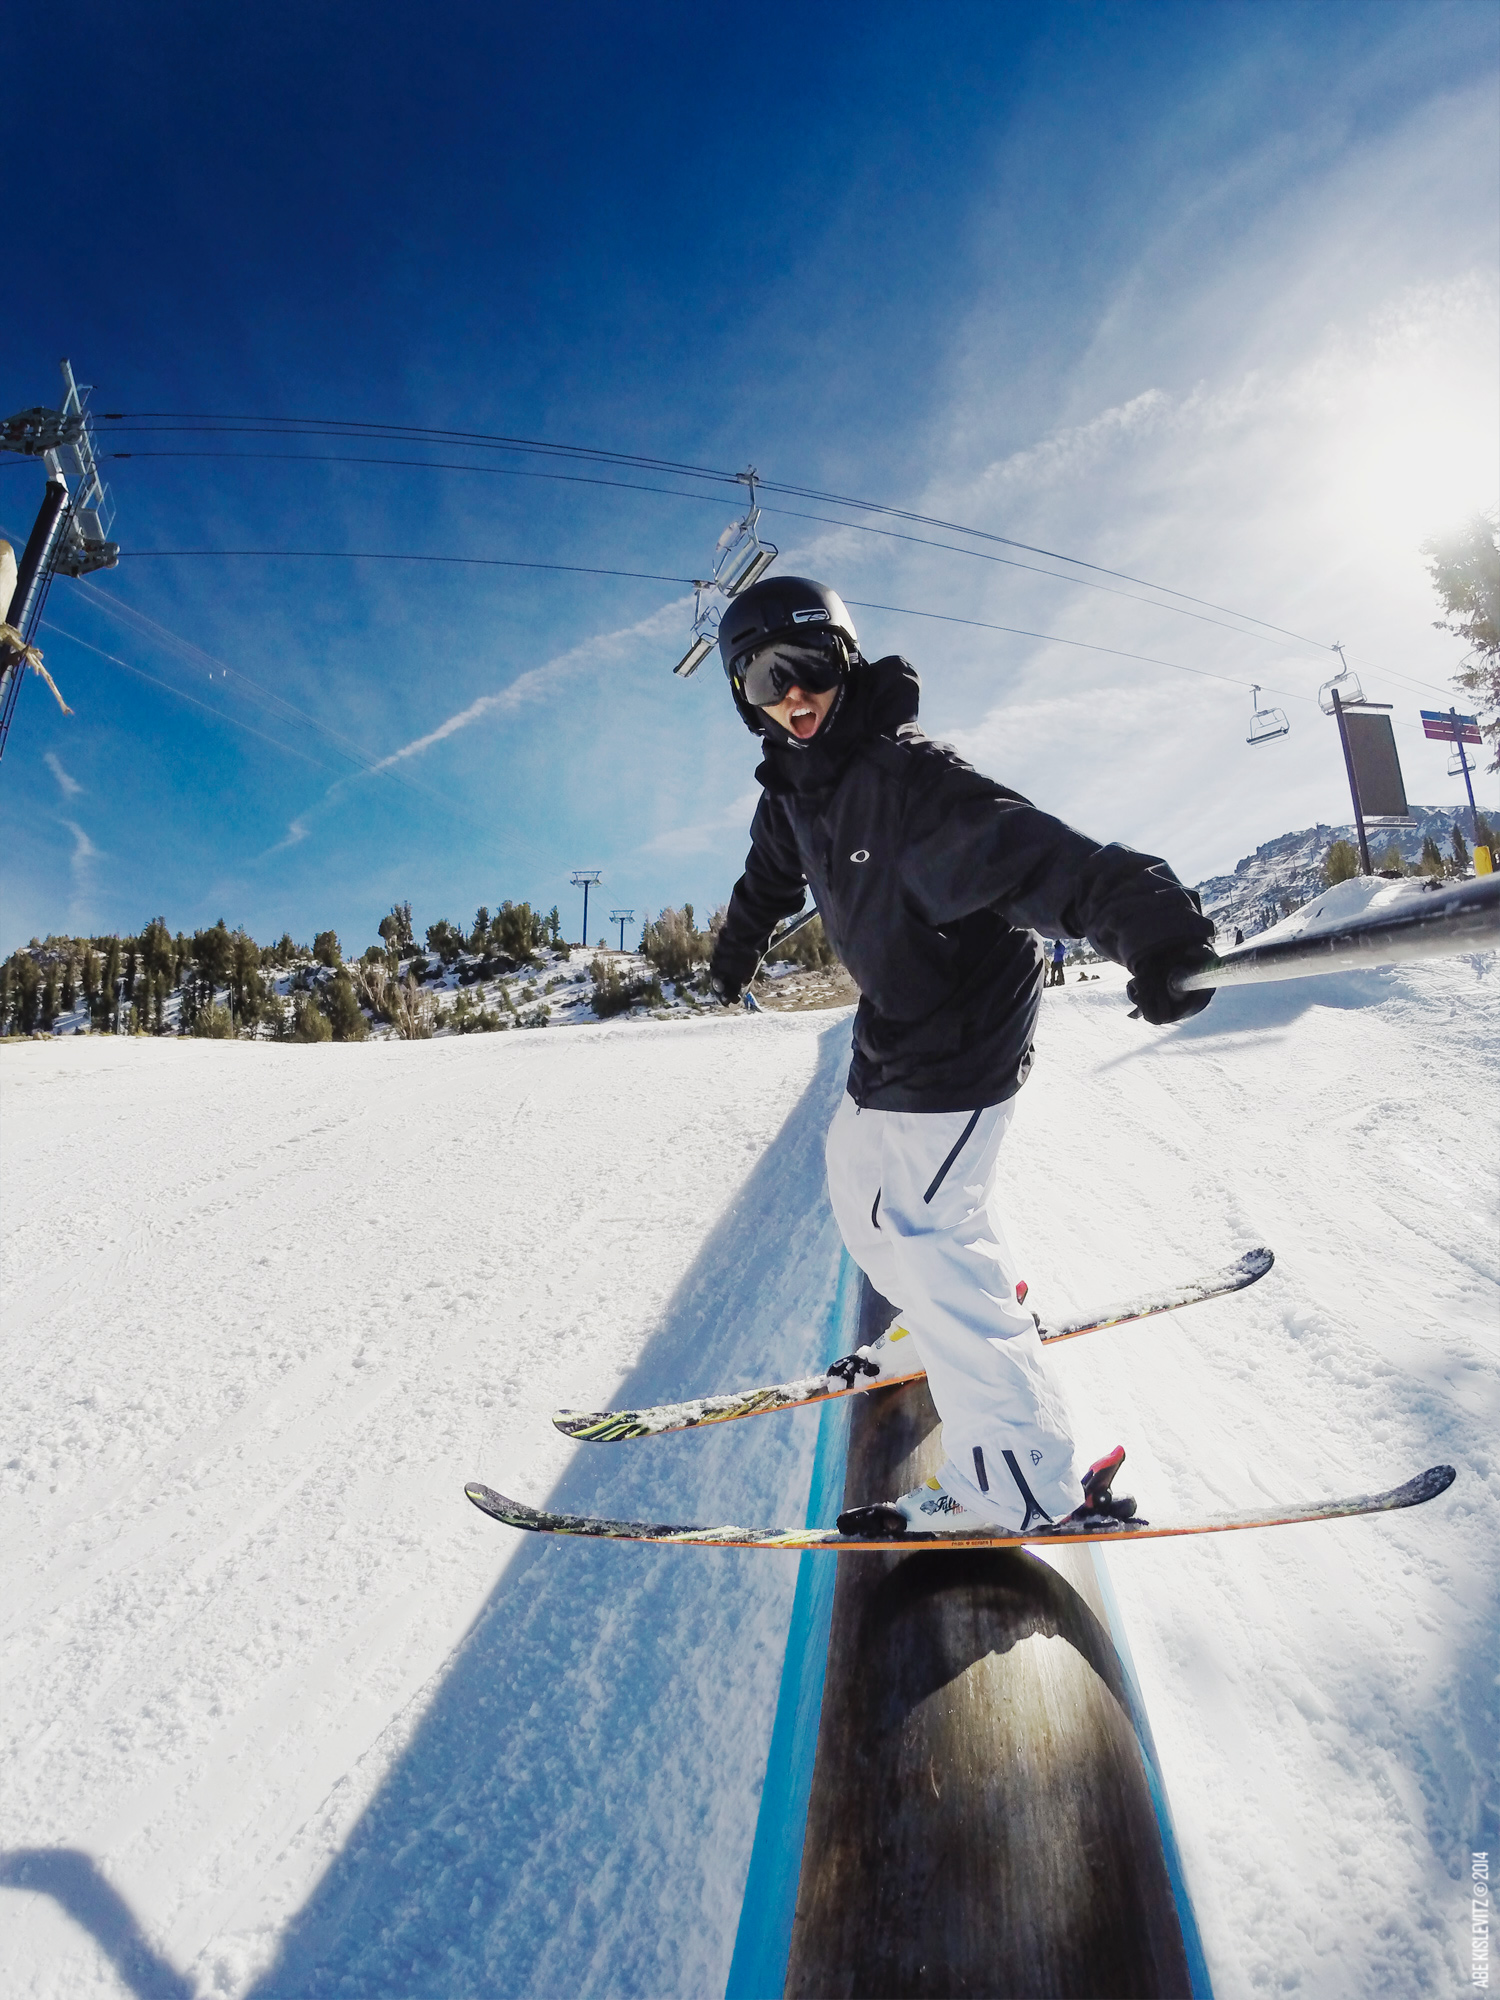
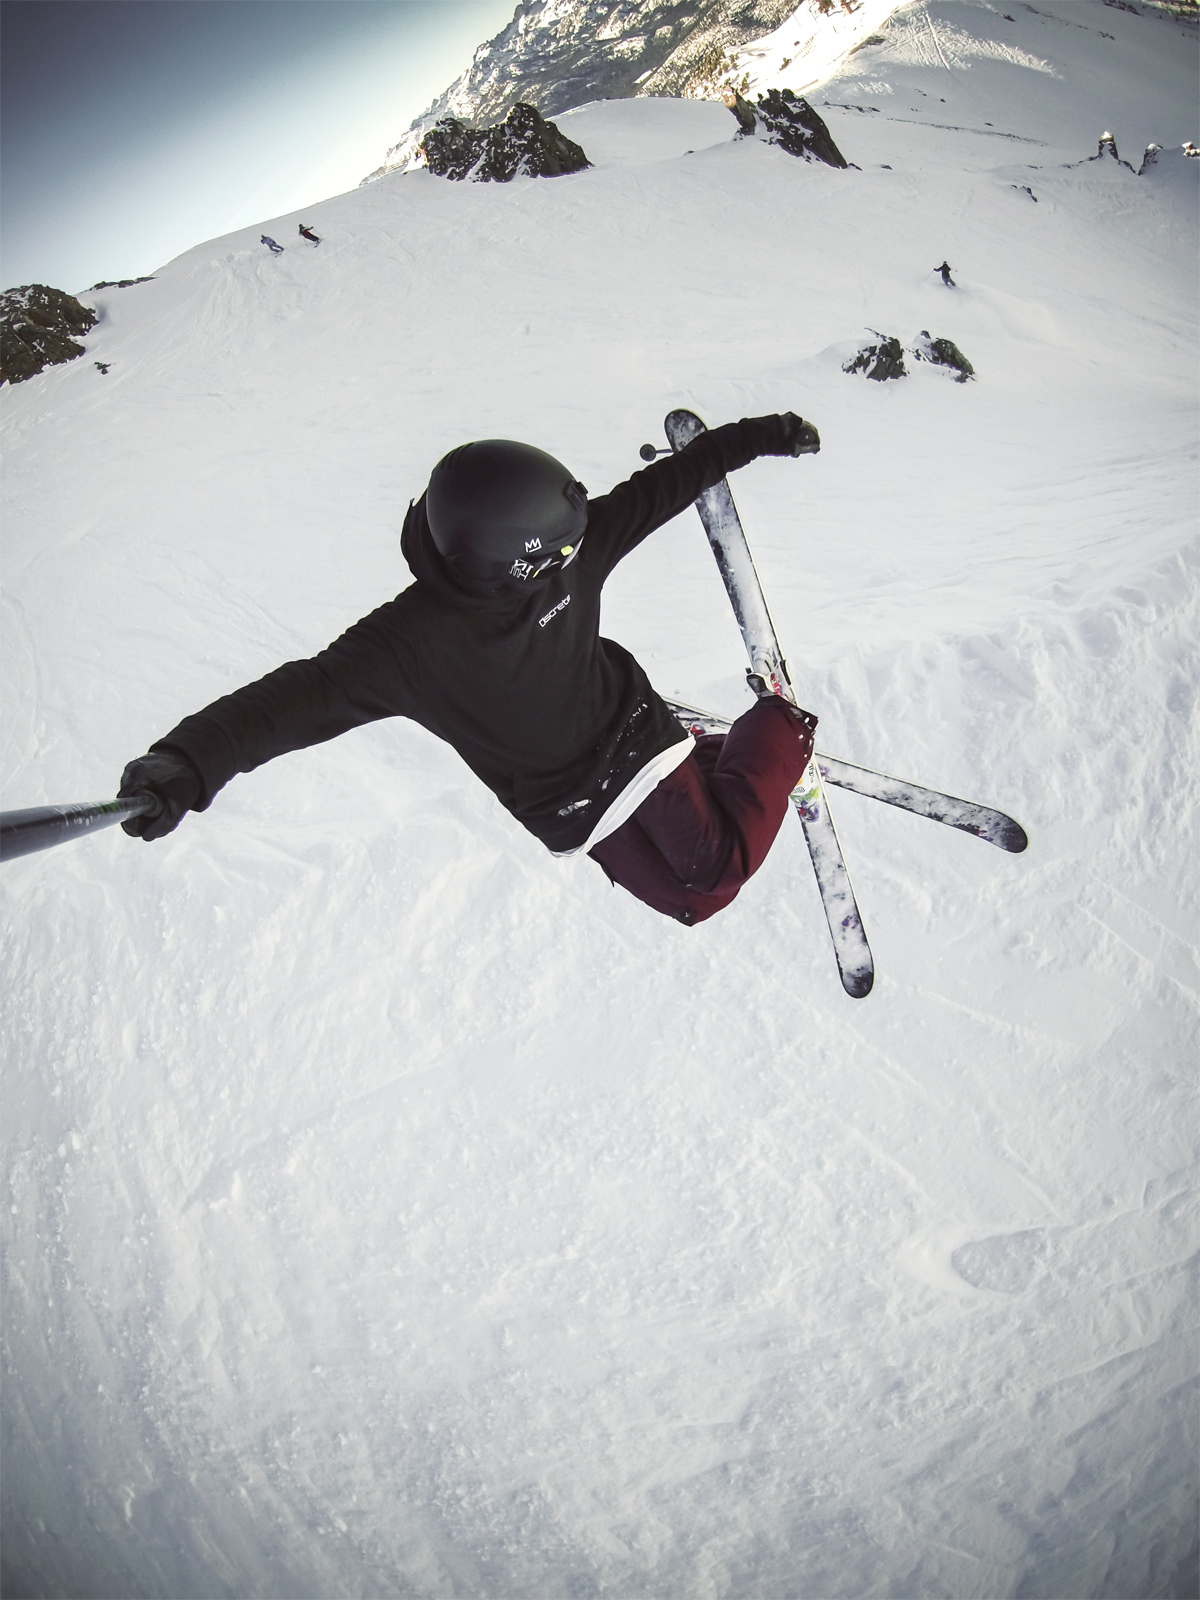
I usually like to rotate my camera 90 degrees and take vertical photos when using it on the end of my pole. I find myself enjoying vertical GoPro photos more and more. Remember my key for the vertical photos – aim the center of the lens at your belly button to get you equal amounts of sky & ground. People have a tendency to aim at their face making the upper half of the photo entirely sky.
Sun Direction – Camera Location – Facial Expression
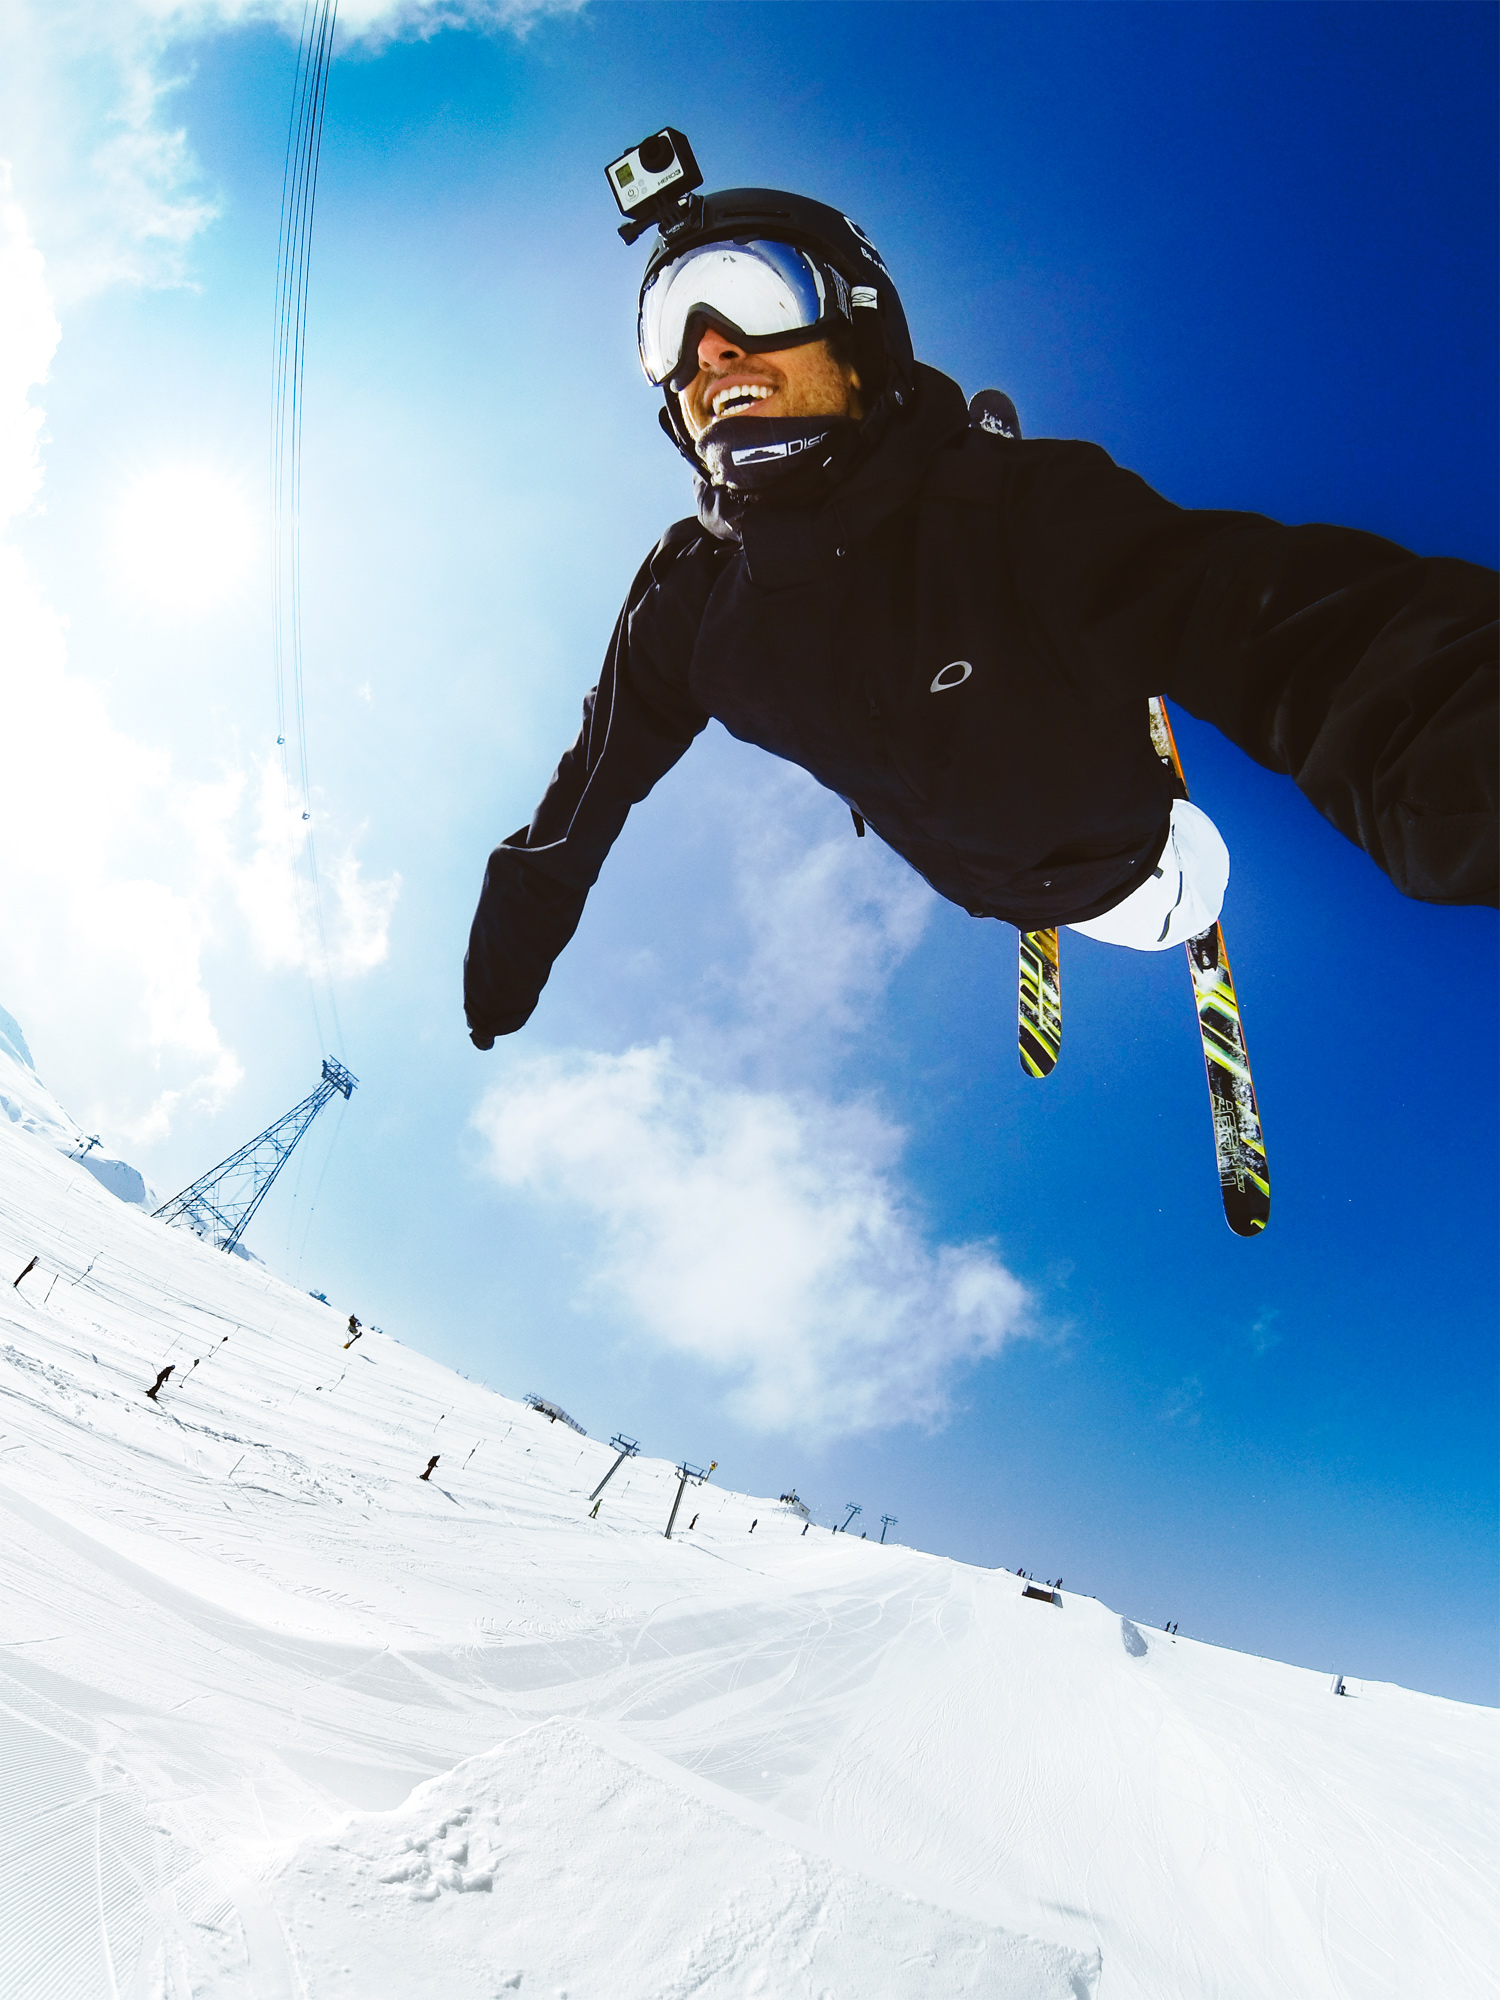
To get visually interesting photos you’ll want to consciously think about a few key items – sun direction, camera location, and facial expression/body position.
Sun Direction
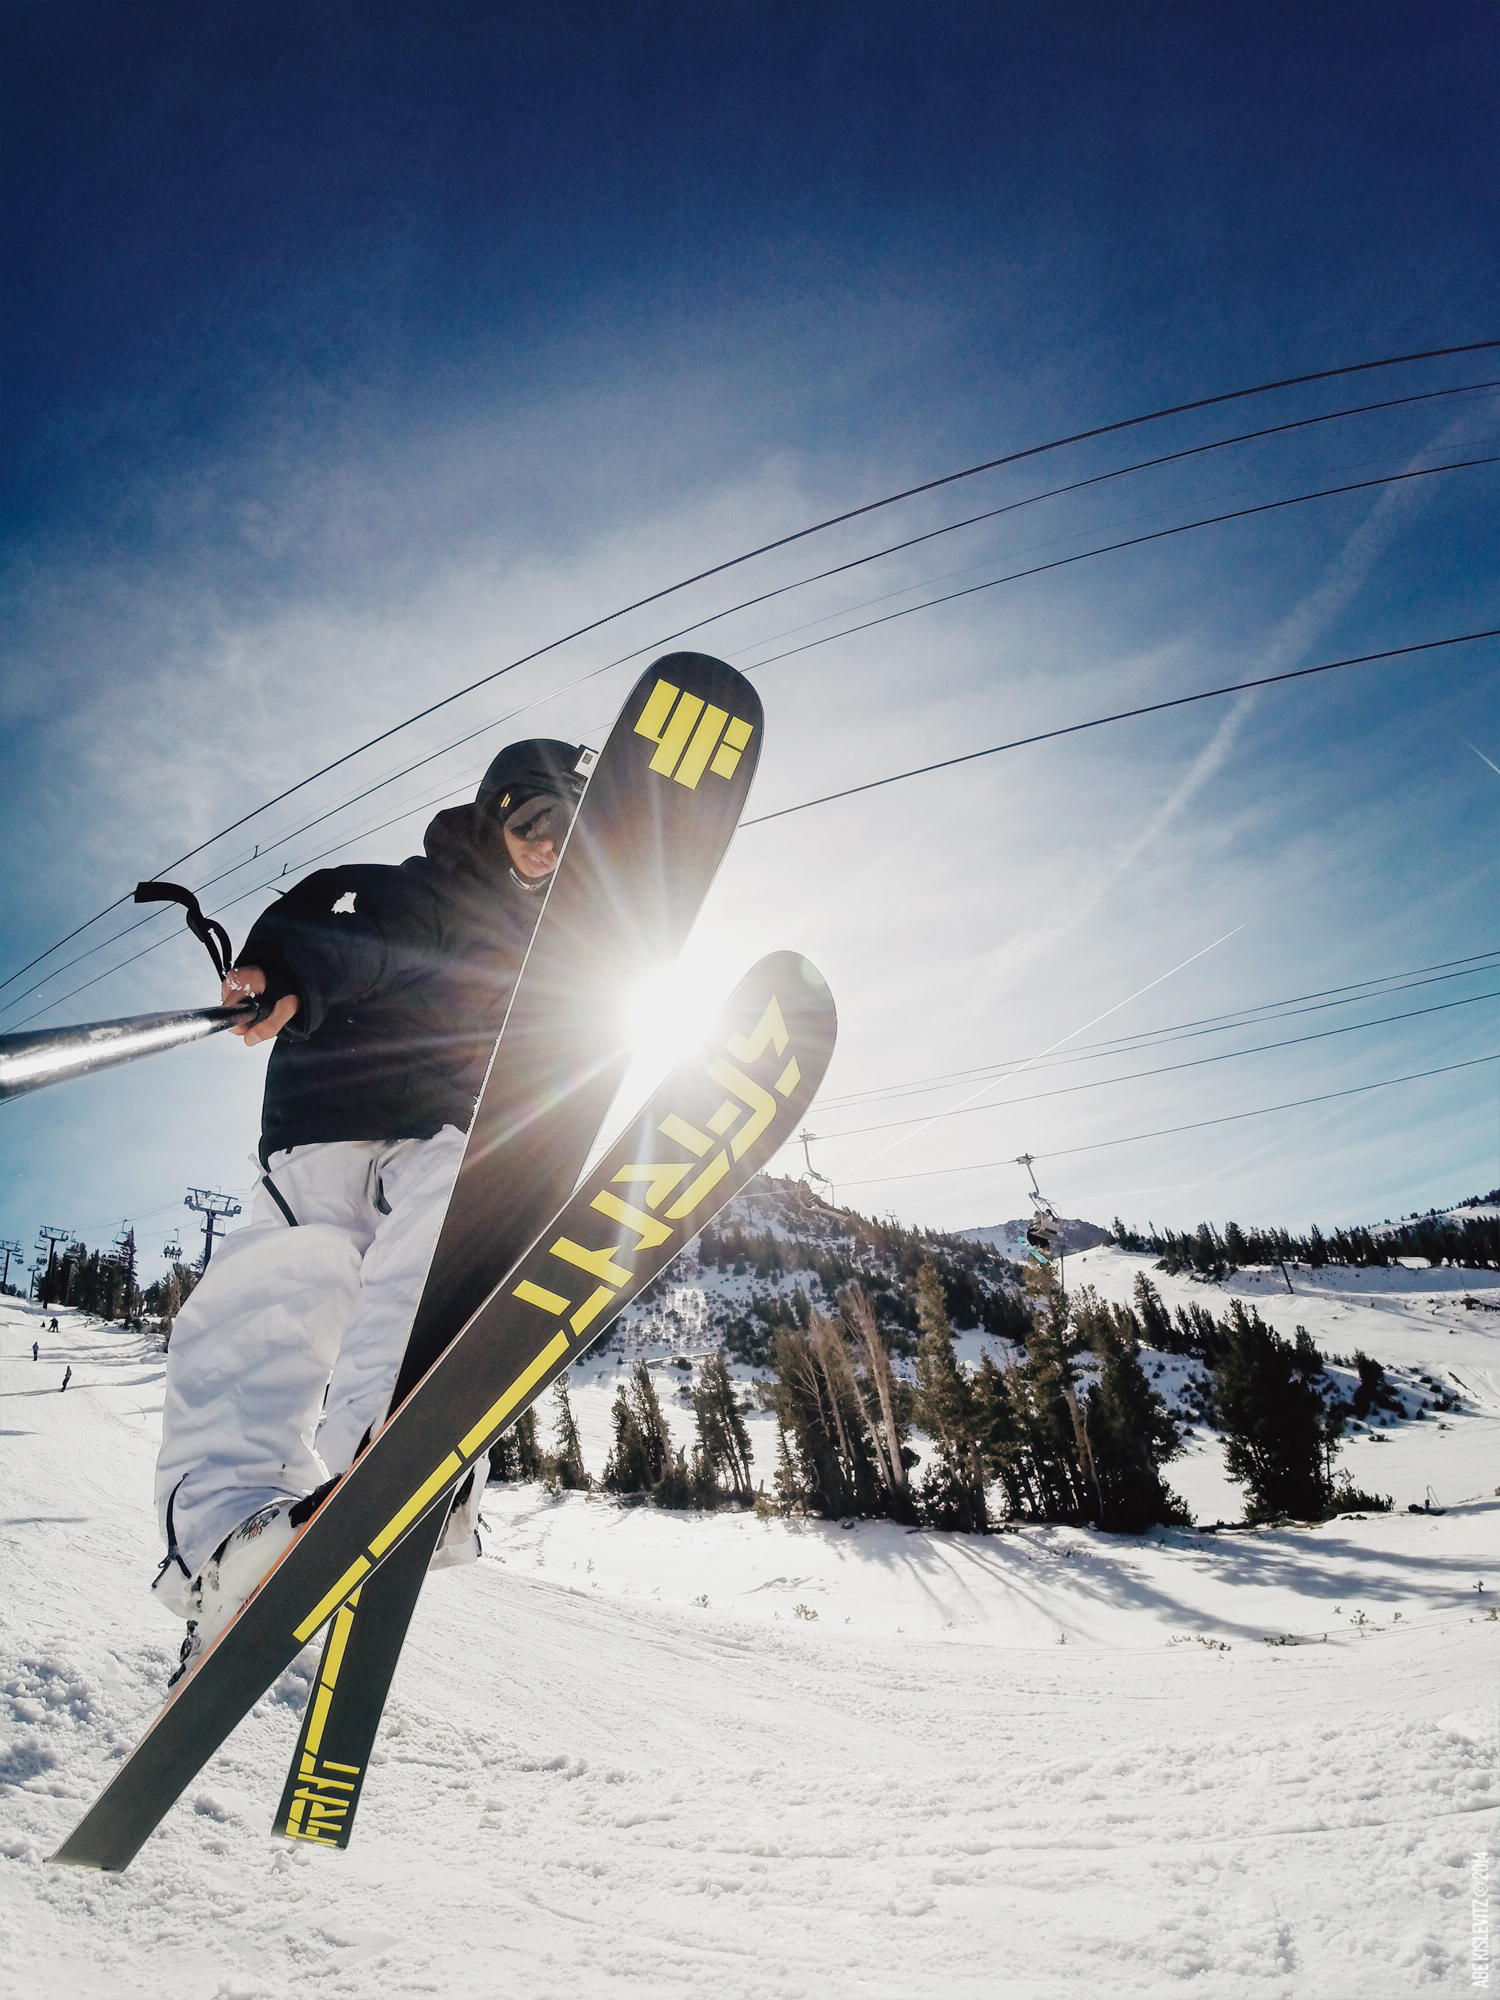
The first thing I do to decide which hand the camera is going in or where I’m going to aim, is look to where the sun is. I love getting the classic sunburst shot so I aim the camera back at me with the sun behind me. With a 30 photo burst you’ll definitely get a perfect frame where the sun is peaking out from behind your body if you get it in the right spot.


Camera Location
Next consciously decide where you want the camera to be in the shot – in front of you, behind you, above you, below you. You’ll want to figure this out before you get into the air or get on the rail so you’re not making any last minute decisions when you need to be focused on skiing/riding. Before I drop in I tell myself “I’m going to get the camera above me right away and hold it out”. On jibs a good angle is out in front and really low against the rail. Think about extending your arm and holding it in position for the entire duration of the trick.
-
- Behind me
-
- Below me
-
- Above me
-
- In front of me
Facial Expression/Body Position
As silly as it sounds, decide on a facial expression you want to have in your photo. Same goes for body position – do you want to be low and steezy, standing upright, or giving a peace sign to the camera? These are all questions that should be decided prior to dropping in as well. If we combine these with the previous sections I get a mental conversation that goes like this – “Sun is to my left, I’m going to hold the camera with my right hand, instantly get the camera up high above me, stand up tall, look at the camera with a full smile and stick my left arm up in the sky”. This is where being comfortable on rails and jumps comes in really handy. If you have all this prepared it will come much more naturally.


If you don’t think you’ve got what it takes to take action shots like these, think again! You can apply these same methods for the most basic of photos – even standing still with friends! You’ll find it doesn’t take much to get an epic photo. If you’re not skiing/riding try jumping off a rock with burst mode, or tossing the camera up in the air! Any way you spin it, you’ll end up with a totally unique photo that captures a sweet moment in time.
Resources
- GoPro Photo Stream See more of my GoPro Photos!
- Handlebar Seatpost Pole Mount Tutorial Check out this detailed tutorial from GoPro.
As always shoot any questions you have below.