Looking for a guide for a different GoPro? Check out all of my complete guides here:
Updated May 18, 2020
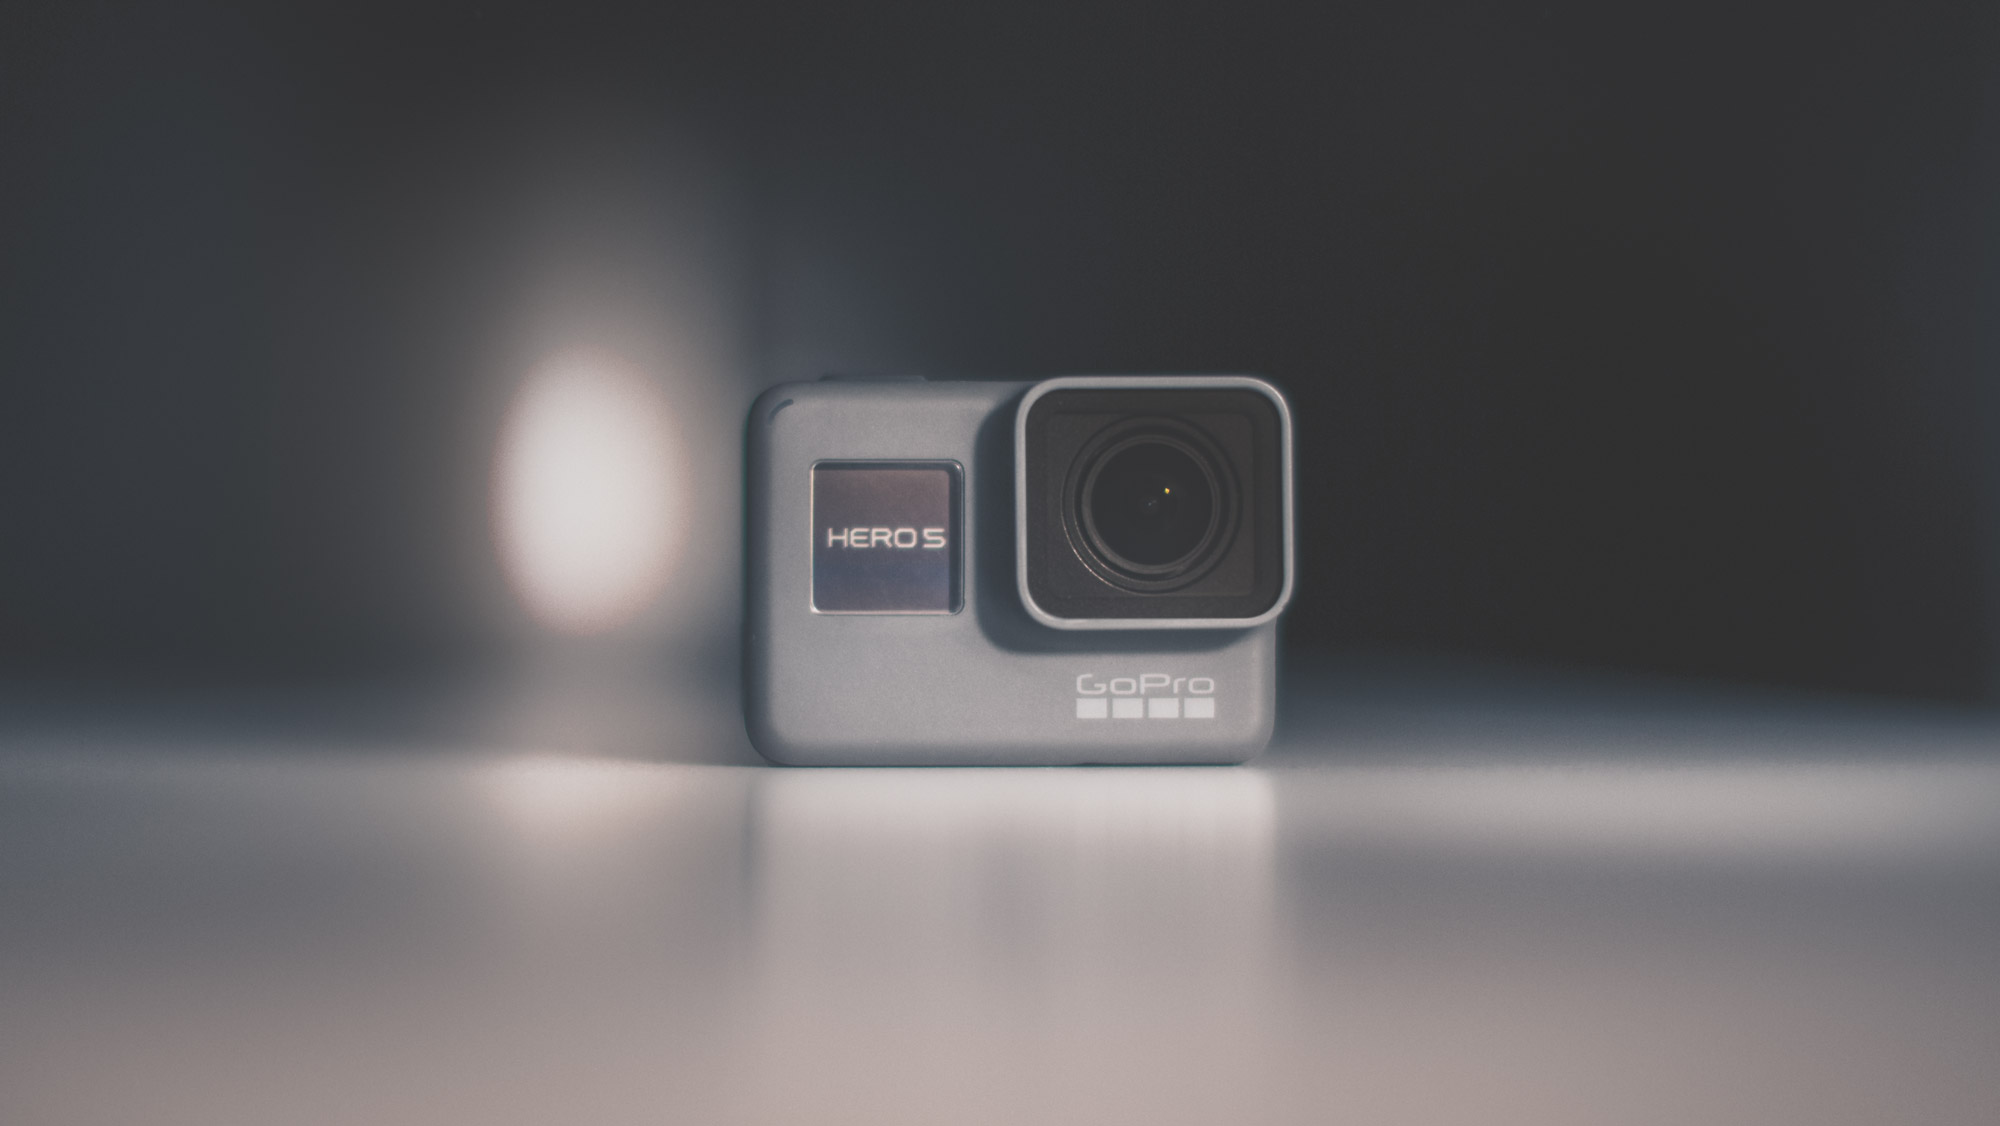
HERO6 is the latest offering from GoPro. On the outside, it’s relatively unchanged from the look and feel of the HERO5, but don’t let that fool you, the internals are revamped from the ground up. HERO6 has the usuals of a new upgrade in the form of “2x Performance;” however, it’s much more than that because of the new custom chip inside called GP1.
GP1
HERO6 is the first GoPro to utilize a custom chipset. This is a big deal, because it enables all of the image quality changes that makes the HERO6 so great. While each iteration of the HERO line got more advanced with better image quality, the framework of all of those cameras was built on an existing architecture that someone else owned the keys to. It relied on someone else deciding what image processing could be used, what sort of advancements could be made, and so much more. GoPro had great control in pushing the technology over the years and was instrumental to the development of many aspects of the internals, but it ultimately didn’t have final say on what it could and couldn’t do, or who could use it once it was developed. Now with GP1, GoPro owns the process start to finish, meaning there’s a ton more that can be done to the image to make it look better.
Color
To start things off, the overall look and feel of the GoPro image has been redeveloped from the ground up by our image scientists. Out of the box you’ll notice the content is much more rich and “punchy”. Blacks are blacker, whites are whiter, and things are setup such that you don’t feel like you need to do any touch ups. Right out of the camera the image looks ready to post. To go along with the vibrant colors, the white balance algorithms have been redone so colors, skin-tones, and scenes feel more lifelike and proper.
Dynamic Range
You’ll notice the image overall looks like it retains more highlight information and more shadows in both photos and video. The HERO6 applies a new algorithm to all photos and video called global tone mapping. It’s similar to the WDR (Wide Dynamic Range) in HERO5, where the whole raw frame is analyzed before getting baked out and changes are applied to bring out the most detail in the scenes.
Image Quality Improvements Across the Board
With additional processing power available thanks to GP1, and a team that’s able to make changes in whatever area it wants, there are many other upgrades to image quality that all work together to make the image more pleasing overall. Some big changes worth mentioning:
-
- Rolling shutter effects have been vastly reduced in all video modes.
- Underwater footage no longer needs dive filters thanks to an all new, automatic, underwater tuning.
- Exposure convergence is much faster so going from light to dark scenes will be exposed more properly.

HEVC/H.265 Compression
HERO6 utilizes the latest in compression technology with HEVC, which is one of the most important aspects of the camera. Compression is basically how the camera captures video and crunches it down into file sizes small enough for the SD cards. HEVC in the HERO6 is over 30% more efficient than HERO5’s h.264, meaning the image looks over 30% better, while retaining similar file sizes (if the bitrates were equal). In practical terms, when using the GoPro in high motion scenes (which happens often), the video ends up looking extremely clear and sharp on every individual video frame. For me this is huge. Previously if you were to film in scenes where there’s a lot of visual information (waves, forests, snow, etc), you’d see soft images, blockiness, and “compression artifacts” in high motion at the higher resolutions. With the HERO6, it’s a whole different world. Frame grabs in the highest of motion are tack sharp, even in high-resolution slow motion modes. In fact, if you film in 4K 4:3, the frame grabs look almost identical to photos shot in the photo mode. When you enable ProTune in the HERO6, it cranks the bitrate up to ~80mbit/s HEVC for the high performance modes (4K-60, 2.7K-120, 2.7K 4:3-60, 1080-240); otherwise it’s around 60mbit/s HEVC for the high performance modes. Lower performance modes remain h.264 with bitrates between 30 and 60 mbit/s.
Click the image below to see a 2.7 4:3 – 60 frame grab during a high motion scene. This image was rotated 90 deg, colored in Lightroom, and reduced in size to 1500 x 2000px, saved out as web JPEG, and it still remains sharp and clean.
Video Modes in the HERO6 Black
The following list is my personal review of each new mode that appears in the HERO6 Black – If you’re up for it, learning when and how to use each mode will guarantee a higher quality final output.
Explanation of Terms
POV: Cameras mounted to your head, chest, or other point of view of action.
Mounted: Similar to POV but usually refers to cameras mounted to physical objects (cars, skis, bikes, etc).
B-Roll: Any other camera mount (handheld, pole follow-cam, glide-cam, interview cameras)
4K-60 Wide
4K-60 is here and it’s everything we’ve been wanting out of a new GoPro! The picture clarity is stunning, and the 60 FPS allows for incredible versatility when filming. Instead of choosing between resolution and slow motion, we get both. Clarity, color, and sharpness will be better than what you’re used to seeing out of HERO5 in 4K-30.
Uses:
Mounted non-POV, auto, B-Roll, drones, pole-cam, diving, etc. Use this mode as an all around standard for everything if you are looking for quality and slow motion.
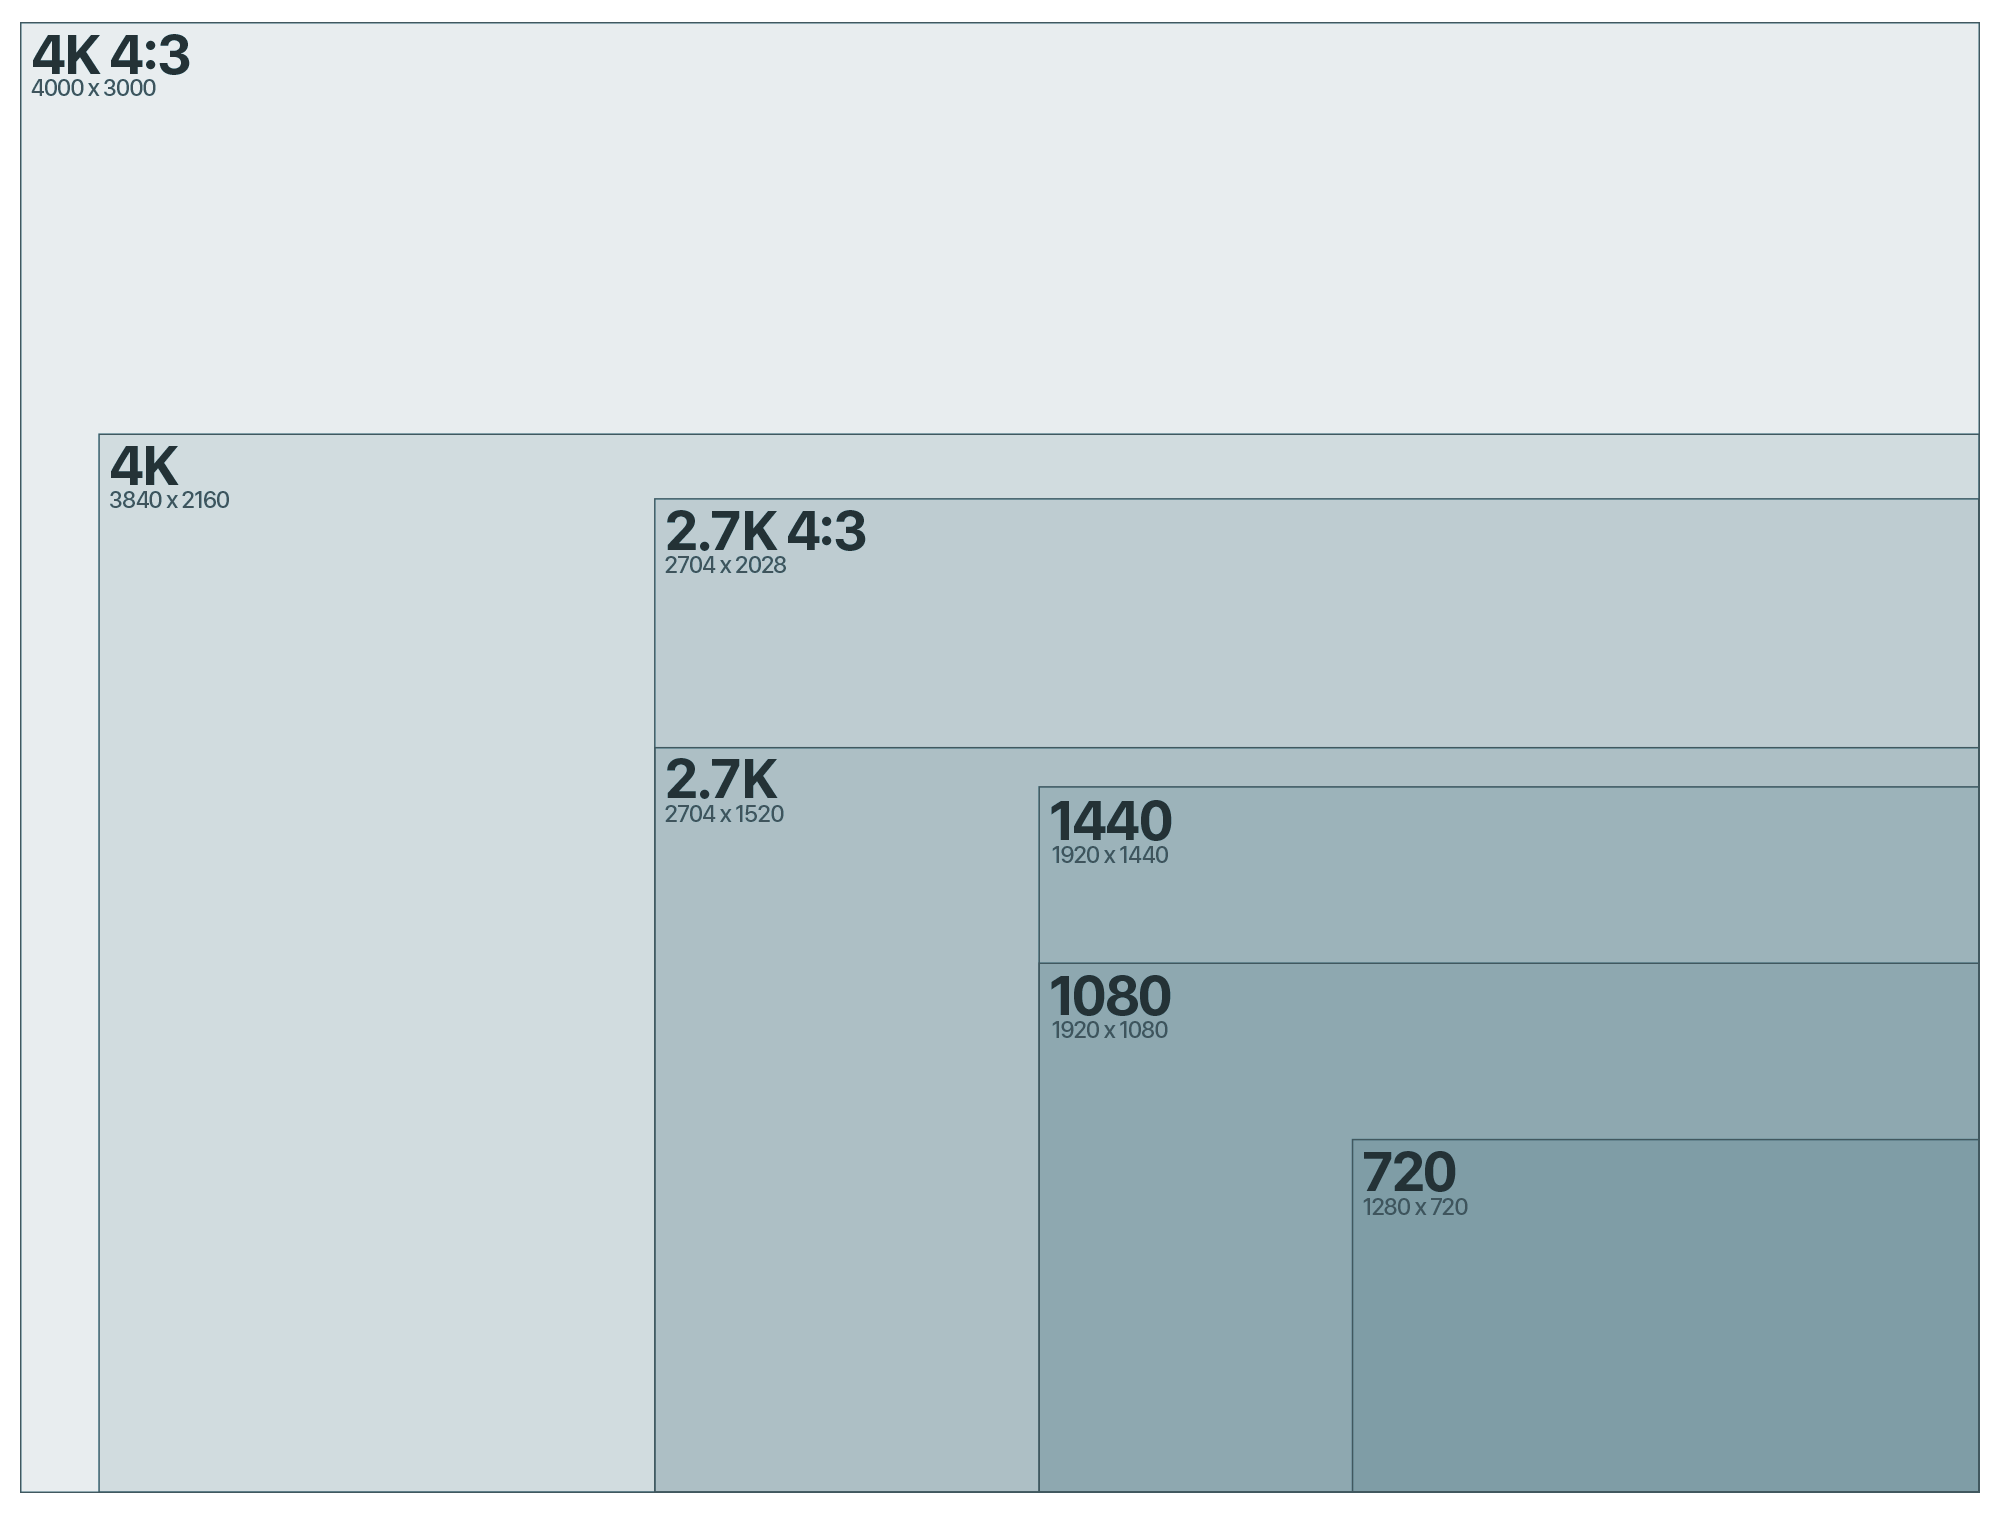
4K 4:3 – 30
New in the HERO6 is 4K 4:3. Every frame is the full GoPro sensor at 4000px by 3000px, which is the same dimensions as the 12MP GoPro photos. It’s slightly wider than 4K video, and much taller since it’s in the 4:3 aspect ratio. I use this anytime I want to capture the most real, immersive, and real-time POV (no slow motion). I utilize dynamic stretch techniques to pop it into a 16:9 frame when editing, or simply crop into whatever area is most interesting to you in the frame.
Uses:
Anything in general that doesn’t need slow motion. Since you’re capturing the whole sensor in 30 FPS, your ability to crop and re-frame in post is greatest in this mode. It’s also my new go-to for real, immersive POV capture. This is great for wearing on your chest or head to capture daily life, behind the scenes work, car driving, etc. Works well indoors & outdoors.
2.7K – 120 Wide
This is my new go-to action mode for GoPro. Where I used to film in 2.7K-60 in HERO5, I’ll be upping my game to 120 FPS. Unlike high frame rate modes in previous GoPro models, the HERO6 delivers an incredibly sharp, smooth, native mode with 2.7K-120. I’m equally excited, if not slightly more stoked about 2.7K-120 as I am having 4K-60.
Uses:
Karma Grip, Karma, mounted, auto, B-Roll, pole-cam, diving, skiing, skateboarding, etc.
2.7K 4:3 – 60
Another new favorite in the HERO6, this mode delivers incredibly immersive 4:3 aspect ratio video with double the frame rate. It has the same width dimensions as 2.7K but is taller with a height of 2028 px. This mode can take the place of 1440-60 in the HERO5 (the go-to for POV action). 2.7K 4:3 in the HERO5 was incredibly sharp, but it only went up to 30 FPS. This mode in the HERO6 now delivers slow motion with an image clarity that’s even better than HERO5 at 30 FPS. 1440-60 in HERO5 had some aliasing artifacts, while this mode is completely native, meaning it’s super clean. I utilize dynamic stretch techniques to pop it into a 16:9 frame when editing, or simply crop into whatever area is most interesting in the frame.
Uses:
Anything POV that you may want to slow down in editing, or anything that you’re uncertain of your framing on capture. There’s plenty of room to crop and re-frame in post, while retaining a very high level of clarity.
2.7 – 60 Superview
This mode utilizes the full 4:3 aspect of the sensor, but dynamically stretches it down to a 16:9 frame by pinching the middle and stretching the sides. Use this mode if you want the added view on top and bottom, but don’t want the 4:3 frame like 2.7 4:3-60.
Uses:
High action POV that you want to capture slow motion with ultra-clarity in a 16:9 frame.
1080 – 240 Wide
HERO6 brings you 240 FPS in the full wide FOV at 1080P, which is absolutely awesome. You can slow the footage down to 12.5% while still retaining full 30 FPS, giving you fluid slow motion. The HERO5 has 240 FPS but only in the narrow mode, and at 720P, making it hard to utilize as you would a normal GoPro. When zooming in on the footage you’ll notice some aliasing and jagged edges. To reduce this effect, I recommend ProTune ‘ON’, and Sharpness set to ‘Low’. The slow motion action shots you’re able to capture with a GoPro are so visually stunning, the image quality difference becomes negligible in my eyes. You could argue you’ve seen 240 FPS in smart-phones; however, I believe the content we’re seeing out of the GoPro is so much more versatile and unique, it opens up tons of amazing creative opportunities.
Uses:
Anything you want to experience in ultra slow-motion. Try action shots with Karma Grip for unique small moments that become awesome slow-motion scenes. Because of the fast shutter speed, avoid low-light or dark indoors.
1440 – 120
This mode will be available via software update coming soon.
Uses:
High action POV that you want to capture super slow-motion. Generally you’ll want to stick to outdoors; avoid using this in lowlight or dark indoor areas.
1080 – 120 Superview
This mode utilizes the full 4:3 aspect of the sensor, but dynamically stretches it down to a 16:9 frame by pinching the middle and stretching the sides. When looked at 100% it can have a little aliasing artifacts but generally this is a great mode to use if you need the ultra-slow motion immersive POV angle.
Uses:
High action POV that you want to capture super slow-motion. Generally you’ll want to stick to outdoors; avoid using this in lowlight or dark indoor areas.
Lower Resolution Modes
All lower resolution modes share similar image quality attributes as the higher resolution versions. For example, 1440-60 is a scaled down version of 2.7K 4:3-60. 1080-120 is a scaled down version of 2.7K-120. The benefit of shooting lower resolution is mostly about SD card size and computer/mobile compatibility
Abe’s Go-To Modes for Maximum Image Quality:
Anything without Slow Motion: 4K 4:3 – 30
Anything Slow Motion: 4K – 60 Wide, 2.7K – 120 Wide, 1080 – 240 Wide
POV with Slow Motion: 2.7K 4:3 – 60 or 2.7K Super 60, 1440 – 120 or 1080 Super 120
Stabilized Modes (EIS): 4K – 30, 2.7K 4:3 – 30, 2.7K – 60
ProTune for Video in the HERO6
ProTune is a setting in the HERO6 that, if enabled, will force high bitrate for all video modes (up to 80 Mbit/s HEVC) as well as activates a few adjustable video settings – Shutter speed, Exposure Compensation, ISO Limits (min & max), White Balance, Sharpening, and Color Profile. I recommend everyone to be using ProTune if you are looking to get the highest quality image out of your HERO6. At the most basic level, if you enable ProTune and don’t touch the settings, your video footage will look exactly the same as it did without ProTune, but higher quality (higher bitrate). If you are interested in reading about what each of the ProTune settings mean, check out my article about video in the HERO4. All of the information presented is similar in HERO6.
New Lower ISO Setting
ISO level tells the camera how bright it should get in darker scenes by affecting the digital gain added to the video. By default it’s set to 3200. This means in a dark room it will use digital light gain to make it brighter and compensate for the darkness. The brightness comes at a price, which is noisy footage (grain, spots, etc). As you set the ISO limit lower, the footage will appear darker, but also cleaner with less noise. ISO limit won’t ever affect video footage during daylight or in bright situations because the camera won’t need to use the extra ISO boost. 100 is the darkest/cleanest looking footage, while 6400 is the brightest and noisiest footage. In the HERO5 the camera capped out with a minimum at 400, unless you were locking shutter speeds. Now with the HERO6 you can lock at 100 all the time, even in auto-shutter. I personally run at this level at all times on my cameras unless I’m filming in dark forests, indoors, or at night where I need to illuminate the scene more. If that’s the case I may bump it up to 400, or move all the way up to around 1200-1600. I feel that level is a decent trade off between an illuminated scene and noise in the image.
Abe’s Go-To ProTune Settings for Max Image Quality:
White Balance: Auto or 5500K (for daylight)
Color Profile: GoPro (Flat if you prefer detailed manual grading)
ISO Min: 100
ISO Max: 100 (400-1600 if at night)
Sharpening: Low
EV Compensation: 0
Is it Worth It?
In my view, the HERO6 is such a drastic improvement image-quality wise from anything that came before it, that it’s a no brainer upgrade for me. This is the camera that as soon as you play with it and see the video quality, you’ll have to have it for your film adventures. Without it, you’re stuck with the lower resolutions and frame-rates of the HERO5 (duh). The jump may not sound like much on paper, but when you start filming everything at 4K-60, or 2.7K-120, to go back seems impossible! For any of my filmmaker friends, I know that they’ll be getting a whole different look and feel with their content for this next year by using HERO6. High resolution mixed with slow motion allows you much more creativity in post. With that in mind, if you’re not the most video savvy person, and you’re looking for something basic, perhaps the HERO6 isn’t for you. HEVC files are only just starting to be supported in Apple’s hardware and software, and the high resolutions and frame-rates aren’t for everyone. If you owned a HERO4 and previously held out when the HERO5 came out because it didn’t offer enough new (image quality-wise), the 6 is made for you. Lastly, when you combine HERO6 with things like Karma, and Karma Grip, you have an instant tech upgrade for all your gear. Karma with HERO6 is definitely a game-changer, as well as Karma Grip.
Thanks for the support and feel free to ask any questions below!