This is an inside look at my personal tips and tricks to add polish to your GoPro drone, gimbal, and other clips by removing the fisheye and adding cinematic moves. In this tutorial I walk you through Premiere and After Effects step-by-step to make the most out of your footage. This tutorial is relatively advanced, and I assume you have a sufficient knowledge of Premiere, and know your way around After Effects.
This is curriculum I taught to the editors inside GoPro, and the same methods I’ve used on countless high-profile projects in my professional work. Below are some videos that utilize these methods to a large degree:
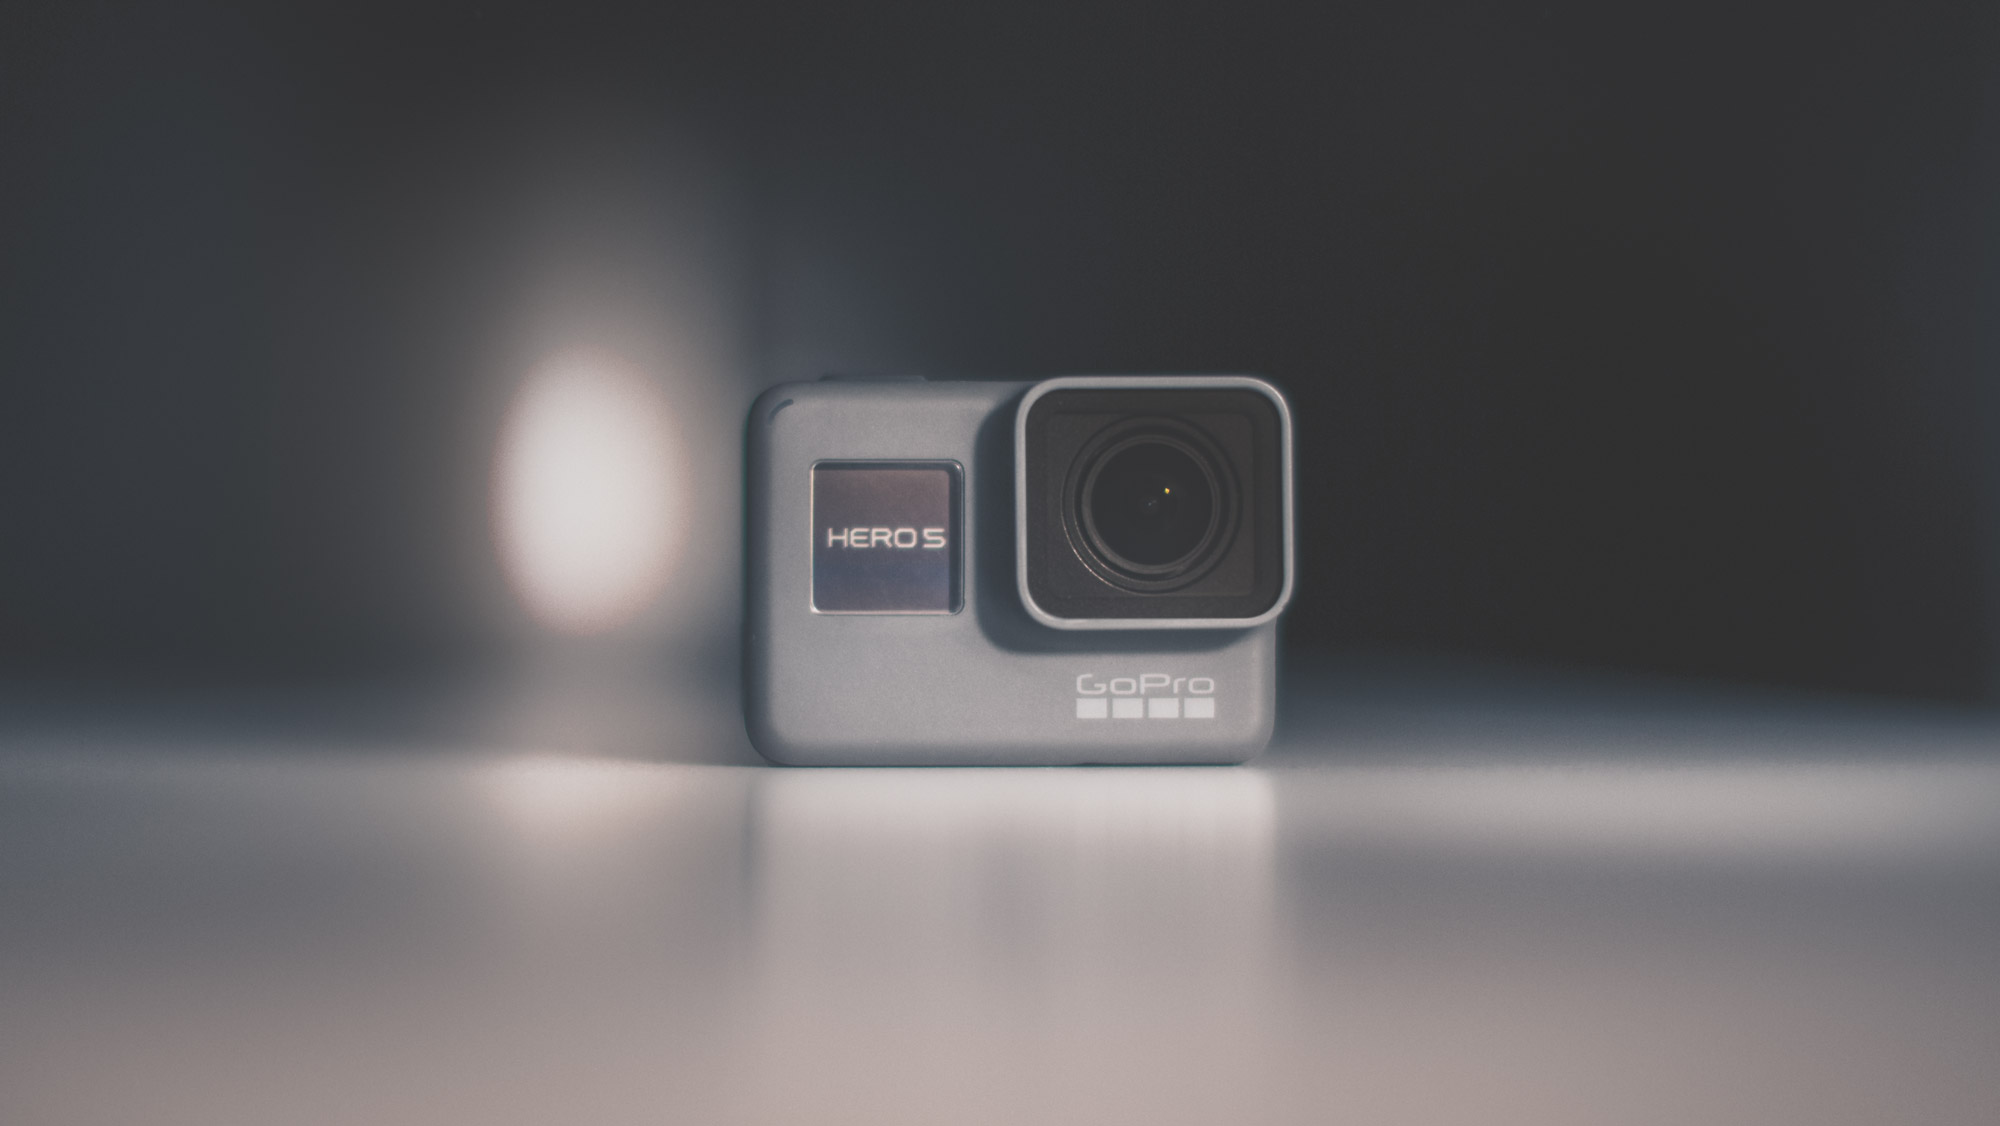
HERO5/Karma Launch Video
In this video, once we were finished and locked the cut, we went through and used optics compensation just as I’ve shown in the tutorial above. Each clip was dynamically linked and brought into After Effects. Keep an eye out where you see smooth rotating drone shots, and see if you can spot specific instances that look like they have moves done in post!
Japan Snow: A Search for Perfection
This was one of the first videos that I really utilized the techniques that I show in the tutorial above. You’ll recognize a few of the shots that I showed within the tutorial, as well as a bunch more. I suggest watching this video through and see if you can spot the shots that have optics compensation applied (there are a lot!).
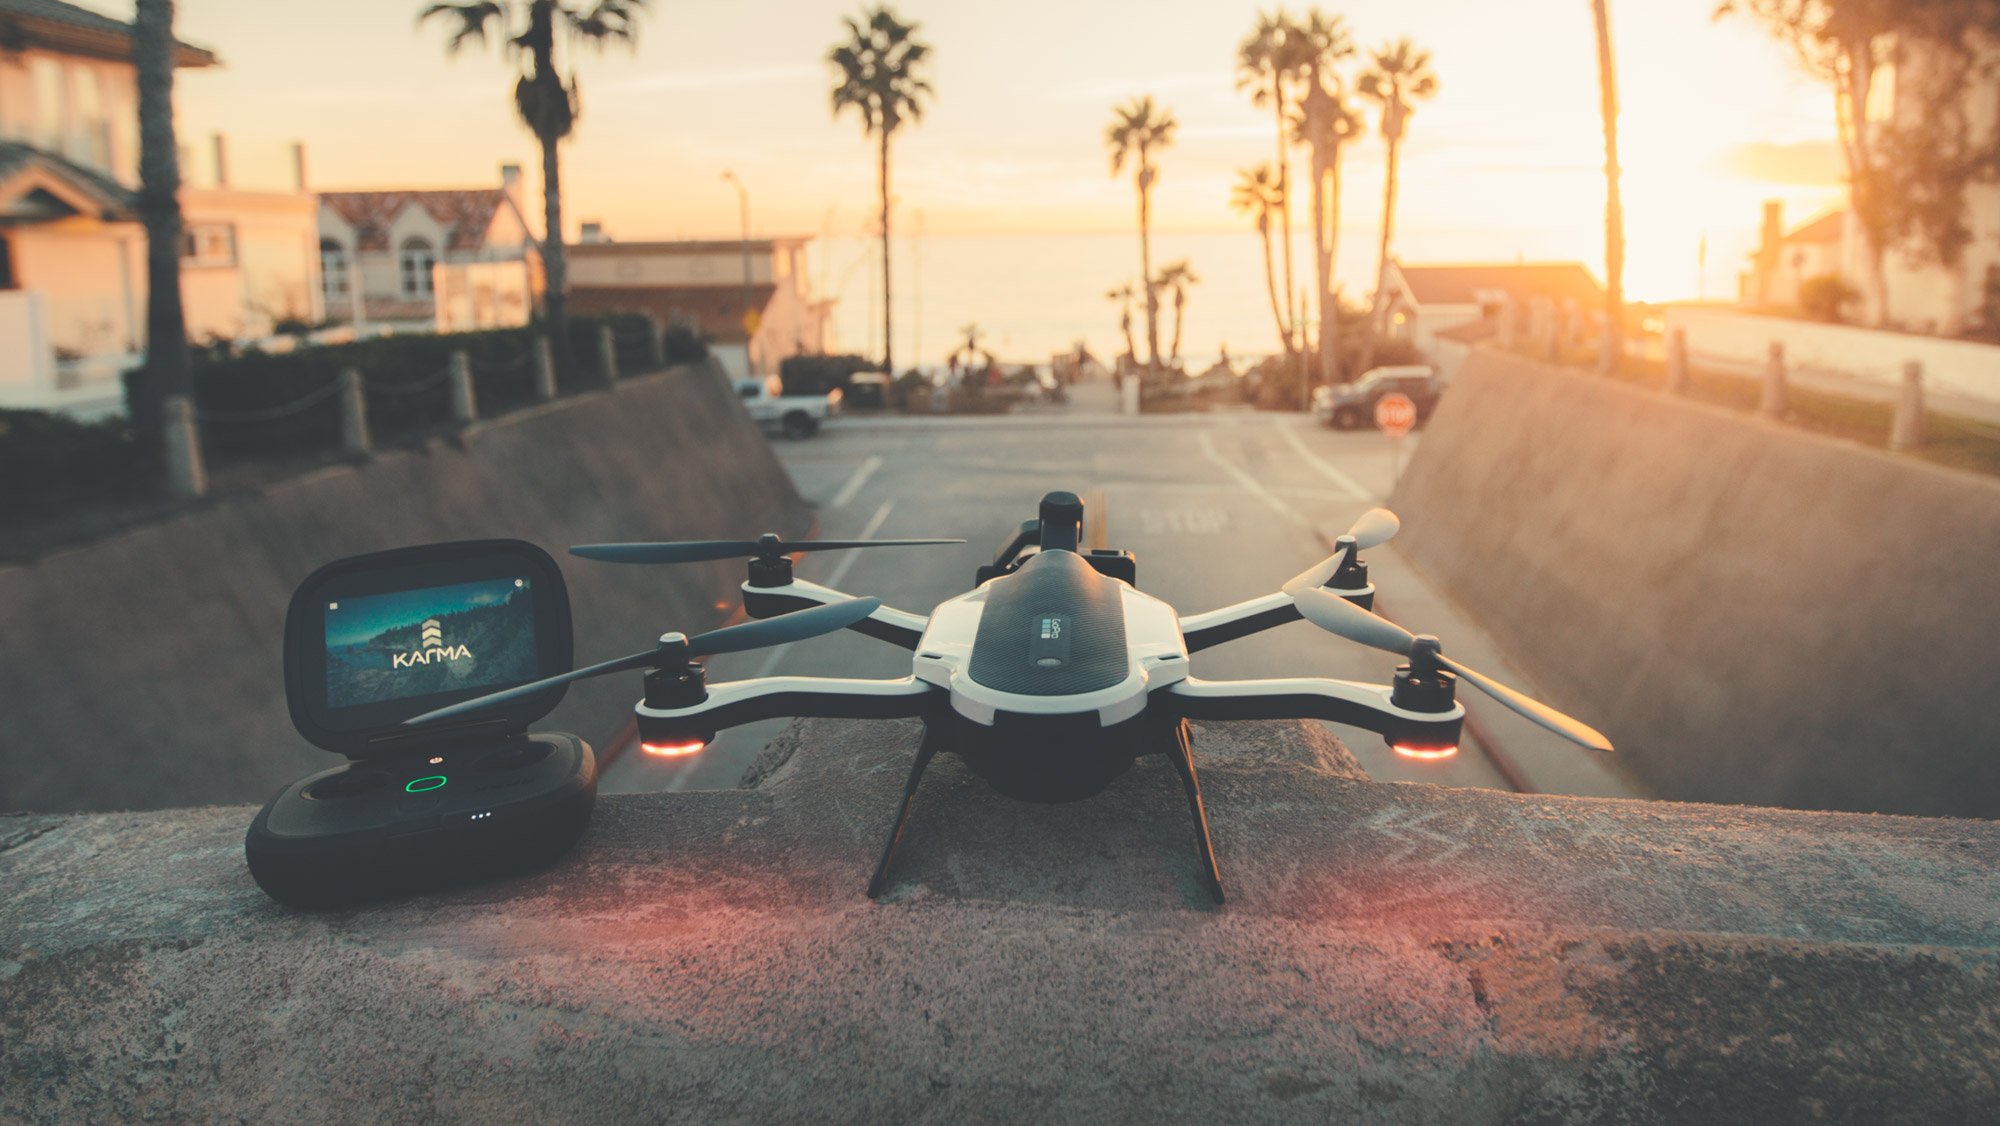
GoPro Karma: California Weekend
Watch the full original video from the tutorial!
Thanks for sitting through the tutorial! Let me know if you enjoy content like this, and if you want more! What would you like to see?
If you have any questions, don’t hesitate to ask below. Thanks!