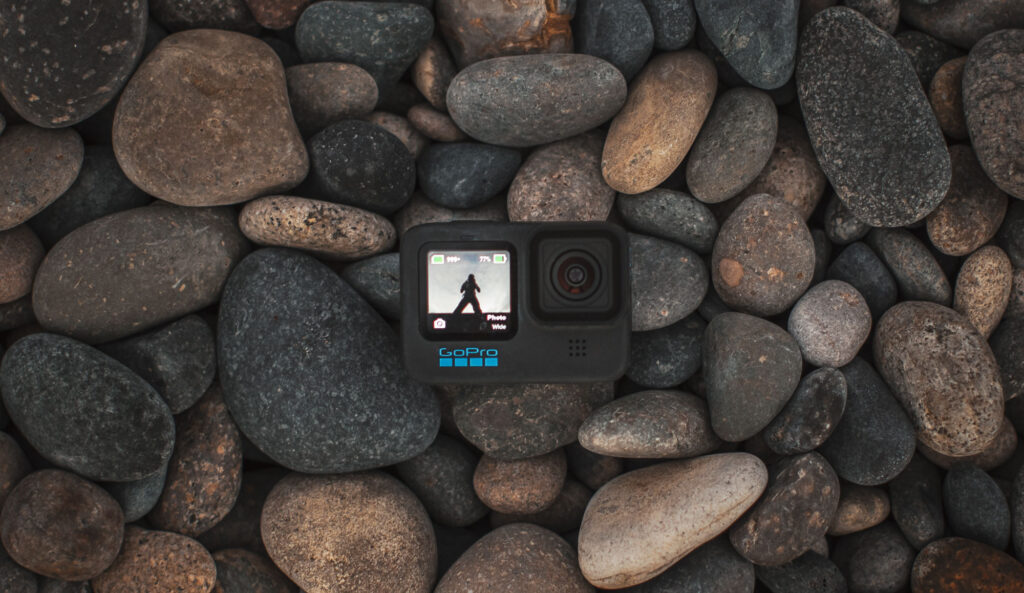
So you got a new HERO10 but you’re looking for how to get the best quality out of it? Look no further – I’ll dive into how I approach settings on my GoPro. If you aren’t super familiar with what you’re doing, start with this video where I run through all of the basics on how I set my GoPro up to get the best quality – and then continue on below to learn a little more of the under-the-hood with the HERO10.
The way I approach settings is generally dialing in the Protune settings first – which typically don’t change a whole lot – and then adjusting resolution, frame-rate, lens, and HyperSmooth on a shot-by-shot basis.
HERO10 Protune Setup
Below is what I set all of my cameras at to start. If you have any questions about these, check out the video above where I walk through my reasoning on each of these Protune controls.
Bit Rate: High
Shutter: Auto
EV Comp: -0.5
White Balance: Auto (or Specific Temp based on Scene)
ISO Min: 100
ISO Max: 1600
Sharpness: Low
Color: Natural
New Image Algorithms – LTM
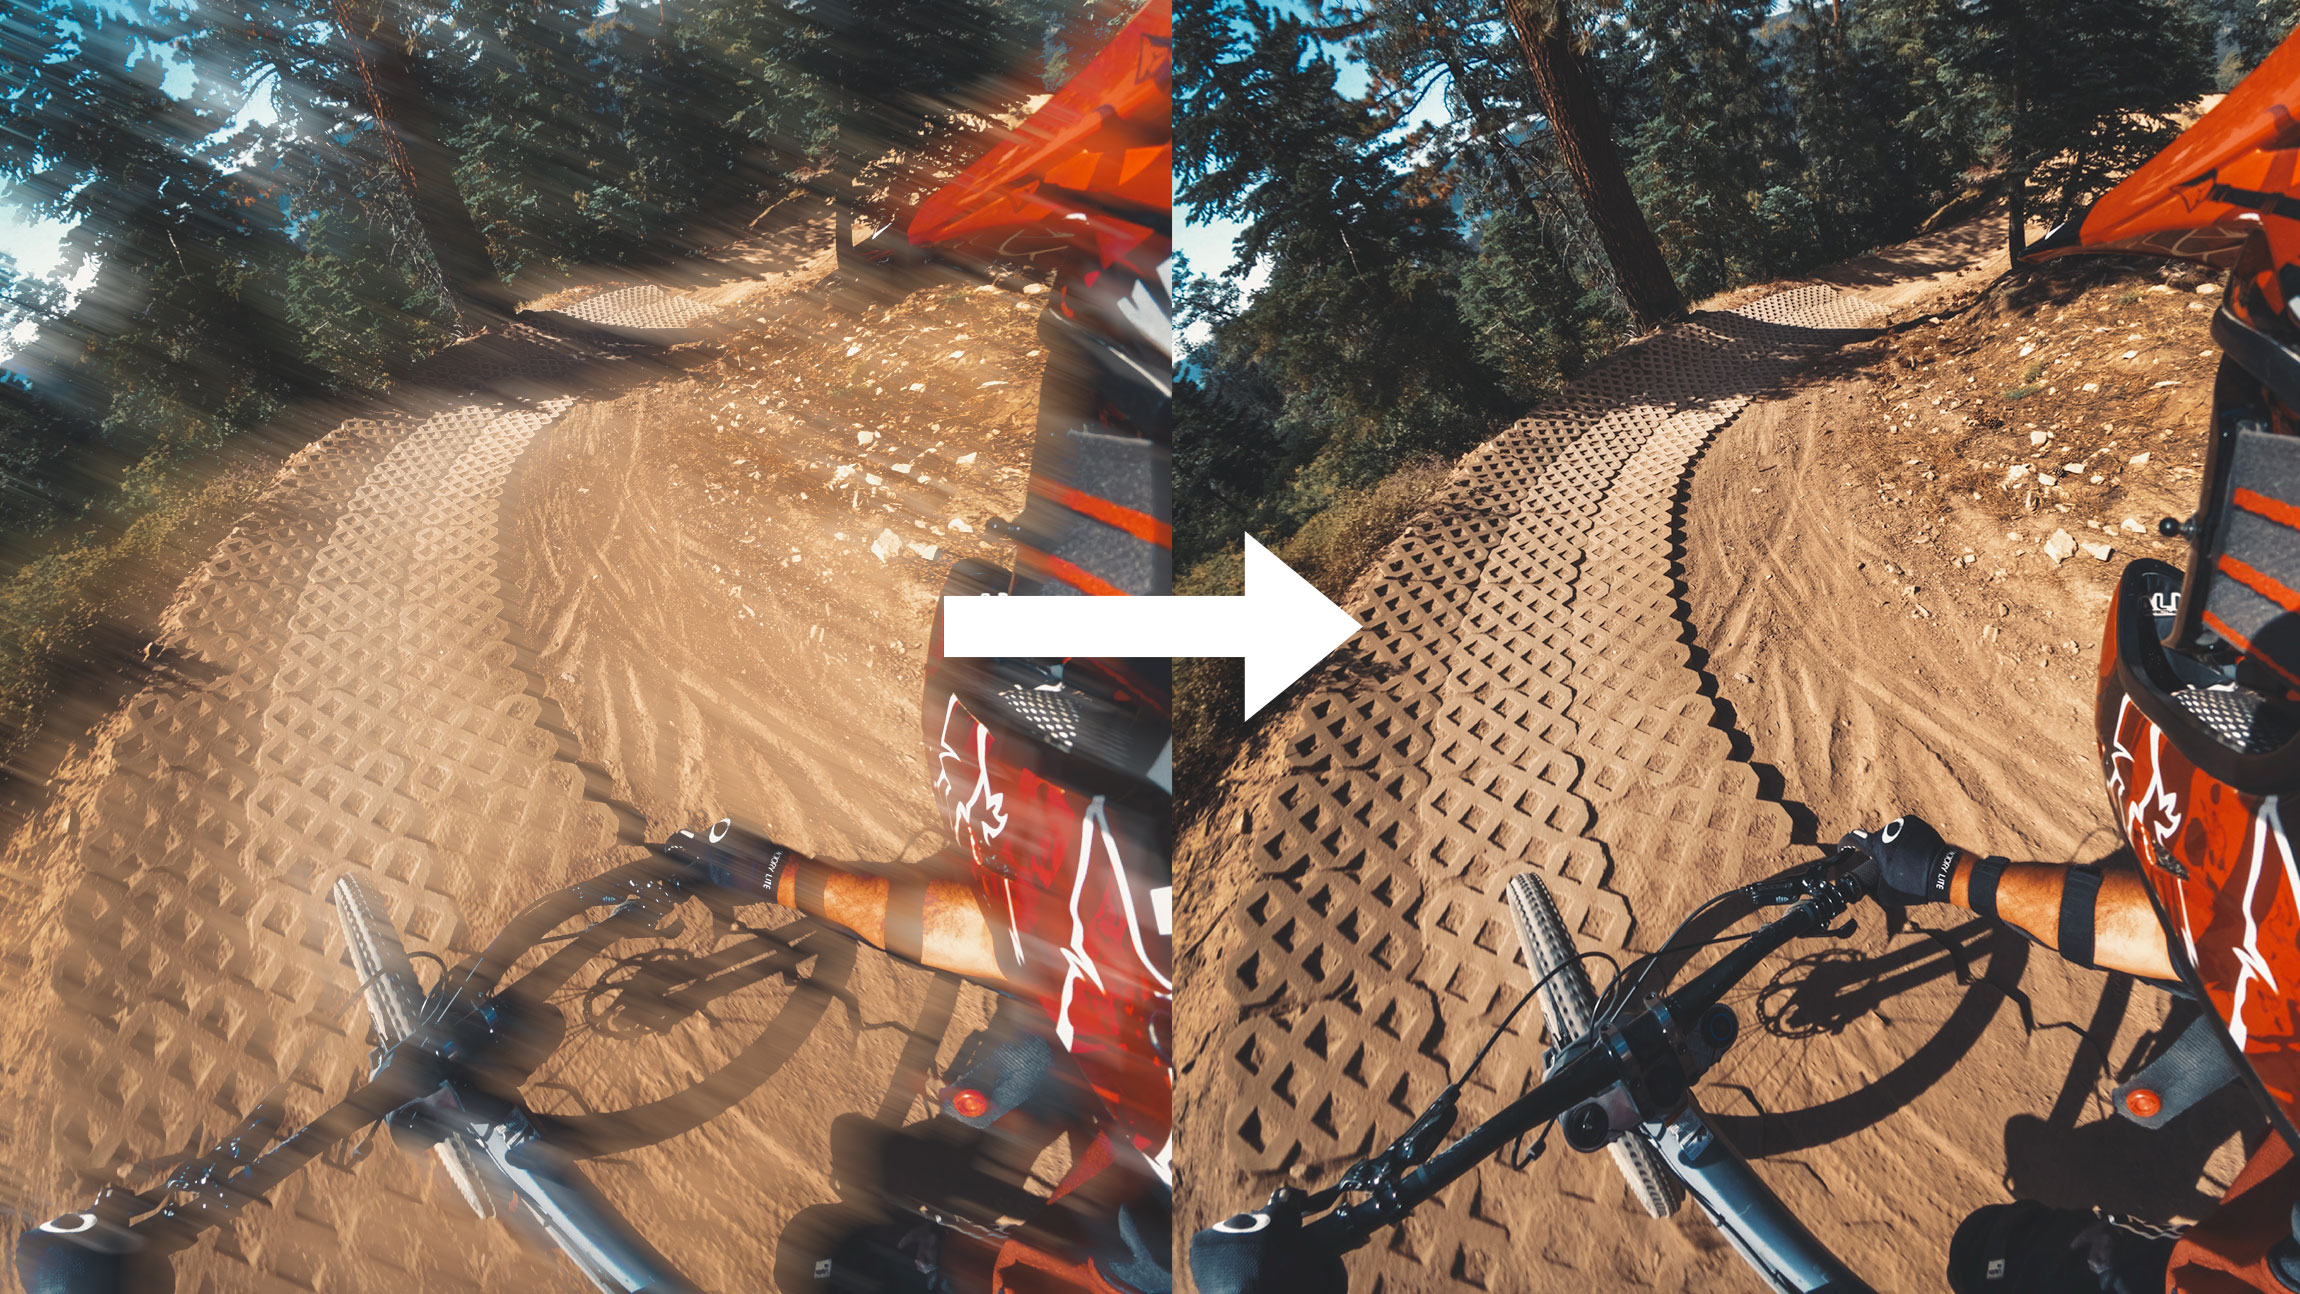
Thanks to GP2, HERO10 is able to use more advanced image processing on video. Local Tone Mapping or LTM is a process in which details are brought out in the video. You may have noticed HERO10 footage looks like it has more detail than HERO9, and this is typically thanks to the LTM, since the lens and sensor are identical between HERO9 and HERO10. LTM is present in both Vibrant and Natural color profiles, but NOT present in FLAT color profile. You may have noticed that LTM is slightly inconsistent, that’s because it’s missing from a few high-powered modes.
Modes without LTM
5.3K-60 | 4K-120 | 2.7K-240
LTM is also present in TimeWarp and all photo modes except GoPro RAW GPR files. If you prefer the look without LTM, I suggest using FLAT. I’ve advocated for an LTM specific switch, so we’ll see if that happens!
HERO10 Settings Guide
If you’re looking for the best quality from your GoPro, it’s best to change the settings based on what your intended use-case is for the specific shot. Things you should ask yourself: Do I need slow motion? Do I want more view? Do I need the best stabilization? All of these go into how I approach filming where I’m always optimizing the modes and settings. In the HERO10 you can set up a preset for each of the following to make it easy on yourself, or just learn what I chat through here and you can change your settings each time you go out.
The following scenarios are how I decide on what mode to shoot. I have an abbreviated version of this in the video above, but I’ll go a little deeper here because you probably are looking for the deep-dive and not just the single solution! Where I suggest 30FPS, you can extend that to 24FPS or 25FPS! Full 24FPS support is coming to HERO10 in a Nov. 16 update.
Travel / VLOG / Documentary
If you don’t need slow motion, this is the best for detail & stabilization.
Resolution: 5.3K-30
Lens: WIDE or LINEAR or LINEAR + HL
HyperSmooth: High
In 5.3K-30 you have access to HyperSmooth High which is almost Boost level stabilization without sacrificing the field of view. In this mode the Linear + Horizon Leveling lens has the same crop level as Linear. If you’ve tried using L+HL in HERO9 in 5K, you probably saw the video zoom in quite a bit – this is no-longer the case!
POV
For the widest field of view, use these modes. Adjust depending on your need for slow-motion.
Resolution: 5K 4:3-30 | 4K 4:3-60 | 2.7K 4:3-120
Lens: WIDE or LINEAR or LINEAR + HL
HyperSmooth: Standard
If you’re shooting POV footage, or video that’s mounted where you want more view, shooting in 4:3 modes offer the most amount of view vertically. 5K 4:3 and 4K 4:3 will appear to have a pretty significant jump in quality compared to 2.7K 4:3 at 120FPS, so I typically prioritize shooting 4K 4:3 if I want slow motion, and use 2.7K 4:3 a little more sparingly. For all 4:3 modes the only HyperSmooth mode that’s available is Standard or Boost, but I like retaining the wide FOV that Standard offers. Also in all 4:3 modes, the crop between Linear and Linear + HL are the same.
Cinematic
For the highest quality with 2x slow-motion use this mode.
Resolution: 5.3K-60
Lens: WIDE or LINEAR
HyperSmooth: Standard
HyperSmooth High is not available when shooting 5.3K at 60FPS. If you want better stabilization, you can shoot in Linear; however L+HL will crop in on this mode, so I recommend staying at Wide or Linear.
Slow Motion
For 4X slow-motion and above use these modes.
Resolution: 4K-120 | 2.7K-240 | 2.7K 4:3-120
Lens: WIDE or LINEAR
HyperSmooth: Standard
Prioritize using 4K-120 over the other two options, as both 2.7K-240 and 2.7K 4:3-120 will see a drop in quality. HyperSmooth High is not available when shooting 4K at 120FPS or 2.7K at 240FPS. If you want better stabilization, you can shoot in Linear; however L+HL will crop in on these modes, so I recommend staying at Wide or Linear. Something to note is that battery will suffer pretty significantly at these modes so have extra batteries on-hand! The HERO10 changes the battery percentage based on the mode that you’re using, so you’ll see your battery level drop as soon as you change to these modes.
Best Stabilization
For the best stabilization with the widest view, use these modes. Linear & Linear + HL will have best stabilization overall, but wide in these modes is still very good and almost Boost level.
Resolution: 5.3K-30 | 4K-60 | 2.7K-120
Lens: WIDE or LINEAR or LINEAR + HL
HyperSmooth: High
If you’re after the best possible stabilization while keeping the widest field-of-view, these options will be your best bet. I will utilize these options if I know stabilization is my #1 priority, even if I’m shooting POV. Chest-mounted mountain biking is a good example where 5.3K-30 Wide in HyperSmooth High excels.
Lowlight
If you’re looking to film indoors or at night, these modes will offer the best noise reduction and detail.
Resolution: 4K-30 | 1080-60
Lens: WIDE
HyperSmooth: High
These are the two modes in the HERO10 that utilize a new process of 3DNR noise reduction algorithms. You’ll see better detail and noise-handling in 4K-30 over using another similar mode such as 5.3K-30. If you need slow-motion, 1080-60 is the only mode that currently supports this 3DNR. Additional related modes that support 3DNR are 4K 4:3-30 and 4K-30 Superview.
FPV Drone (with Reelsteady GO)
For the best quality with FPV drone, use these modes in conjunction Reelsteady GO.
Resolution: 5K 4:3-30 | 4K 4:3-60
Lens: WIDE
HyperSmooth: OFF
ISO Max: 100
When you send clips through Reelsteady GO, it reduces the vertical frame size on output. For this reason, I suggest shooting in 4:3 so your final output is still 16:9. Take note that I like to change my Max ISO to 100 for drone-use to get smooth motion blur. Also if you intend to use ND filters, make sure you keep your ISO at 100, otherwise you’re introducing unnecessary noise into your image. Lastly, for use with Reelsteady GO, you should have HyperSmooth turned OFF.
TimeWarp
For the best stabilization use higher speeds & Linear or Linear + HL
Resolution: 4K 4:3
Lens: LINEAR
Speed: 30x for 10min+, 15x for 5-10min durations, 5x or 10x for 1-5min durations OR AUTO.
ISO Max: 100
I keep ISO Max at 100 to have decent motion blur on my TimeWarps. I always shoot Linear to offer better stabilization, and typically always shoot 10X or above.
Night Lapse (Stars & Milky Way)
For the darkest skies, use the following settings.
Mode: Night Lapse Video
Resolution: 4K 4:3
Lens: Wide
Shutter: 30s
Interval: AUTO
ISO Max: 800
For full moon or cityscapes lower ISO to 100, 200, or 400 based on the available light – or utilize AUTO shutter as mentioned below.
Night Lapse (Cityscapes, Traffic, Sunrise & Sunset, Holy Grail)
For a Holy Grail timelapse (Night to Day) or anything brighter than a full starry night sky use the following settings.
Mode: Night Lapse Video
Resolution: 4K 4:3
Lens: Wide
Shutter: AUTO
Interval: 10s or 15s or AUTO
ISO Max: 100
Use ISO 200, 400, or 800 to get more light in the scene. If the exposures are short, use AUTO interval to get photos back-to-back quickly.
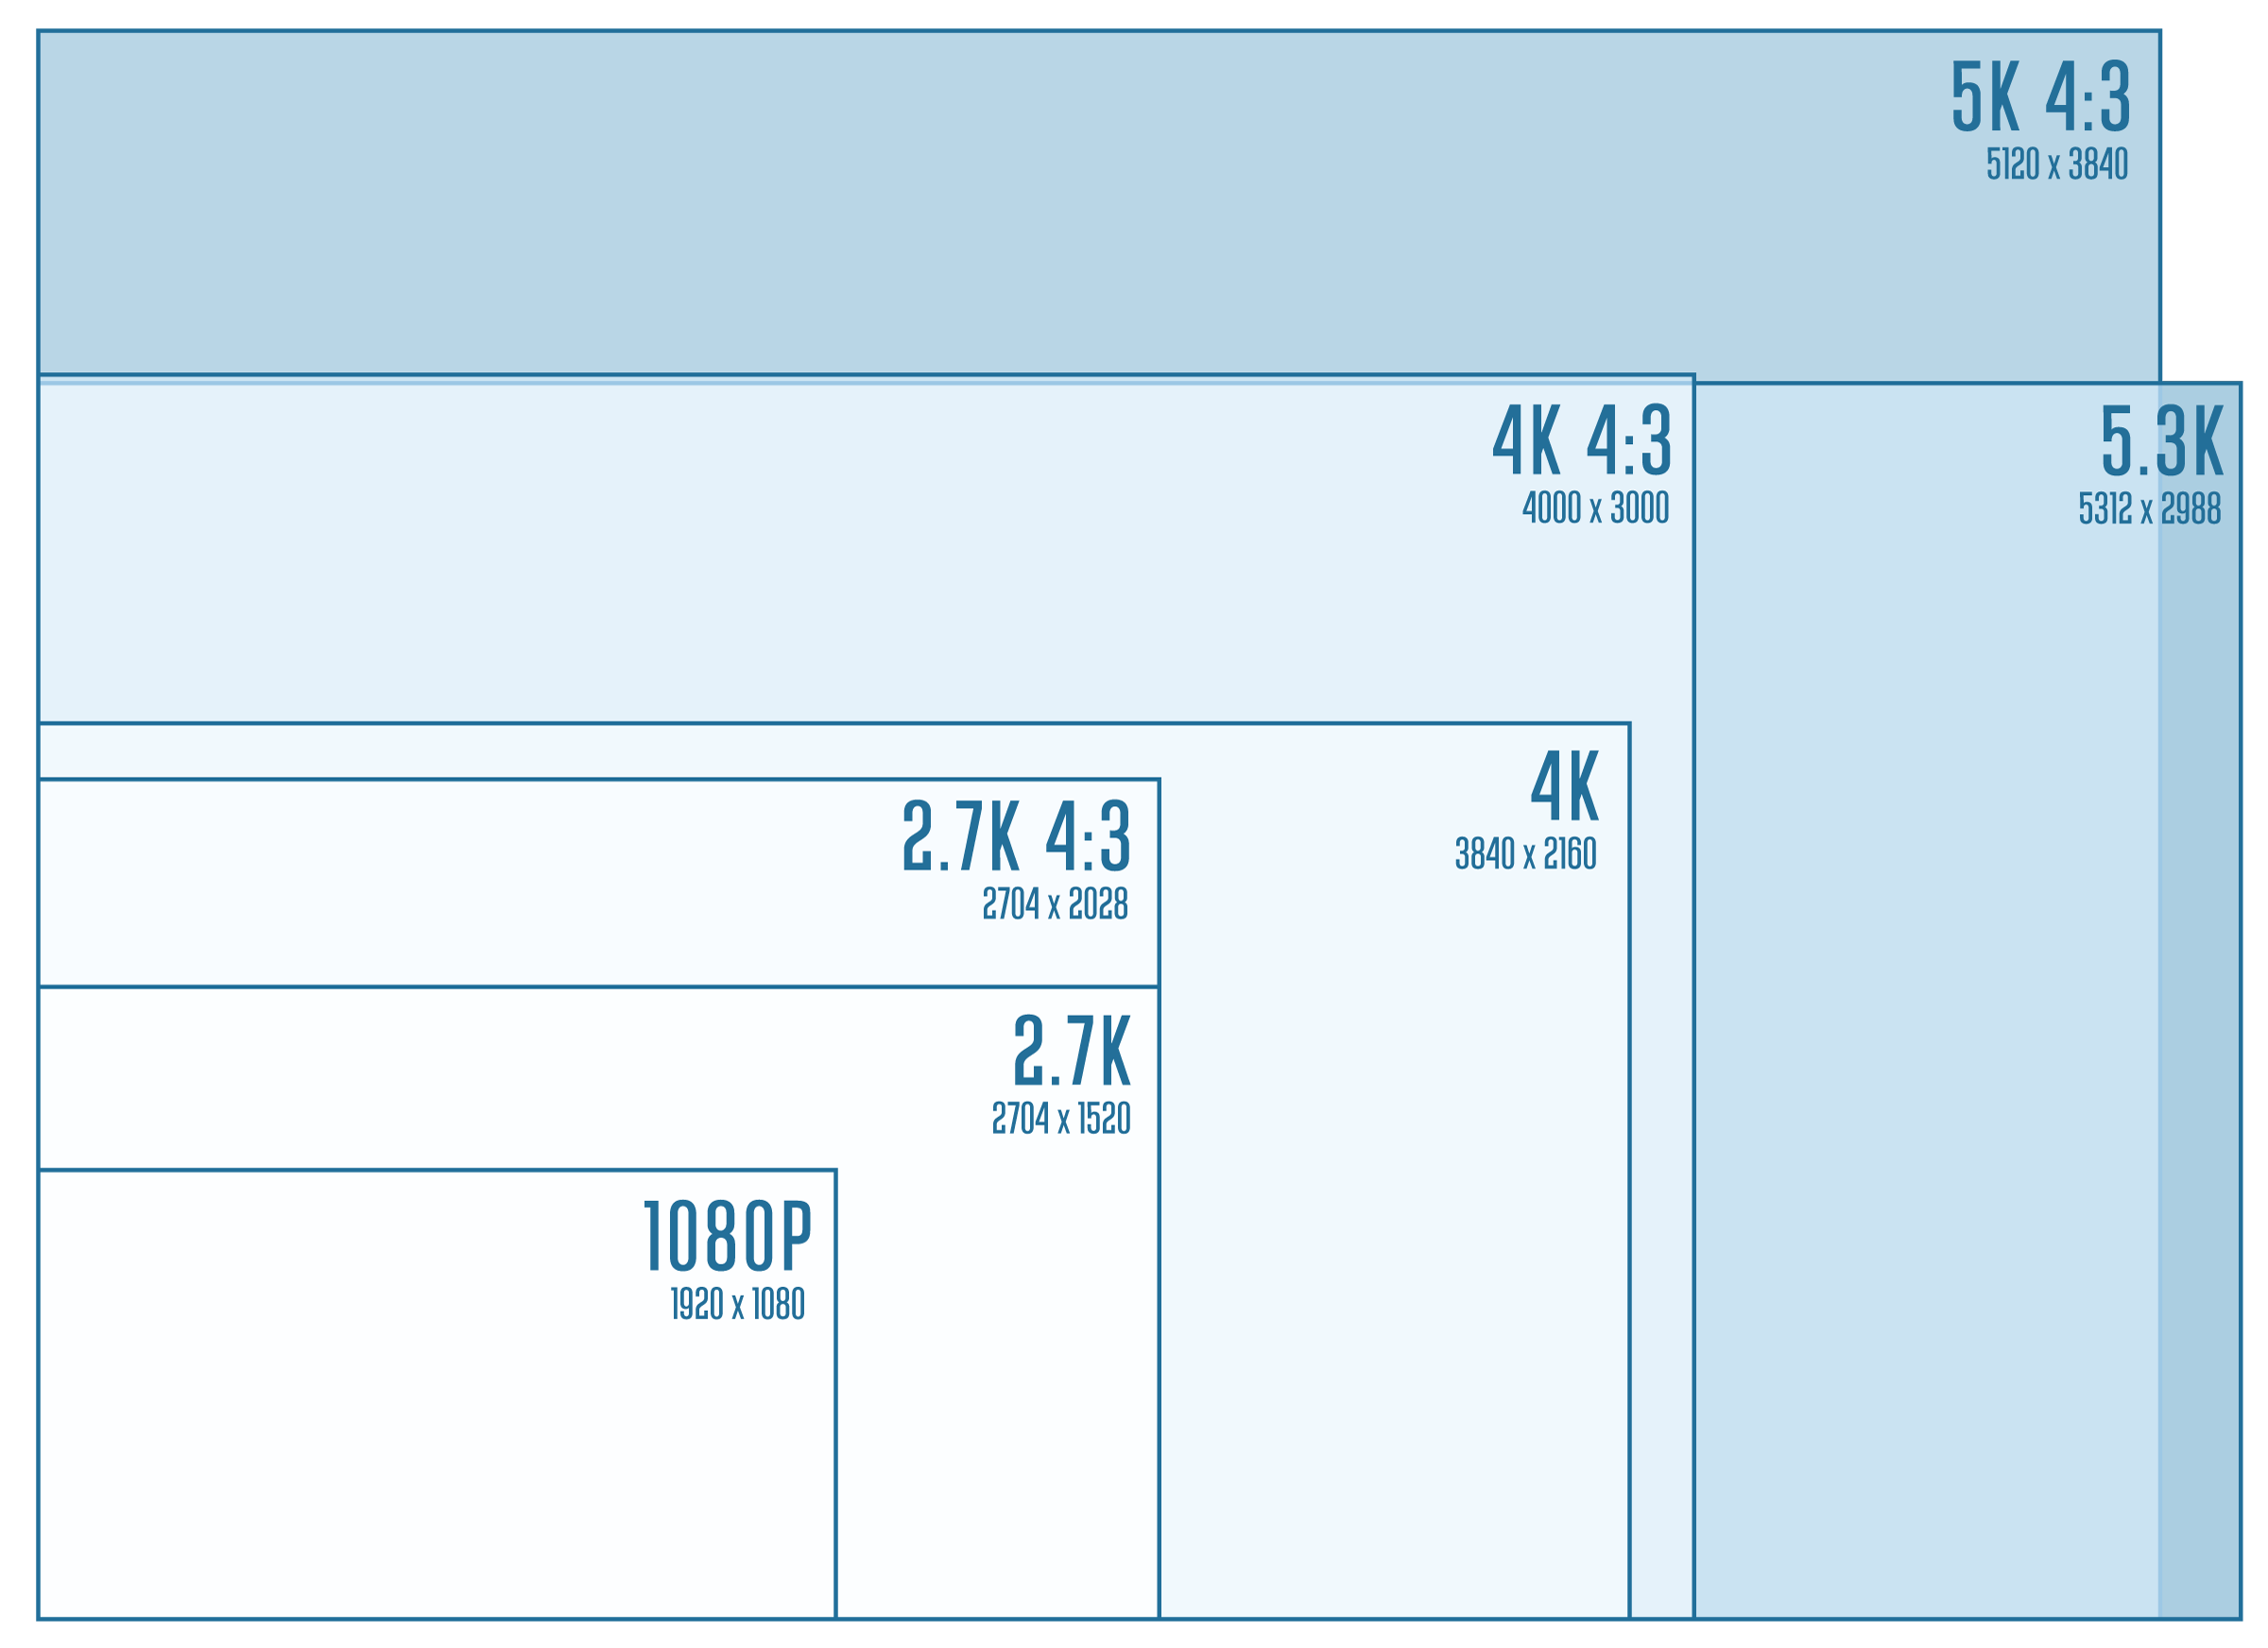
HERO10 Settings Table
All of the considerations of modes above can be a little confusing so I’ve put together a table below to consolidate the information.
16:9 Modes
| RESOLUTION | FPS | HyperSmooth High | Linear & Linear + HL Same Crop | LTM |
| 5.3K 5312 x 2988 | 60 | ❌ | ❌ | ❌ |
| 5.3K 5312 x 2988 | 30/24 | ✅ | ✅ | ✅ |
| 4K 3840 x 2160 | 120 | ❌ | ❌ | ❌ |
| 4K 3840 x 2160 | 60/30/24 | ✅ | ✅ | ✅ |
| 2.7K 2704 x 1520 | 240 | ❌ | ❌ | ❌ |
| 2.7K 2704 x 1520 | 120/60 | ✅ | ✅ | ✅ |
| 1080 1920 x 1080 | 240 | 120 | 60 | 30 | 24 | ✅ | ✅ | ✅ |
4:3 Modes
| RESOLUTION | FPS | HyperSmooth High | Linear & Linear + HL Same Crop | LTM |
| 5K 4:3 5120 x 3840 | 30 | 24 | ❌ | ✅ | ✅ |
| 4K 4:3 4000 x 3000 | 60 | 30 | 24 | ❌ | ✅ | ✅ |
| 2.7K 4:3 2704 x 2028 | 120 | 60 | ❌ | ✅ | ✅ |
In summary, HERO10 brings a whole new level of high quality with 5K 4:3, 5.3K-60, 4K 4:3-60 and 4K-120. You have better HyperSmooth in more modes, and better image quality throughout. Don’t forget to submit your HERO10 content to the GoPro Million Dollar Challenge! If you have any questions don’t hesitate to shoot them below! Cheers!