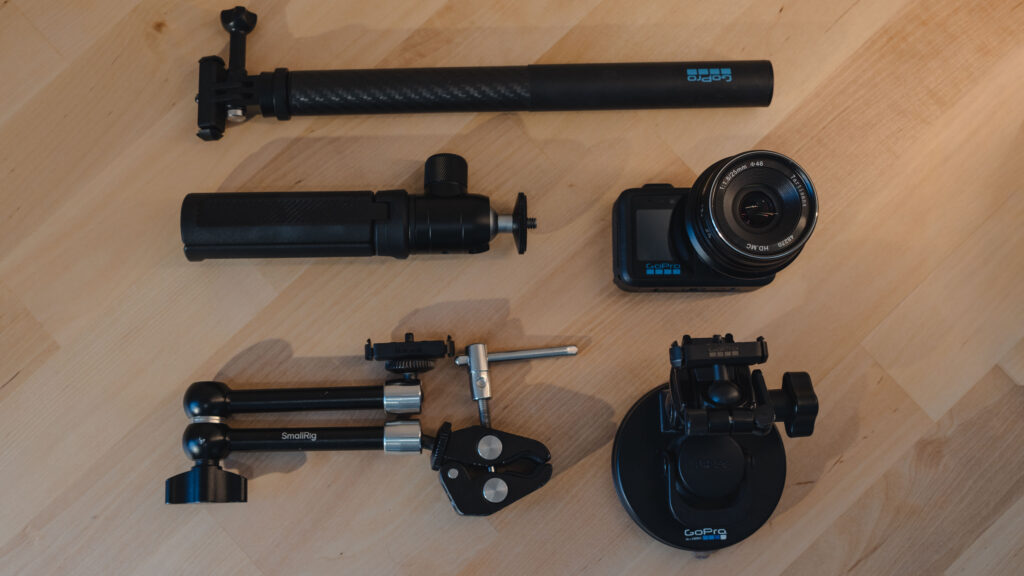
I’ve spent a lot of time figuring out how I actually want to carry and shoot MISSION 1 PRO ILS while traveling.
In my opinion, the appeal of ILS is having a really capable camera without the extra gear. I don’t want a huge camera bag full of rigging, monitors, tripods and accessories.
At this point, I’ve narrowed it down to a relatively small group of things that I bring with me. If I have the camera, a few lenses, and the accessories below, I can probably get 95% of the shots I want on a normal travel or adventure shoot.
This isn’t meant to be an exhaustive list of everything you can attach to ILS. It’s simply the stuff I actually use.
If you’re looking for lenses, I have a separate guide here:
Best Lenses for GoPro MISSION 1 PRO ILS
My Handheld ILS Setup
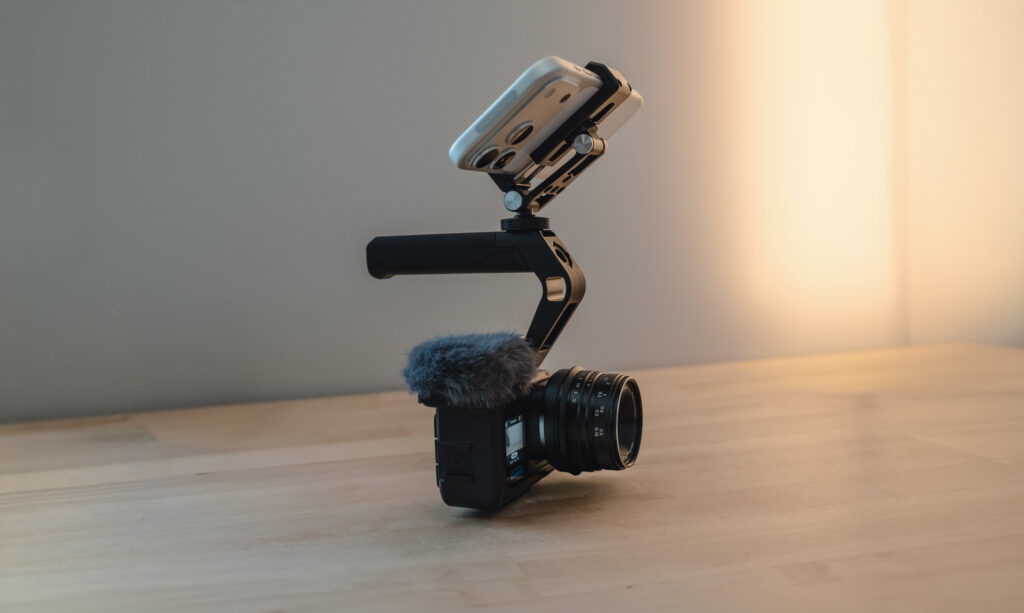
For normal run-and-gun shooting, I like turning ILS into a small handheld camera rig with my phone mounted above, running the MISSION Monitor App.
This gives me a much larger display, adds more focus peaking, zebras, guides, and LUTs. It helps for focus, framing, and makes the whole setup feel much more like shooting with a traditional cinema camera, while still staying really small.
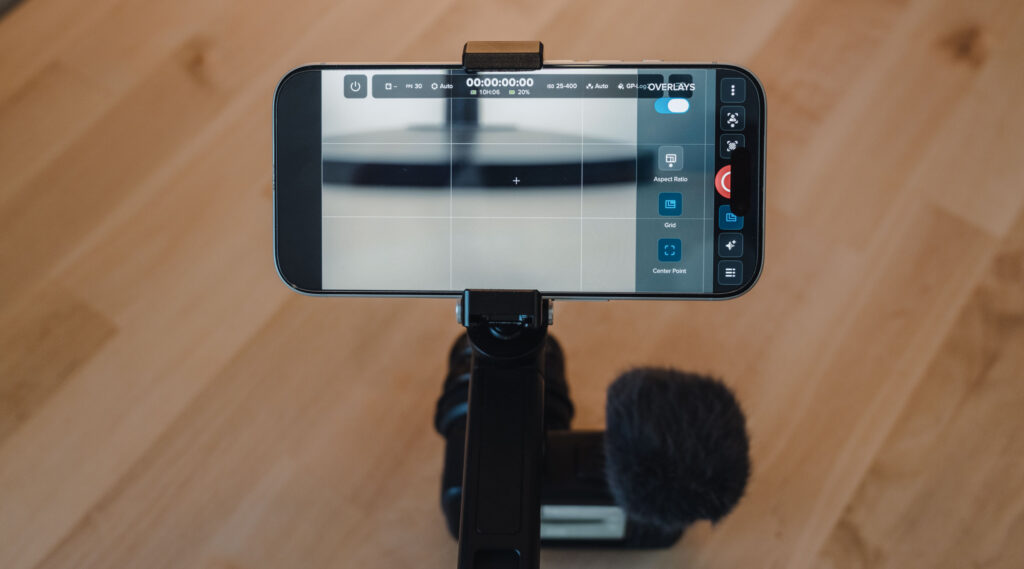
To use Mission Monitor, you can plug a USB-C to USB-C cable directly to your phone and the camera OR you can use it wirelessly. To enable wireless connection, there’s a secret menu on the home-screen of the app if you tap 10 times. It will show the wireless connection option (wireless is in Beta for now).
The basic setup is:
ILS → Cage → Top Handle → Phone Mount → Phone running MISSION Monitor
GoPro Point-and-Shoot Grip + Cage
Buy: Amazon
This is probably the simplest option for most people. It gives ILS a protective cage, a proper grip for handheld shooting and mounting points for accessories. The side grip and shutter control bar can both come off revealing a great metal cage with cold shoe on top and 1/4-20 on the side.
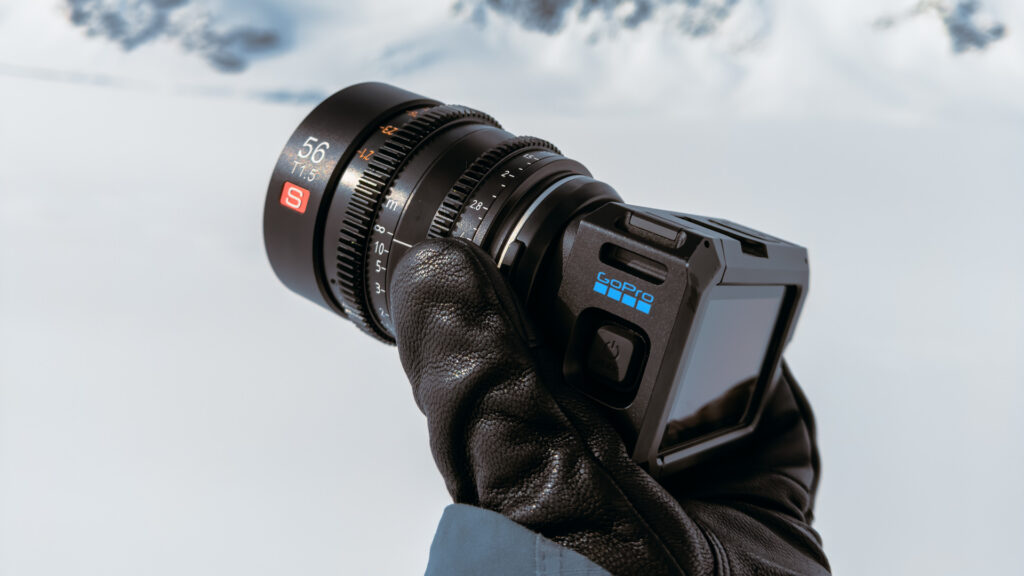
For a lightweight travel setup, this is what I would start with.
OR: GoPro Media Mod for MISSION 1 Series
Buy: GoPro
If you want more of a production-oriented setup, you can use the Media Mod instead.
It gives you mounting options while also adding the expanded audio and video connections that are useful if you’re building ILS into a more complete camera rig. The new onboard shotgun mic is very good, and the included dead-cat is great at cutting out wind-noise.
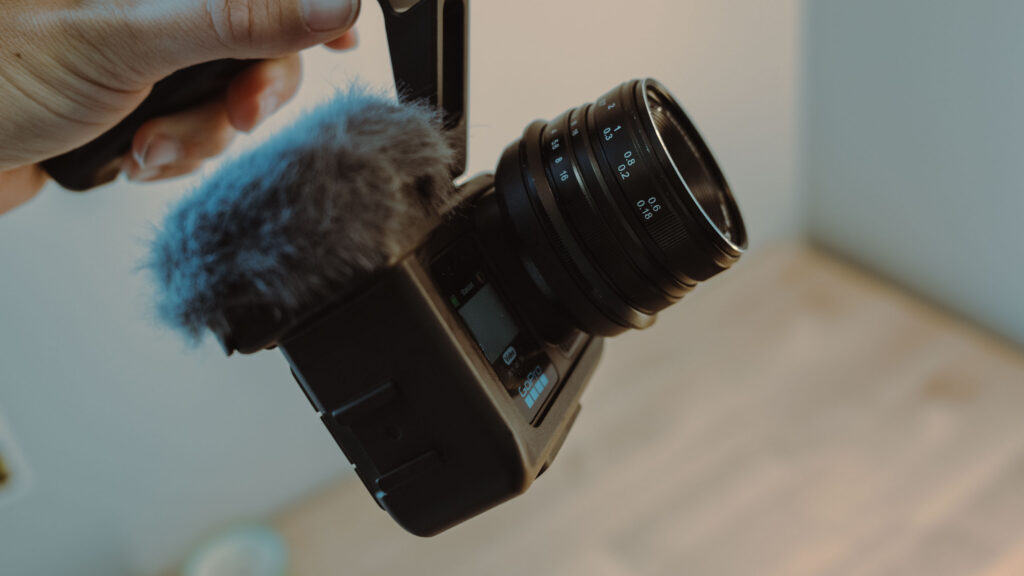
You definitely don’t need both the Media Mod and Point-and-Shoot Cage. Choose whichever makes more sense for how you’re going to shoot.
SMALLRIG Cold-Shoe Top Handle
Buy: Amazon
This is one of the simplest additions but makes a big difference.
I mount the top handle to the cage and use it both for carrying the camera and getting low handheld shots. It also gives me a convenient place to mount my phone above the camera.
SMALLRIG Universal Phone Holder
Buy: Amazon
I attach this to the top handle and use my phone as the external display with MISSION Monitor.
The nice thing about this setup is that everything stays compact. I can pull the camera out, attach my phone and have a much more traditional handheld shooting setup without bringing a dedicated external monitor.
Keep an Air Blower in Your Camera Bag
Air Blower
Buy: Amazon
This isn’t exciting, but I would consider it essential with ILS.
As soon as you’re changing lenses in the field, you’re eventually going to get dust somewhere you don’t want it, either on the sensor or on the rear element of a lens.
I keep one of these little air blowers in my camera bag all the time. They’re cheap and will save you from discovering a giant dust spot across an entire day of footage.
My Most-Used ILS Mount
SMALLRIG Magic Arm + Clamp
Buy: Amazon


A magic arm and clamp lets you turn almost anything around you into a camera mount. I’ve used these on railings, tables, poles, products and whatever else happens to be around.
Optional: GoPro Magnetic Latch + 1/4-20 Mount
Buy: Amazon
I like putting a Magnetic Latch 1/4-20 Mount on the end of the magic arm. It’s not required, but it makes the setup way faster. Instead of screwing the camera onto the magic arm every time, I can snap ILS on and off and move between angles quicker.
GoPro Suction Cup
Buy: B&H


The standard GoPro suction cup is pretty much always in my travel bag.
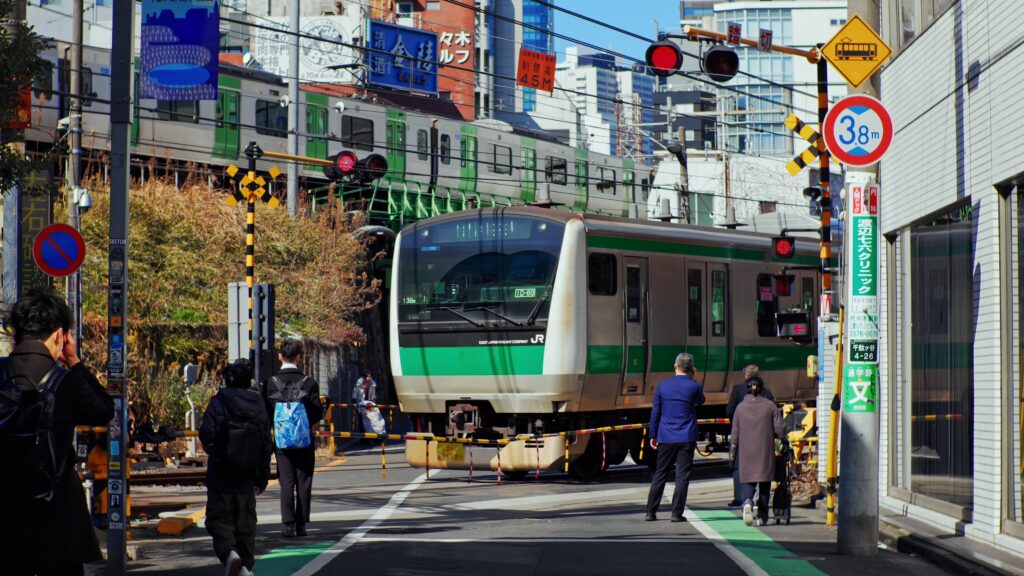
I’ve been using suction cups forever for car shots, windows and anywhere else I have a smooth surface available. It packs down small and opens up a completely different group of shots compared with handheld shooting. This little setup was with me on every train window in Tokyo.
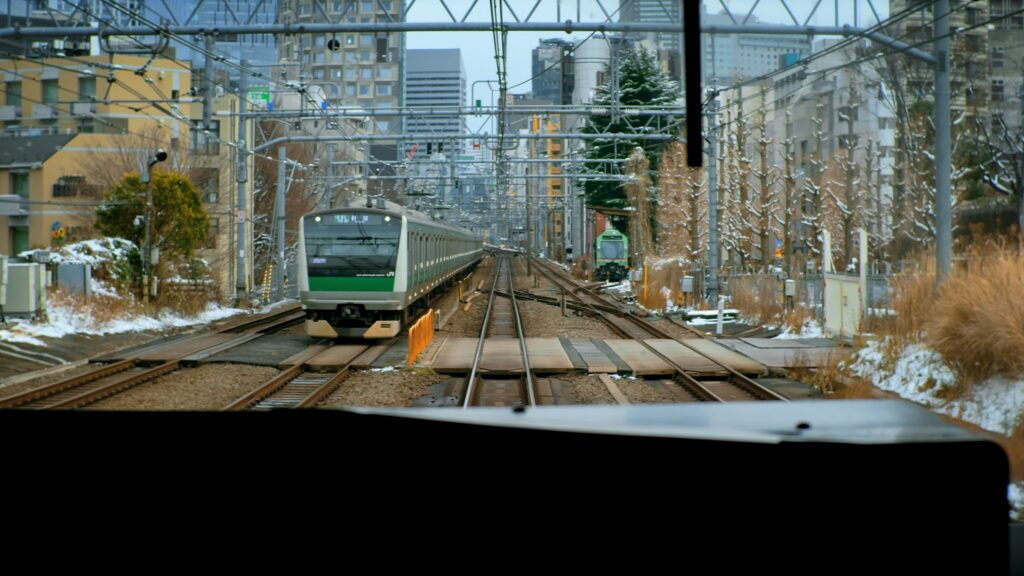
If you don’t already have one, you’ll also need a standard GoPro Quick Release Buckle (or magnetic latch ball joint mount) TeamBronco_Ambassador @fordbronco for even more angle options. :
GoPro Grab Bag / Quick Release Buckles
My Lightweight Travel Tripod Setup
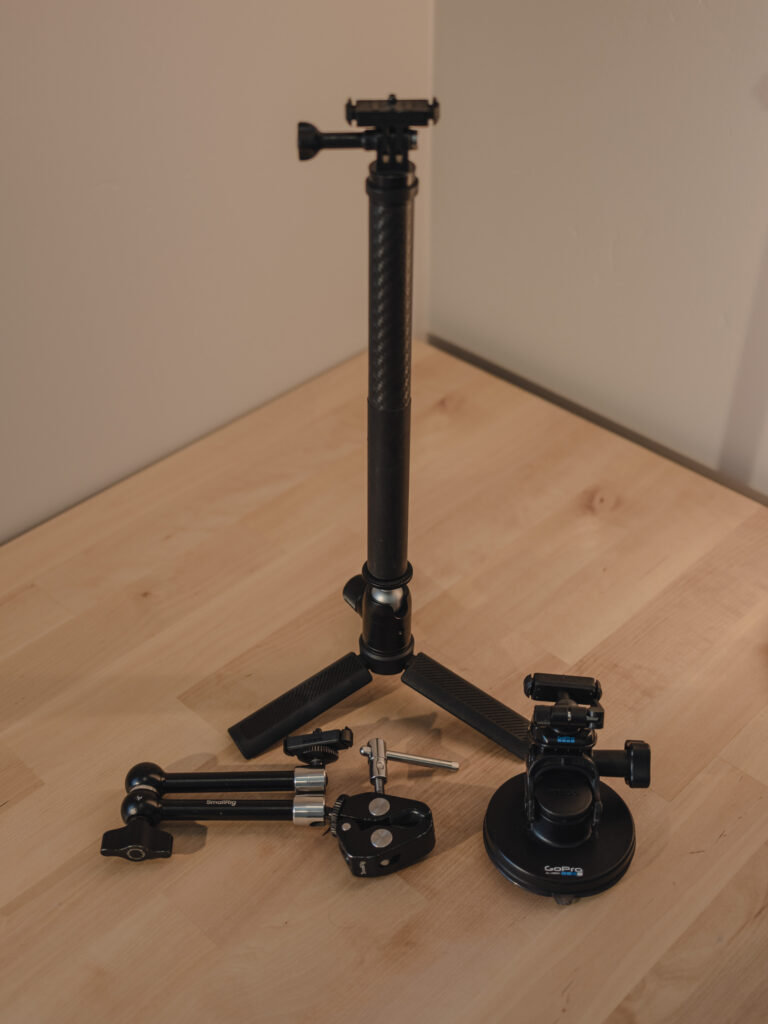
This is probably my favorite little rig in the entire kit. Rather than carrying a traditional full-size tripod which is big and builky, I use a tiny tripod base with a ball head and an extension pole.
The Stack: Tripod Base → Ball Head → Extension Pole → GoPro Adapter → Magnetic Latch Mount → ILS
Manfrotto 209 Tabletop Tripod
Buy: Amazon
This is the base of the setup. You can use any tripod base; however, I recommend this one because it’s metal, very sturdy, and I’ve had one of these last me over 15 years. The overall setup becomes very small and easily can come with you on your adventures and travels.
One important thing to know: the Manfrotto 209 uses a 3/8-inch mounting screw, so you’ll want a ball head with a 3/8-inch female thread on the bottom.
Mini Ball Head
Buy: Amazon
The ball head gives you the ability to level the extension pole when the ground isn’t perfectly level and adjust your framing without having to reposition the entire tripod.
The combination of the 209 and a tiny ball head basically becomes an ultra-compact base for whatever pole you want to use.
Which Extension Pole?
You can use almost any telescoping pole for this setup. The longer the pole, the more flexibility you have. You can leave it collapsed for a low tripod shot or extend it to get the camera up to normal tripod heights.
If budget isn’t a major concern, I would get the GoPro 9ft / 2.7m Carbon Fiber Extension Pole. That’s the setup I prefer because the added height just adds flexibility with the angle. I’ve found myself frustrated when I have shorter poles that I can’t get up to eye-level or chest level.
You don’t need the most expensive pole. Any basic telescoping pole accomplishes the same thing.
GoPro Carbon Fiber Extension Pole
Buy: GoPro
The GoPro carbon pole benefit is strictly height (and build quality). I like having the extra height if I need it. Remember GoPro subscribers get 50% off accessories now, so this comes down from $170 to $85.
AKASO 1M Extension Pole
Buy: Amazon
A much less expensive option if you don’t need a ton of height. This will get up to waist height, which is decent for many static shots, but you might prefer more height.
TELESIN 3M Extension Pole
Buy: Amazon
If you’re primarily after height but don’t want to spend the money on the GoPro carbon pole, this is another option.
GoPro Magnetic Latch Mount
Buy: Amazon
At the very top of the tripod/pole setup, I like having the GoPro Magnetic Latch Mount. I can have my tripod already setup, walk around shooting handheld with ILS, and when I see a shot that needs to be static I can snap the camera onto the tripod in a couple seconds.
The ILS Travel Kit I’d Buy First
For handheld shooting:
Point-and-Shoot Grip + Cage
SMALLRIG Top Handle
SMALLRIG Phone Mount
MISSION Monitor
For mounting:
SMALLRIG Magic Arm + Clamp
GoPro Suction Cup
For tripod shots:
Manfrotto 209
Small Ball Head
GoPro 9ft Carbon Fiber Extension Pole
Magnetic Latch Mount
And always:
Air Blower
This little group of accessories is what I’ve found comes with me on most of my travels, and most of the time I find less is more. This setup is small enough that I’m willing to bring it with me, and that’s the most important aspect of being able to capture stuff on the go – you need to have your gear along with you!
That’s ultimately the point of ILS for me. I want the creative flexibility of a larger camera system without building a giant camera package around it. A couple lenses, a handful of these accessories and a small backpack or shoulder bag gives me a setup I can actually travel, ski, ride and explore with while still being able to capture moments along the way.