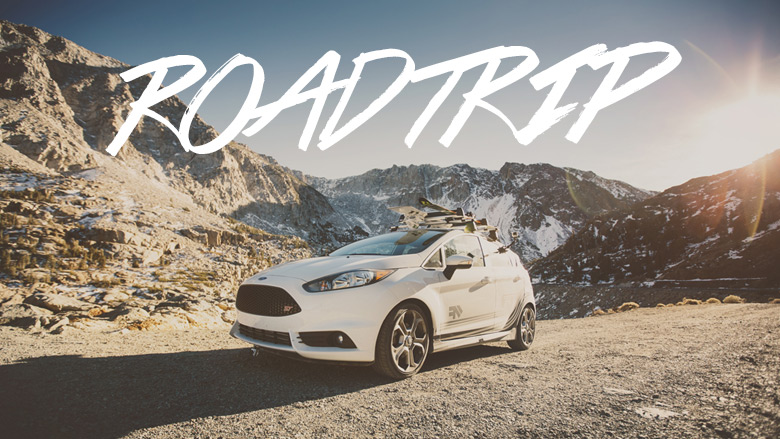
Subject: USC Ski & Snowboard - Opening Weekend 2013 (Road Trip)
Filmers: Abe Kislevitz, Levi Rodriguez, Robson Morgan
Location: Mammoth, CA & Yosemite, CA
I can’t believe it’s already ski season, which means I make the trek from San Francisco all the way to Mammoth for opening weekend. I only have my Ford Fiesta ST for a few more weeks so I figured I’d get some cool content with the car on the way out to Mammoth. I took a solo drive through Yosemite and down Tioga Pass to the 395. This is a much shorter route and it’s only open until the first big storm of the year. Over in Mammoth the park features aren’t huge yet, and there’s no big pow cliffs but we made the most of opening weekend! It was really fun to be back hanging with the gang and getting my skis under me.
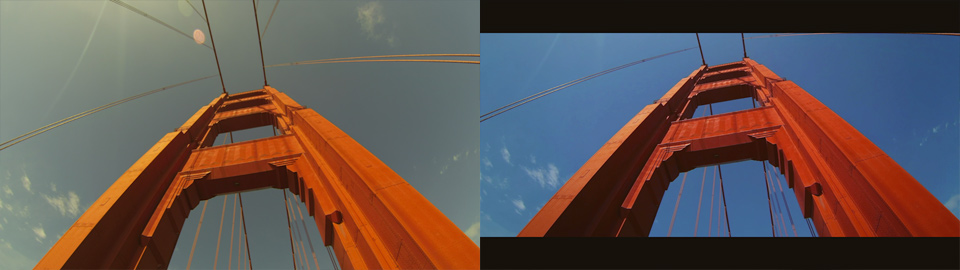
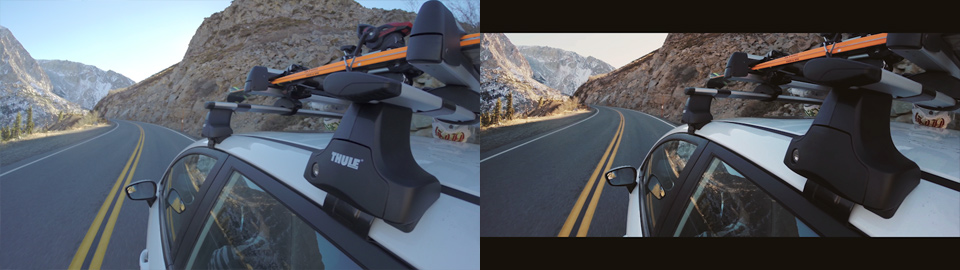
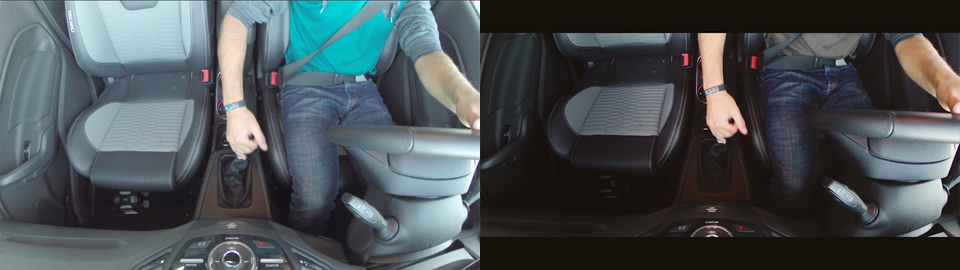
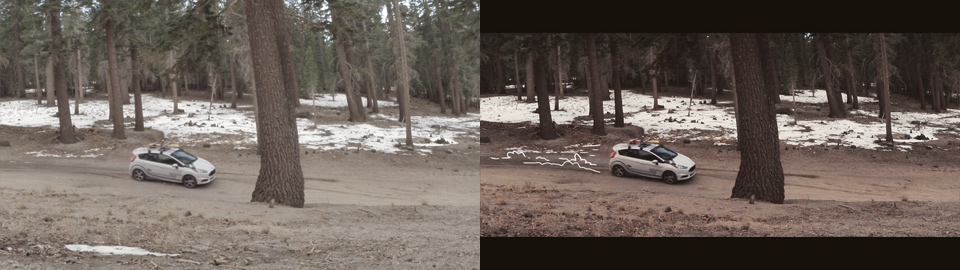
As for the edit, the main heavy lifting was done all in Premiere CC. Also something to note is I didn’t use Twixtor at all. I’ve used Twixtor a lot for speed ramps – usually to speed something up quickly and easily. I got myself acquainted and comfortable with the built in speed mapping/ramping tools within the Premiere CC timeline. Once the cut was completed in Premiere I went to Davinci Resolve for color. The entire video was shot with the HERO3+ Black Edition using ProTune and Auto white balance. I used Cam-Raw color balance for a few of the clips.
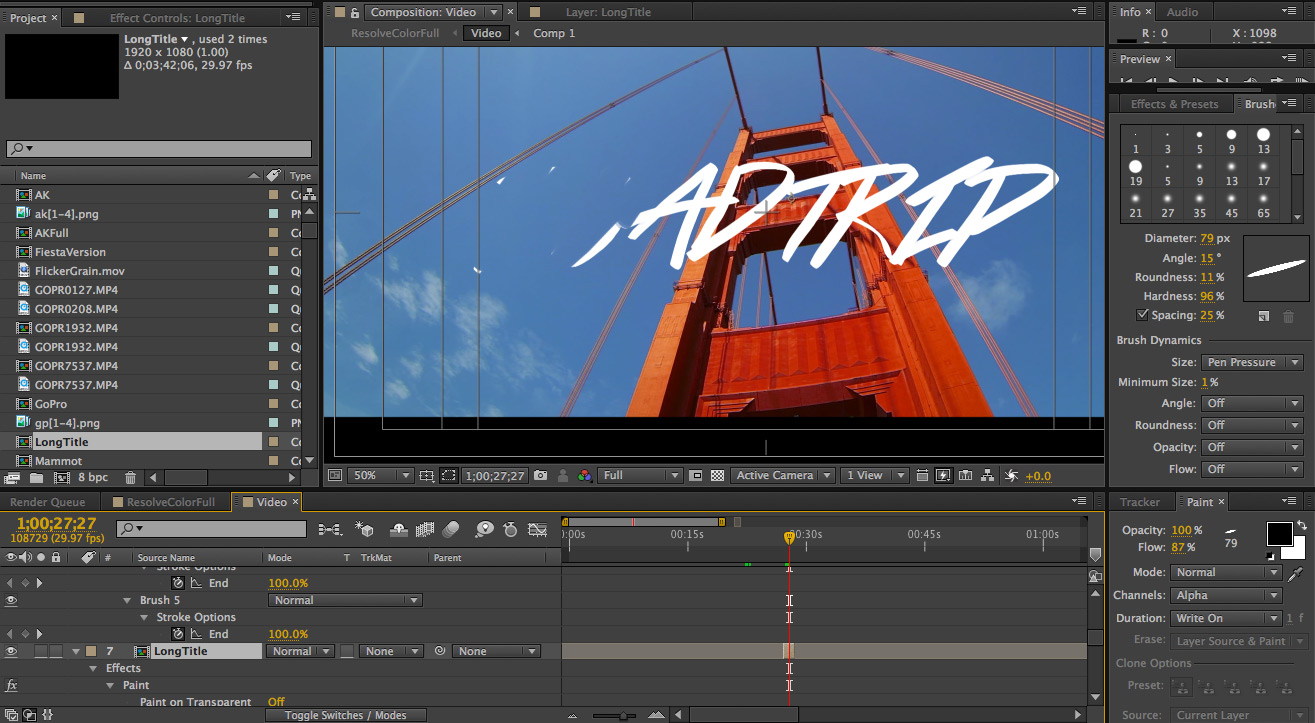
Stylistically I knew I wanted to add something different and kind of scrap-book-ie. I decided to go with a hand-written look for everything. I wanted to animate them in and out as well as have them wiggle a bit. This can be done a few different ways but ultimately for the titles I hand drew them in Photoshop using my Wacom pen tablet (Intuos 4). To get the wiggle effect I simply traced over the title 3-4 times for each. I exported each individual version as a separate PNG, then loaded them as an animation in After Effects. I precomposed the single animation of 4 frames and looped it so it would repeat. For most of the precomposed titles I changed the speed to around 60% of original speed to slow down the wiggle/shake effect. It’ll duplicate frames but that’s okay for this look. Once I had a precomposed title wiggling around on-screen, I needed a creative way to show the title getting sketched onto the screen and then erased. I used the paint tool in After Effects and set it to ‘Write-On’ and ‘Alpha’. I would draw out the way I’d want it to be sketched on and adjusted the write-on effect keyframe time accordingly.
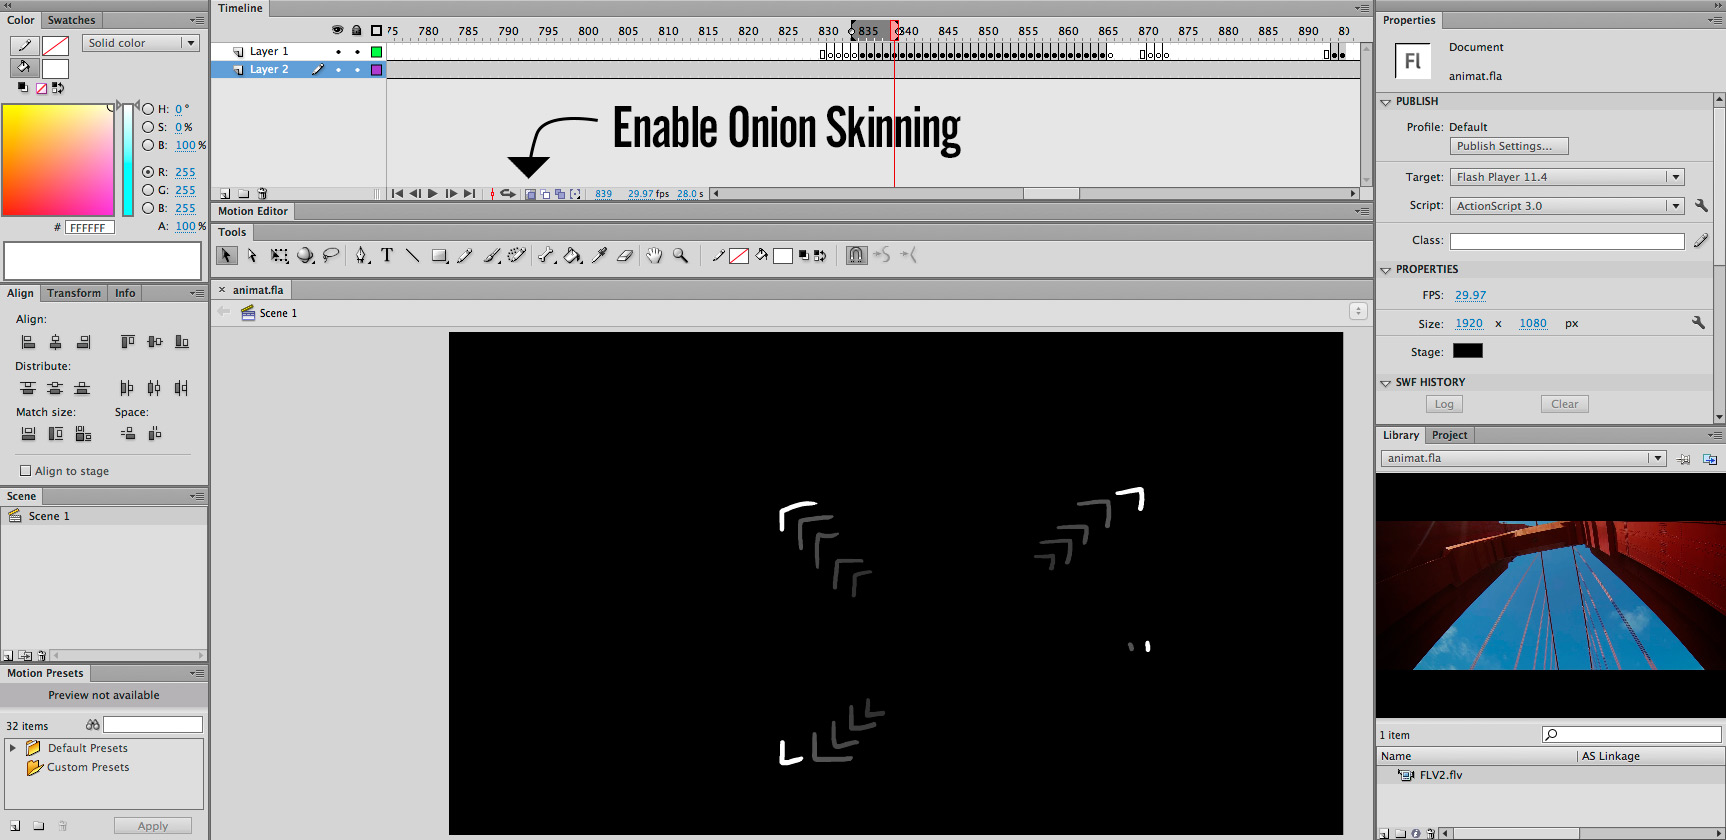
The on-screen animation lines is something I’ve wanted to do for a long time. I’m kind of upset that I brought it out here without being too involved. I’ve played with it before and wanted to go all out with really good animations. I kind of threw these on in the last 45 minutes of editing to spice up the intro a bit. Oh well. Basically you just render out an FLV (Flash) of whatever video you want to draw on. You import that video into Flash and use the Wacom tablet to draw on individual blank keyframes. Why Flash? It’s got a really good drawing/animation engine. The way you can turn on Onion skinning makes it easy to animate and quick to draw. At the end, delete the base video layer and either export an image sequence of your white animations, or make a ProRes render of the white on black. Drop the animation back into After Effects or Premiere and set the transfer mode to screen.
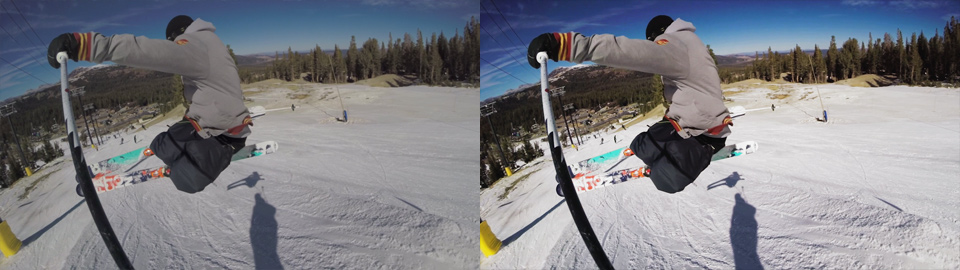
Last but not least, I’ll give a few side by side comparisons of before color/FX and after! Left is before, right is after! See if you can spot anything that’s more than just a little color! 🙂