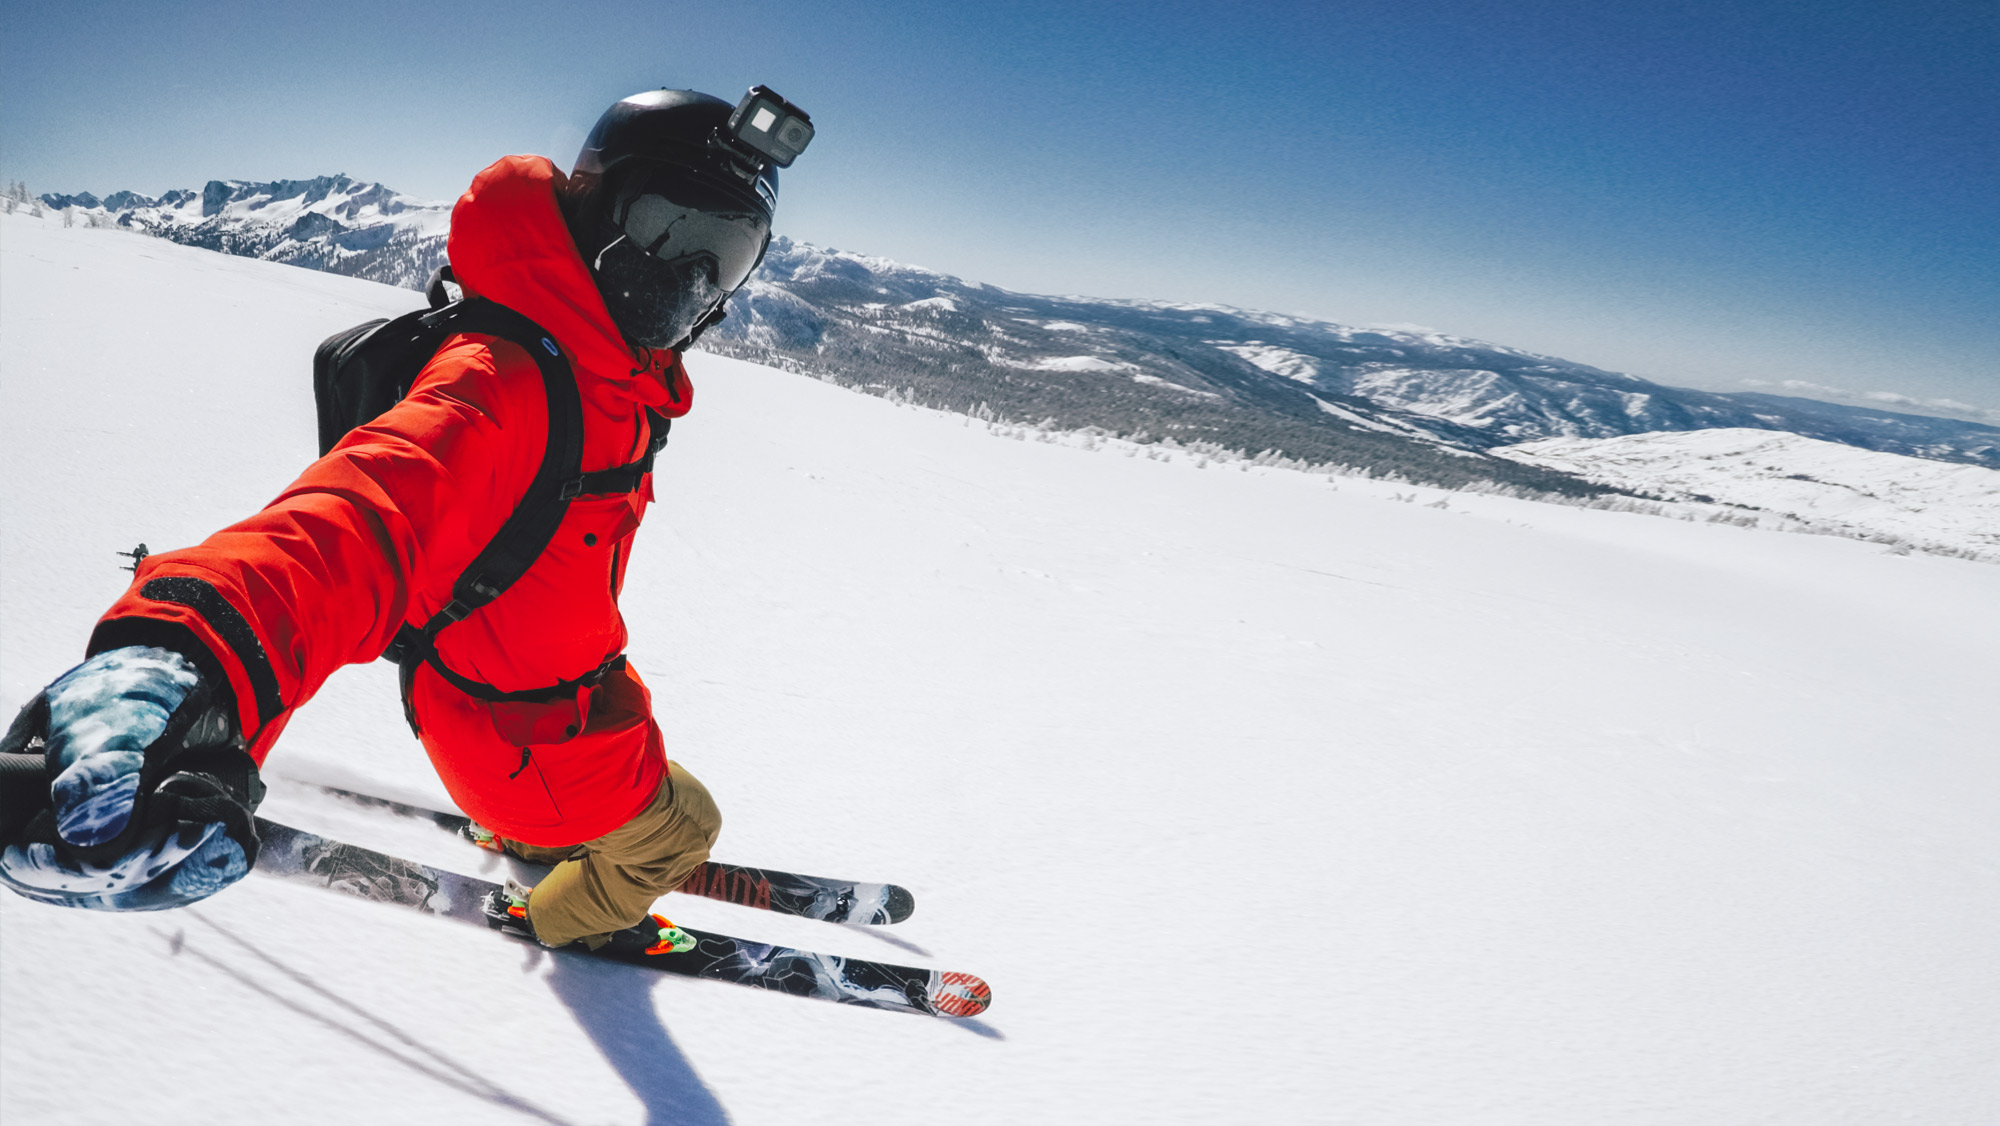
I took the GoPro Fusion camera for a rip at Mammoth during the latest storm cycle. It was the first real pow run of the season, so I was definitely dusting off the cobwebs a little bit! The idea of 360 cameras is all a little hazy simply because it kind of takes a lot to wrap your brain around a few basic questions. Things like “well what do I use it for?” or “How can I share it?” or “How do I deal with the footage?” are all too common in the 360 space. It takes a little bit of digging around in the mud, but so far with a little bit of exploration, I’ve been pretty pleasantly surprised with the possibilities. GoPro’s Fusion isn’t the only thing out on the market, but the nice thing is using it feels pretty familiar to your average GoPro user. It has voice control, it’s waterproof, and it goes in all the same mounts you already have.
First off let’s answer why use a Fusion in the first place. The biggest thing is probably being able to have the freedom of seeing a moment from any angle. It captures everything around you so later you can go back and watch it from any direction. Is that cool? I think so! It became much more cool to me when I had all the plugins installed in Premiere and it came time to edit. The next big thing it offers is stabilization. I had my fusion in probably the most wobbly mount going all over the place, yet the final product looks like a gimbal. There’s no gimbal contraption to hold or cables or batteries outside of the camera, it’s just the camera mounted to anything! The last thing is the notion that it erases whatever it’s mounted to, so the camera looks like it’s floating. In this video I had my Fusion on the extendable pole it comes with, but I strapped that to the end of my ski pole, so I could still hold my poles and ski as normal. It’s not that heavy so it didn’t get in the way all that much.

Dealing with the Footage
Fusion records to two separate SD cards, requiring you to do one step that is less than ideal – the “stitching” phase – if you’re on the computer. If you’re going directly to mobile with the share, the GoPro app has now made it pretty seamless to not only preview the live shot in 360 (you can pan, pinch, zoom live), but also download your footage/photos in 360, and either share in 360 or create an Overcapture shot. I’m much more into the Overcapture idea, simply because I’m still sharing my sort of traditional art form of moving images to music, only it’s as if my video content is ultra high resolution in all directions. The same way you would record in 4K and crop and pan and zoom, is what Overcapture is for 360 video. I have video in all directions that I can crop into, pan, zoom, rotate however I want.
So on the desktop, download GoPro Fusion Studio (scroll down until you see the mac/windows installers). You can either plug the camera into the computer directly, or if you’ve copied off the media, drag all the files from Fusion into the app (or just the main folder housing both your 100GBACK and 100GFRNT folders). Do not delete any of the files from the SD card (those pesky .thm or .lrv files are absolutely necessary for stitching). You’ll get a low res preview of all of your videos within a minute or two, then you’ll need to select what pieces you want to render to high quality. This step, unfortunately, takes for f***ing ever. I rarely render anything longer than 30 seconds if I’m just looking at a shot – but if I need to – I’ll line up a whole queue of shots, hit render, and go for a run or something.
The latest Fusion Studio will automatically recognize the orientation of the camera and stabilize it to be level and perfect. If you want it to stabilize the shakes, but not always point in one direction, click the option “Anti Shake” instead of “Full Stab”. This is probably better for POV stuff where you’re going in a certain direction. I like the full stabilize simply because I’m going to do all my moves in post within Premiere/After Effects. In this first step you have the option of 360 vs. Overcapture. The Overcapture is great if you’re looking for a quick share, but you can’t animate the orientation or anything. You can spit out a cool Tiny Planet pretty fast, but if you want the custom stuff, you gotta go 360 first. In the settings before you are rendering you can adjust white balance, shadows + highlights, sharpness, and change between GoPro Color and Flat. I prefer Flat usually because I color correct in post. If you want to take multiple pieces from the same clip (which I recommend to save on render time), hit “CREATE A COPY” down at the bottom to copy all your settings into a new clip that you can adjust the trim time.
Once you hit Add to the Render Queue, a dialogue brings up a bunch of options. It gives you these options only once when you start rendering thinking all of your content is going to the same place. It’s basically asking about Editing vs. YouTube vs. Facebook, and what resolutions. I always do “Editing”, and “5.2K”. Next, once your video is in the queue, you can click on it and adjust even more settings. It gives you the options of Video Codec, Resolution (again), audio, and DWarp. First of all for Video Codec – if you want to save on space you can hit H.264, which will vastly minimize the data size. If you go with Cineform 422 High, expect 1 min to be about 1GB. I like quality so I usually do Cineform, but if I’m doing something for Instagram, H.264 is fine. Know that H.264 maxes out at 4K, so if you shot in 5.2K, you’ll have to use Cineform if you want alllll the qualities. Last on the list is the DWarp – that’s a fancy algorithm that analyzes your image and takes out the stitch-lines. If you turn this off, the render will go faster and you’ll have a more rough looking stitch. Once you’re all good, hit Render…. … and go grab a coffee at Starbucks… the one that’s a couple miles away not the one across the street! 😛
After You’ve Rendered
Ok, so you’ve rendered your 360 content. It’s not traditional 16×9 – it’s actually a 2×1 equirectangular video. By itself it’ll look weird, but we’ll put it into some specific applications to deal with the content. After I render a clip the first thing I do is open up GoPro VR Player . You can drag your equirectangular video directly in there and it’ll give you the best 360 viewing experience. You can pan and zoom, look around, etc. I like to watch my clips in this viewer first to get a feel for what the shot looks like before I take it to video.
Taking High Quality Frame Grabs
First off, the rad thing about GoPro VR Player is you can make the window any size or aspect ratio you want. Because your video is 360, you have any frame size available. Need an instagram story? Make the window tall and narrow. Need a web banner? Make the window wide and short! If you’re in GoPro VR Player, at any point you can pause the video and go up to Window > Print Screen (or Print Screen HQ). Non HQ will be around 5-6 megapixels, while HQ will do the full resolution from the original file – regardless of window size. They spit out to the desktop as PNGs. The HQ ones are a bit slow to deal with because they’re such high resolution so I usually open in Photoshop and re-export as a smaller JPG file. You can use this process for any Fusion photos or Video!
Editing in Premiere or After Effects
Before you open Premiere or After Effects make sure you have the GoPro VR plugins. In Premiere decide if you want to do overcapture or 360 video for the web.
360 Video
If you’re doing 360 video, take one of your equirectangular 360 video files and drag it onto the New Sequence button in your project pane. It’ll make a sequence that’s 2×1 and here you can cut your VR video to music, cuts, etc. You can use the plugin GoPro VR Horizon to re-orient where the subject matter is in the frame (as your starting place for 360). When you’re exporting Premiere should have a checkbox that is “Video is VR”.
Overcapture
If you’re looking to do Overcapture, make a new sequence as you normally would. Remember, since your video file can stretch to any frame size, think about some possibilities with unique frame sizes. I will make new sequences that are 1350 x 1080 (5×4) for vertical Instagram, or 1080×1080 squares for Facebook, etc. Let’s start with traditional 1080P 16×9. Drag your equirectangular video into the timeline. Next, add the effect “GoPro VR Reframe”. It’ll pop your video from an equirectangular into a semi normal looking video. If you click on the header of the GoPro VR Reframe effect in the effects panel, you can then click and drag around on your video in the program video window to reframe the shot. Adjust FOV with the slider. Here you can keyframe from one angle to another in the same shot. If you feel like you can’t quite get the right angle on your video, add the plugin “GoPro VR Horizon” underneath the Reframe plugin. You have 3 more control points to adjust rotation and what not. This is how I made the video above. Keep in mind simple moves are best to start out with, until you start getting pretty good at keyframing.
Currently there’s a weird bug in Premiere where easing (if you switch your keyframes to Ease) doesn’t get applied to Premiere keyframes because the plugin has its own ease in the form of the “smooth transition” slider. To really customize your keyframing, you’ll probably want to do a dynamic link to After Effects. Once you do this, you can ease and adjust your keyframes all you want. Something I noticed when I dynamic linked from Premiere to After Effects was my videos became much more zoomed in. To get around this, once in AE, I scaled my video down to 43.5% to retain the proper FOV and size.
Adding screenshots and photo examples shortly. Let me know what else you’d like to know!
Check out the Fusion here – let me know if you’re interested in it!